> ## Documentation Index
> Fetch the complete documentation index at: https://docs.customei.com/llms.txt
> Use this file to discover all available pages before exploring further.
# Connect options to your design
> Point each option at a layer so your customer's answer changes the artwork.
An option on its own only collects an answer. A **connection** is what tells Customei to do something with it: write it onto a layer, swap a picture, change a colour.
Every connection is the same three-part sentence:
> **This option** · **does this** · **to this layer**
Get those three right and the shopper sees the design change as they type.
## Step 1. Check which design template you're working against
An option set can only connect to layers in the design template it uses. That template is shown at the top of the preview panel, on the right of the editor.
 The three buttons beside the name are:
| Button | What it does |
| --------------------- | ------------------------------------------------------ |
| **Open live preview** | Opens a full preview of the design with your options |
| **Change template** | Swaps this option set onto a different design template |
| **Remove template** | Detaches the design template entirely |
If your option set was created from a template, the right one is already in place and you can skip to step 2. If the panel has no template, or you picked the wrong one, click **Change template**.
The three buttons beside the name are:
| Button | What it does |
| --------------------- | ------------------------------------------------------ |
| **Open live preview** | Opens a full preview of the design with your options |
| **Change template** | Swaps this option set onto a different design template |
| **Remove template** | Detaches the design template entirely |
If your option set was created from a template, the right one is already in place and you can skip to step 2. If the panel has no template, or you picked the wrong one, click **Change template**.
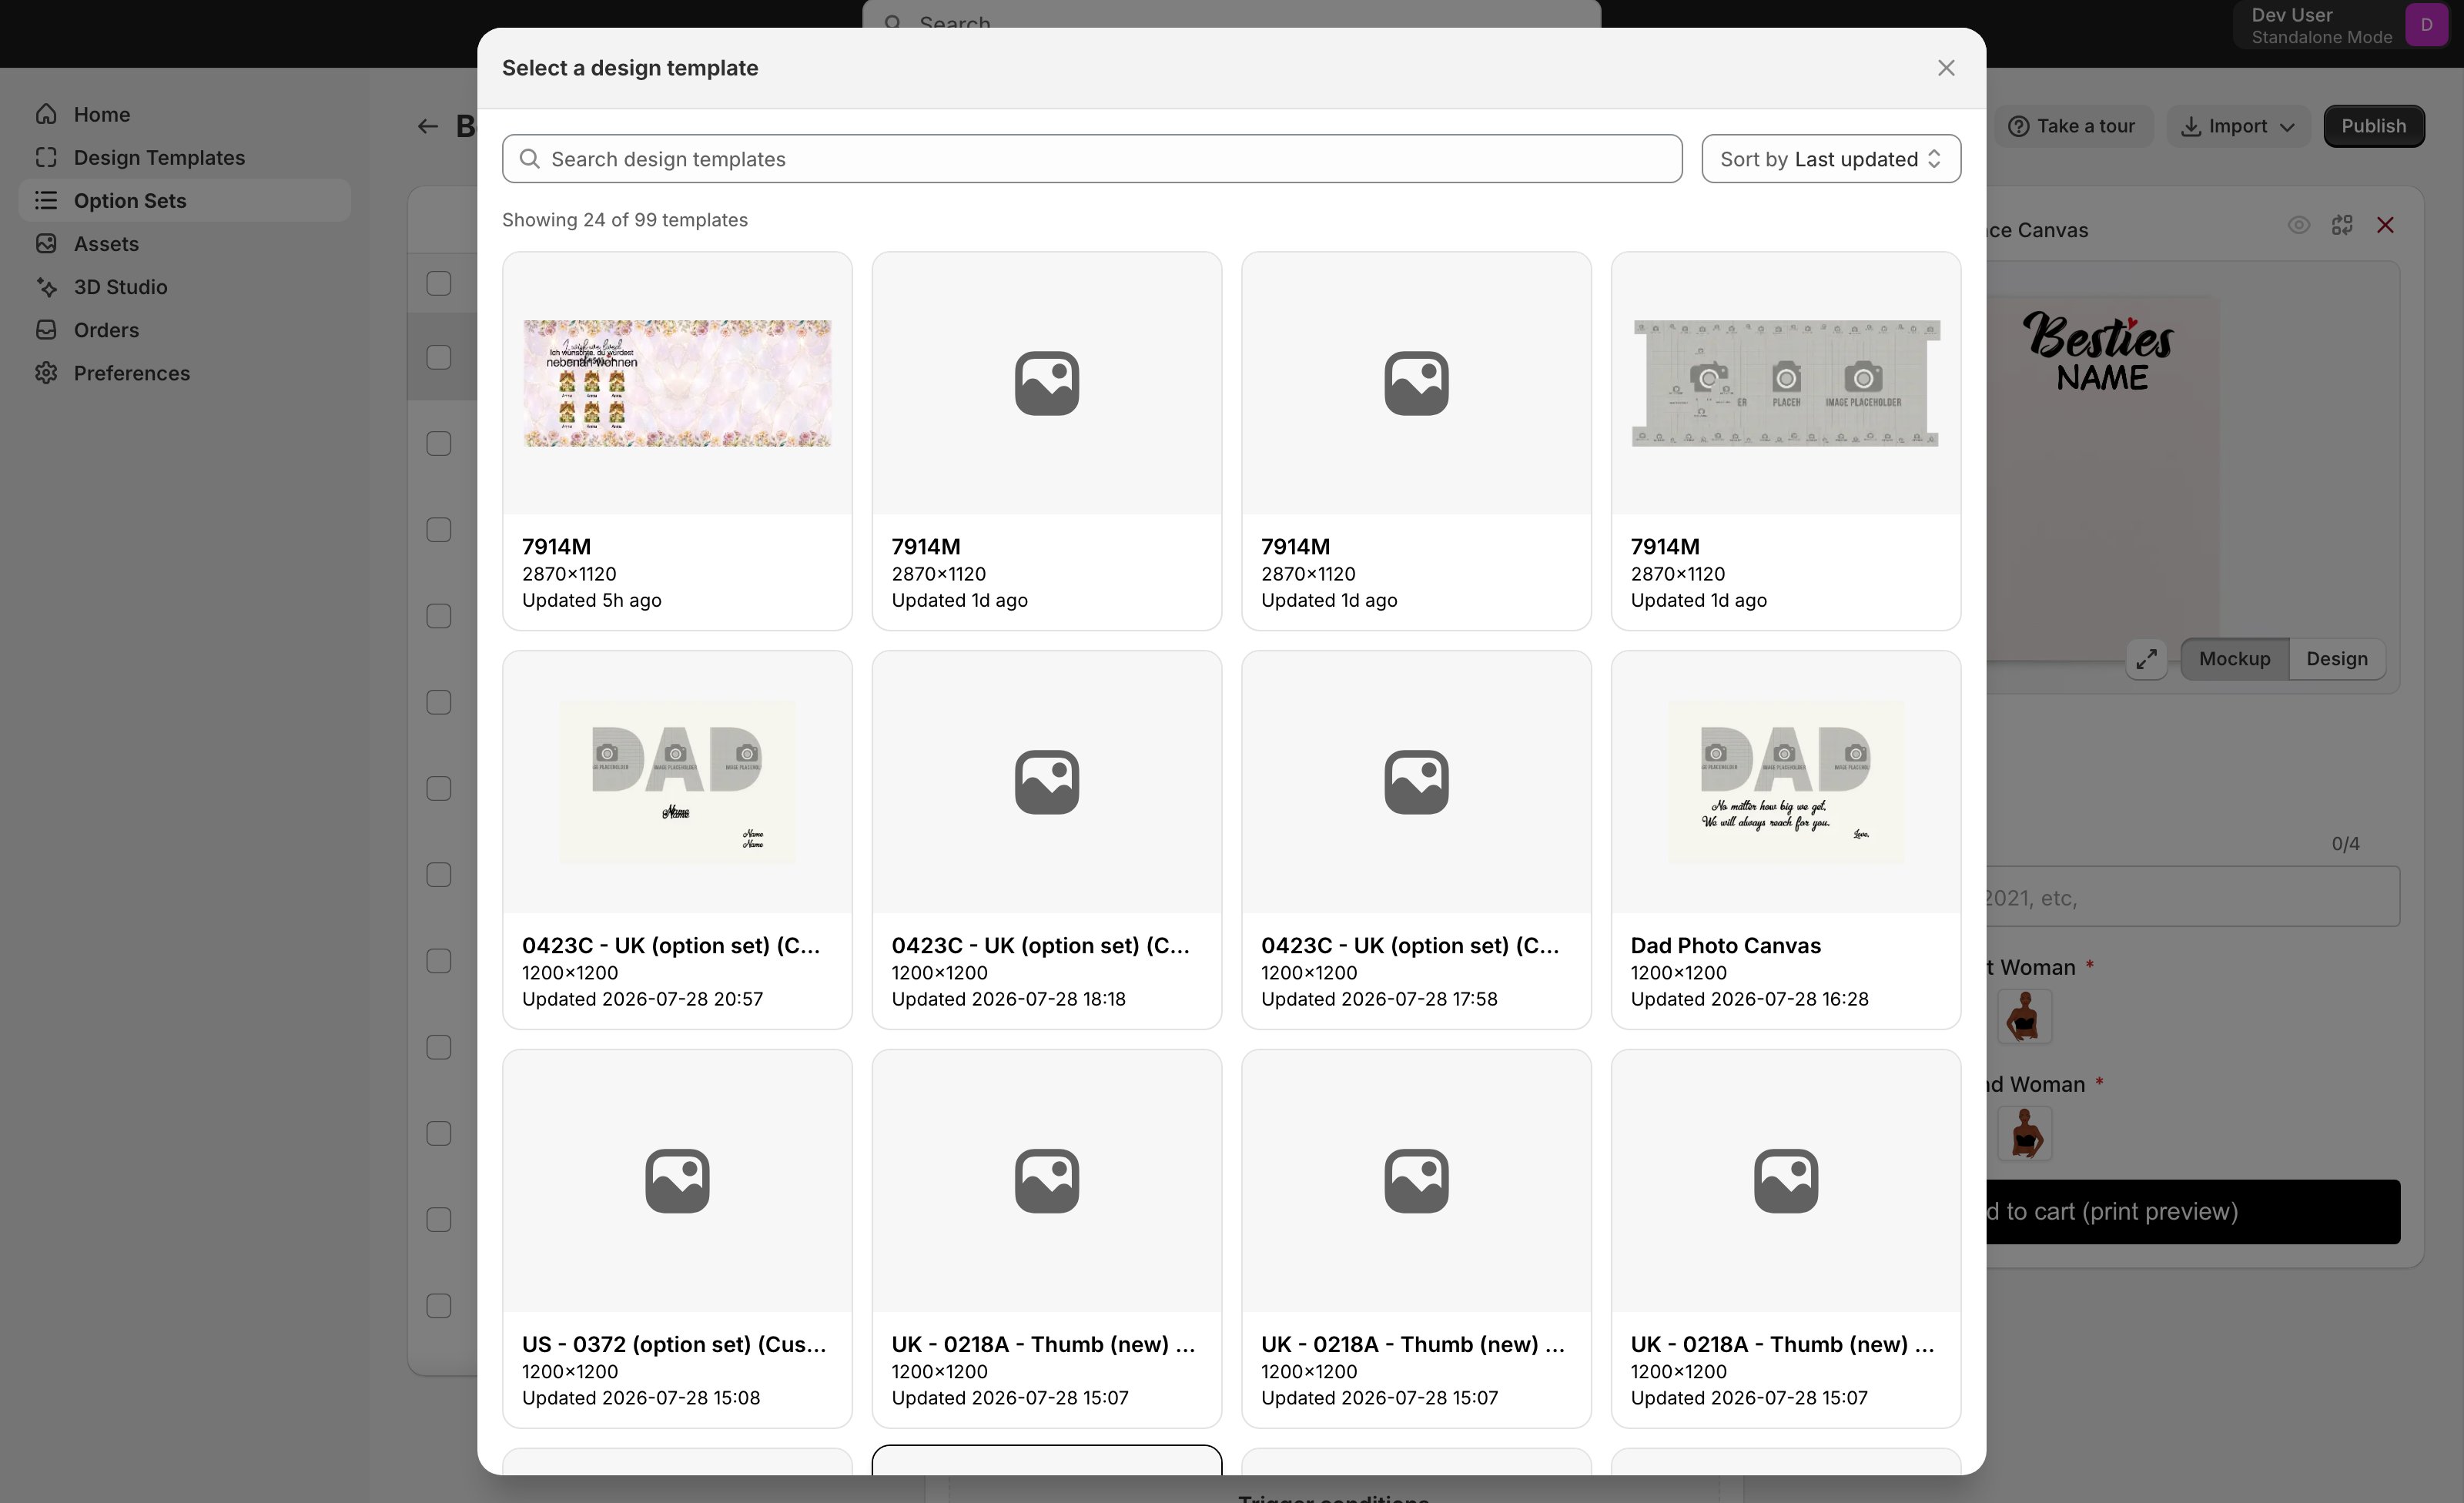 Changing the template repoints the whole option set at different artwork. Connections that referred to layer numbers in the old design will now point at whatever happens to carry those numbers in the new one, so check every option afterwards.
## Step 2. Find the layer number
Open your design template and look at the **Layers** panel. Every layer has a number.
Changing the template repoints the whole option set at different artwork. Connections that referred to layer numbers in the old design will now point at whatever happens to carry those numbers in the new one, so check every option afterwards.
## Step 2. Find the layer number
Open your design template and look at the **Layers** panel. Every layer has a number.
 Keep that number handy. It's the third part of the sentence.
## Step 3. Add the connection
Select an option, scroll to **Template connections**, and click **Add connection**.
Keep that number handy. It's the third part of the sentence.
## Step 3. Add the connection
Select an option, scroll to **Template connections**, and click **Add connection**.
 Reading that card out loud: the option **Enter Year** puts its **Text** onto layer **#14**, which is called **Kid's Name**. When a shopper types `2026`, the words on that layer become `2026`.
Two boxes make up each connection:
* The **left box** is what happens: Text, Dynamic image, Text colour, and so on.
* The **right box** is which layer it happens to. Start typing a layer name or number and pick from the suggestions.
Click **Add another connection** if one answer should change more than one thing, for instance a colour swatch that recolours both the wording and the border.
## Swapping a picture instead of text
Selection options work the same way, but the thing that changes is usually an image.
Reading that card out loud: the option **Enter Year** puts its **Text** onto layer **#14**, which is called **Kid's Name**. When a shopper types `2026`, the words on that layer become `2026`.
Two boxes make up each connection:
* The **left box** is what happens: Text, Dynamic image, Text colour, and so on.
* The **right box** is which layer it happens to. Start typing a layer name or number and pick from the suggestions.
Click **Add another connection** if one answer should change more than one thing, for instance a colour swatch that recolours both the wording and the border.
## Swapping a picture instead of text
Selection options work the same way, but the thing that changes is usually an image.
 Here the option *Choose Skin For 1st Woman* is a swatch with four choices. The connection says **Dynamic image → #3**, so picking a swatch swaps the picture on layer `#3`.
The **Wizard** link at the top right of the card opens a grid where you map every choice to its picture in one pass, instead of one at a time. On an option with a dozen values, this is much faster.
## What a connection can do
Click the left box to see what's available.
Here the option *Choose Skin For 1st Woman* is a swatch with four choices. The connection says **Dynamic image → #3**, so picking a swatch swaps the picture on layer `#3`.
The **Wizard** link at the top right of the card opens a grid where you map every choice to its picture in one pass, instead of one at a time. On an option with a dozen values, this is much faster.
## What a connection can do
Click the left box to see what's available.
 Customei only offers the actions that make sense for the option's type. A colour picker can't type words onto a layer, so it isn't offered.
| Connection | What it changes |
| ---------------------------------------------- | ------------------------------------------------- |
| **Text** | The wording on a text layer |
| **Font style** | The font a text layer uses |
| **Text colour** | The fill colour of text |
| **Text stroke** | The outline colour of text |
| **Image colour** | A colour wash over an image |
| **Dynamic image** | Swaps the picture on a layer |
| **Customer upload** | Places the shopper's own photo on a layer |
| **QR Code** | Builds a code from what the shopper enters |
| **Calendar** | Shows the chosen date as a calendar |
| **Moon phase** | Shows the moon on the chosen date |
| **Star map** | Shows the night sky on the chosen date |
| **Map location** | Moves the map to the place the shopper picked |
| **Map style** and **Star map style** | Restyles the map or star map |
| **Crossword**, **Word Search**, **Word Cloud** | Builds a puzzle or cloud from the shopper's words |
| **Spotify player** | Fills the player from a track link |
| **Switch design template** | Swaps the whole design for a different template |
| **Add product** | Adds another Shopify product to the cart |
| **Group visibility** | Shows or hides a whole group of layers |
### Which option type offers which
| Option type | Connections available |
| ------------------------------------------------------------- | ------------------------------------------------------------------------------------------------------------------------------------------------------------------- |
| Text input | Text · Dynamic image · QR Code · Crossword · Word Search · Word Cloud |
| Dropdown, Radio buttons, Swatch, Dropdown swatch, Text swatch | Text · Text colour · Text stroke · Font style · Dynamic image · Image colour · Map style · Star map style · Switch design template · Add product · Group visibility |
| Checkbox | Text · Text colour · Text stroke · Font style · Dynamic image · Image colour |
| Colour picker | Text colour · Text stroke · Image colour |
| File upload, Image upload | Customer upload |
| Date picker | Text · Calendar · Moon phase · Star map |
| Map | Map location |
| Spotify Player | Spotify player |
| Crossword style | Crossword |
| Countdown | None. It's shown on the page but doesn't change the design |
The **?** beside the connection type plays a short animation of exactly what that action does to a design. It's the quickest way to decide between two that sound similar.
## Let the design template update your options for you
Connections point *from* an option *to* a layer. There's also a link running the other way: a design template can keep this option set's options up to date on its own.
Click **Settings** in the header to see it.
Customei only offers the actions that make sense for the option's type. A colour picker can't type words onto a layer, so it isn't offered.
| Connection | What it changes |
| ---------------------------------------------- | ------------------------------------------------- |
| **Text** | The wording on a text layer |
| **Font style** | The font a text layer uses |
| **Text colour** | The fill colour of text |
| **Text stroke** | The outline colour of text |
| **Image colour** | A colour wash over an image |
| **Dynamic image** | Swaps the picture on a layer |
| **Customer upload** | Places the shopper's own photo on a layer |
| **QR Code** | Builds a code from what the shopper enters |
| **Calendar** | Shows the chosen date as a calendar |
| **Moon phase** | Shows the moon on the chosen date |
| **Star map** | Shows the night sky on the chosen date |
| **Map location** | Moves the map to the place the shopper picked |
| **Map style** and **Star map style** | Restyles the map or star map |
| **Crossword**, **Word Search**, **Word Cloud** | Builds a puzzle or cloud from the shopper's words |
| **Spotify player** | Fills the player from a track link |
| **Switch design template** | Swaps the whole design for a different template |
| **Add product** | Adds another Shopify product to the cart |
| **Group visibility** | Shows or hides a whole group of layers |
### Which option type offers which
| Option type | Connections available |
| ------------------------------------------------------------- | ------------------------------------------------------------------------------------------------------------------------------------------------------------------- |
| Text input | Text · Dynamic image · QR Code · Crossword · Word Search · Word Cloud |
| Dropdown, Radio buttons, Swatch, Dropdown swatch, Text swatch | Text · Text colour · Text stroke · Font style · Dynamic image · Image colour · Map style · Star map style · Switch design template · Add product · Group visibility |
| Checkbox | Text · Text colour · Text stroke · Font style · Dynamic image · Image colour |
| Colour picker | Text colour · Text stroke · Image colour |
| File upload, Image upload | Customer upload |
| Date picker | Text · Calendar · Moon phase · Star map |
| Map | Map location |
| Spotify Player | Spotify player |
| Crossword style | Crossword |
| Countdown | None. It's shown on the page but doesn't change the design |
The **?** beside the connection type plays a short animation of exactly what that action does to a design. It's the quickest way to decide between two that sound similar.
## Let the design template update your options for you
Connections point *from* an option *to* a layer. There's also a link running the other way: a design template can keep this option set's options up to date on its own.
Click **Settings** in the header to see it.
 While a template is linked here, its layers drive the options in this set. Rename a layer, add a new one, or change the graphics a layer can use, and the matching options update by themselves. You don't have to rebuild anything by hand. That's what *"Layers and library bindings drive fields here"* means.
This link is set up for you when you create an option set from a design template.
**Unlink** keeps every option exactly as it is, but the design template stops feeding it. Future changes to the template no longer reach these options. Any live product using this option set is also marked as out of date until you publish again. Only unlink if you deliberately want the options to stop following the template.
## When nothing changes in the preview
Work down this list. It's almost always one of these.
A **Connect to template** empty state in the card means nothing is wired up yet. The option collects an answer and then throws it away.
Check the number in the right box against the Layers panel in your template. It's easy to grab `#4` when you meant `#14`.
Layer numbers can repeat within one template. When they do, Customei asks which layer you meant as you pick it. If you chose the wrong one, delete the connection and add it again.
A layer switched off in the template won't show your customer's answer either. Look for the crossed-out eye beside it in the Layers panel.
Changes only take effect once you hit **Save** on the save bar at the top.
## Where to next
Put the option set on a product page.
Add or rename the layers you want to connect to.
While a template is linked here, its layers drive the options in this set. Rename a layer, add a new one, or change the graphics a layer can use, and the matching options update by themselves. You don't have to rebuild anything by hand. That's what *"Layers and library bindings drive fields here"* means.
This link is set up for you when you create an option set from a design template.
**Unlink** keeps every option exactly as it is, but the design template stops feeding it. Future changes to the template no longer reach these options. Any live product using this option set is also marked as out of date until you publish again. Only unlink if you deliberately want the options to stop following the template.
## When nothing changes in the preview
Work down this list. It's almost always one of these.
A **Connect to template** empty state in the card means nothing is wired up yet. The option collects an answer and then throws it away.
Check the number in the right box against the Layers panel in your template. It's easy to grab `#4` when you meant `#14`.
Layer numbers can repeat within one template. When they do, Customei asks which layer you meant as you pick it. If you chose the wrong one, delete the connection and add it again.
A layer switched off in the template won't show your customer's answer either. Look for the crossed-out eye beside it in the Layers panel.
Changes only take effect once you hit **Save** on the save bar at the top.
## Where to next
Put the option set on a product page.
Add or rename the layers you want to connect to.