> ## Documentation Index
> Fetch the complete documentation index at: https://docs.customei.com/llms.txt
> Use this file to discover all available pages before exploring further.
# Translate an option set
> Fill in the other languages for one set of questions, by typing them yourself or letting Customei draft them.
This is where the words actually get translated. You do it one option set at a time.
## Open the translator
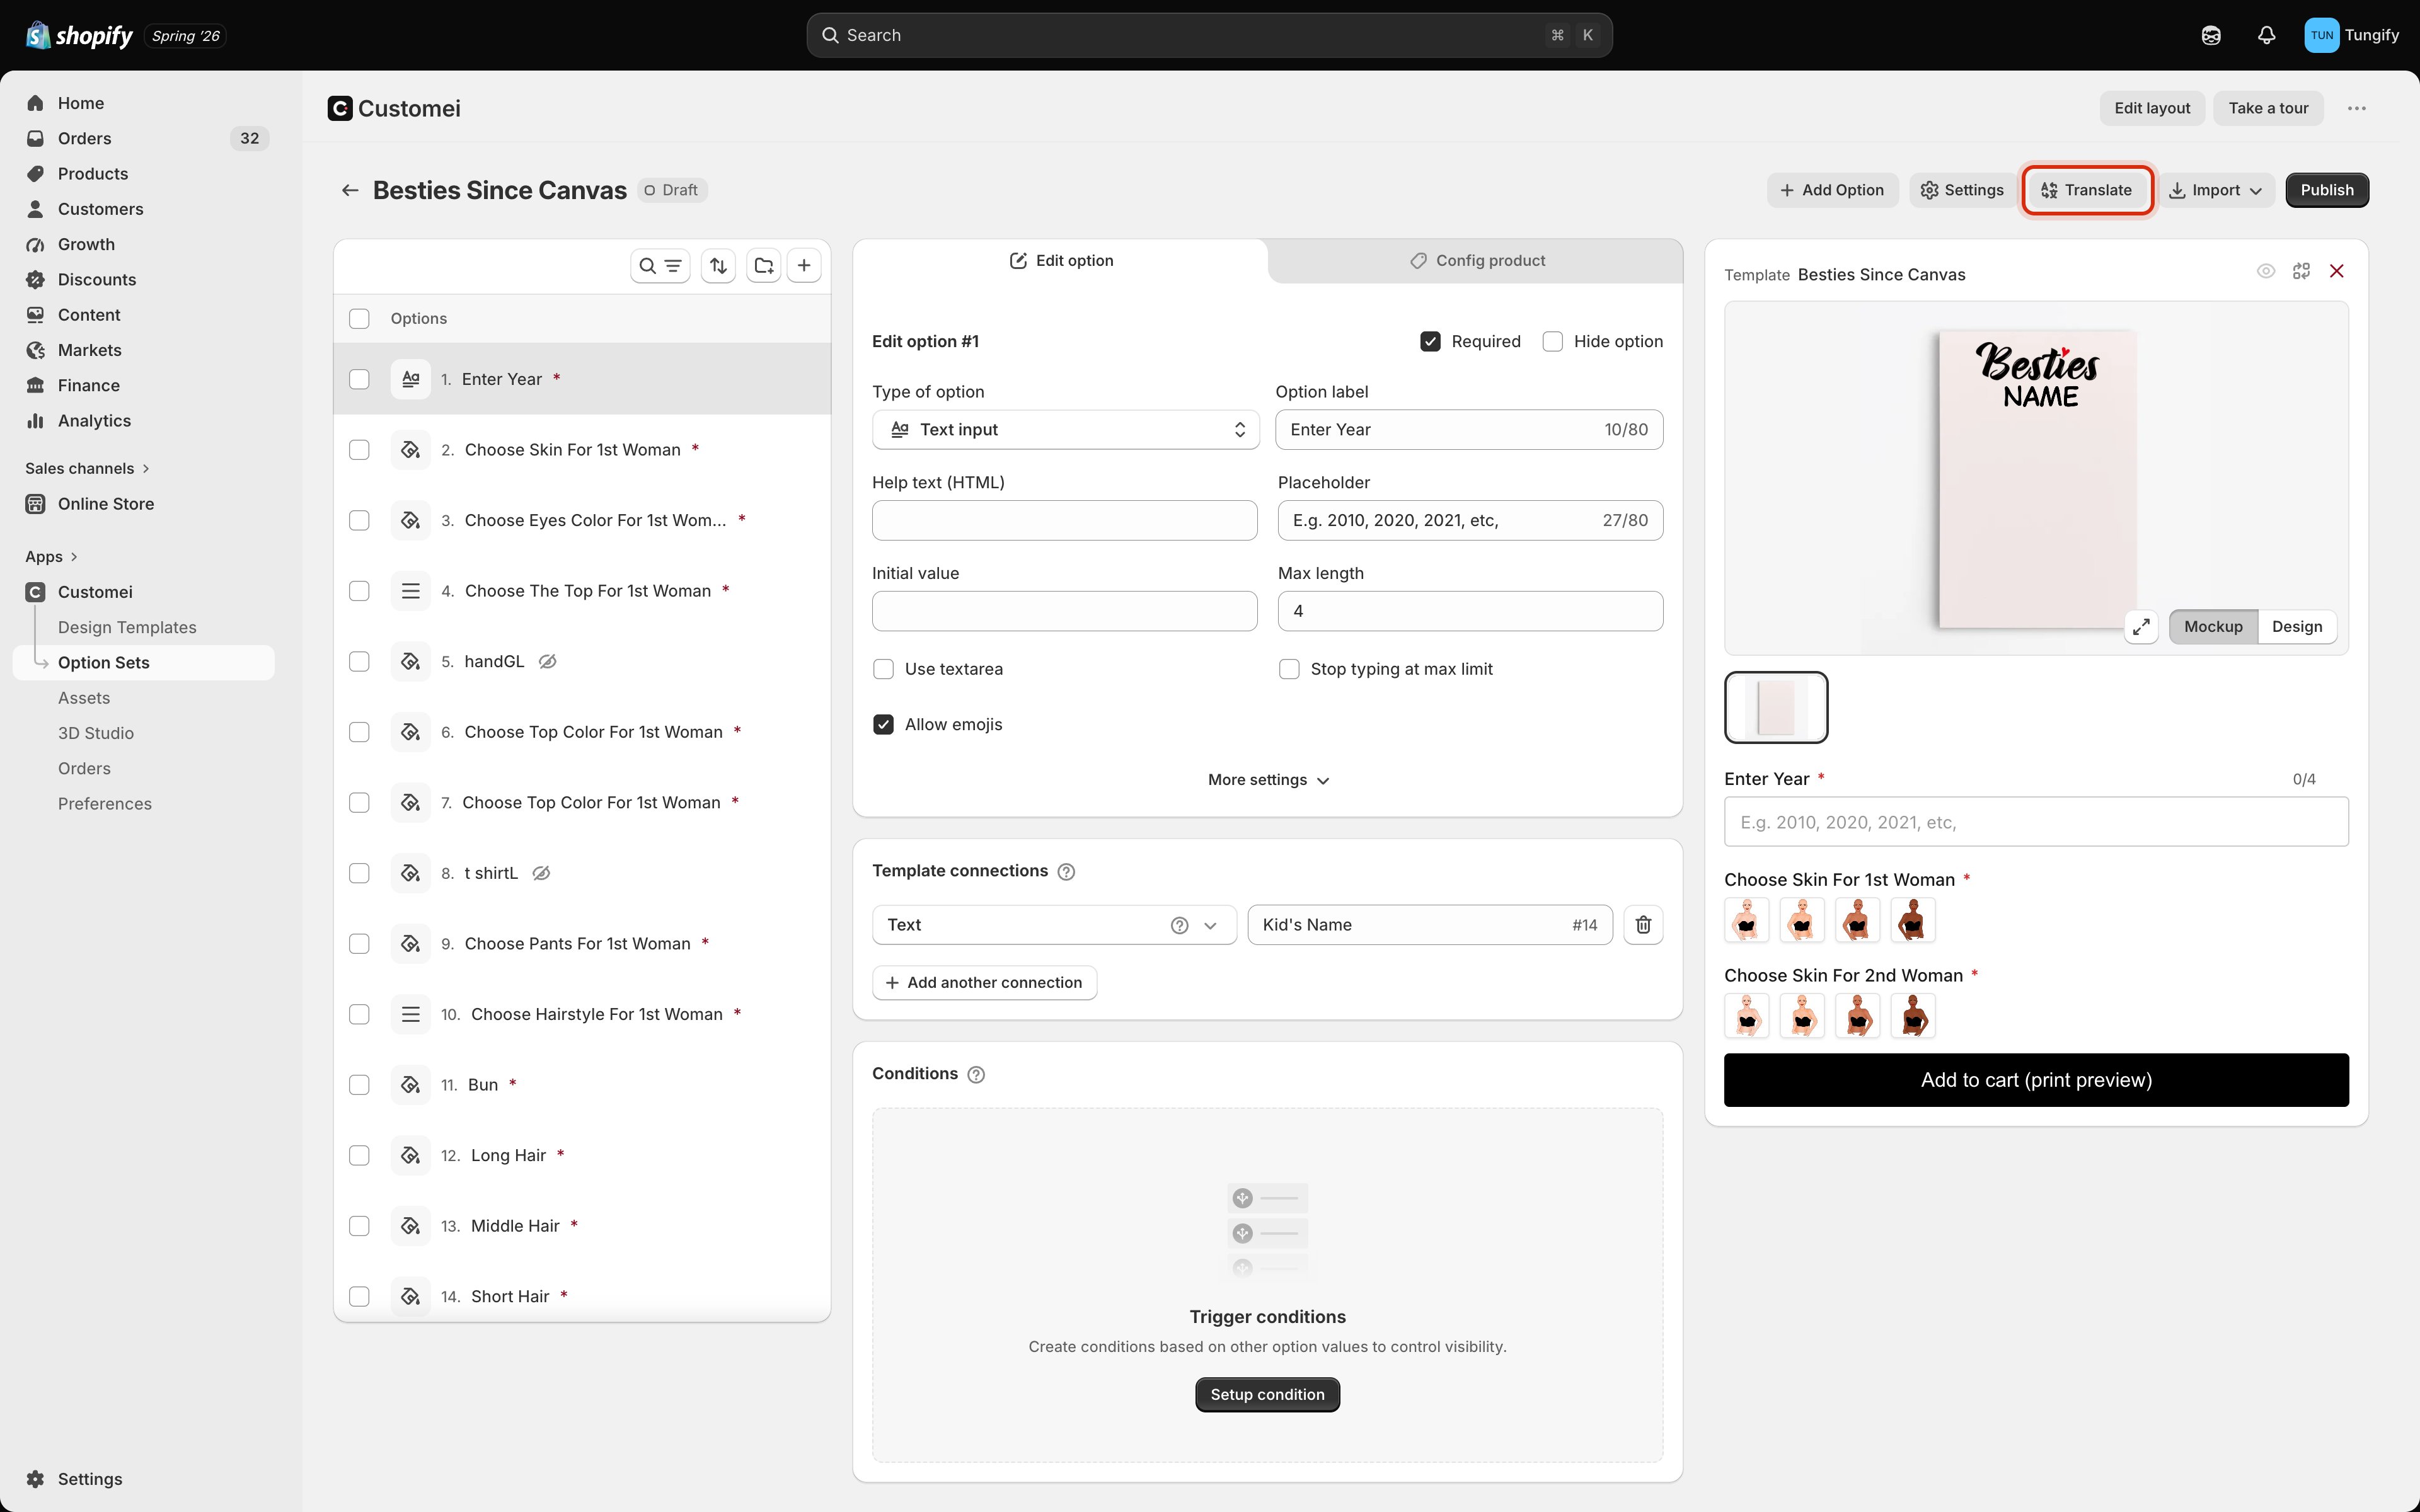
Open the option set and click **Translate** in the top bar. You can also use **Translate** on the option set's row in the list.
 ## Read the table
Everything a customer sees is a row. Every language you added is a column.
## Read the table
Everything a customer sees is a row. Every language you added is a column.
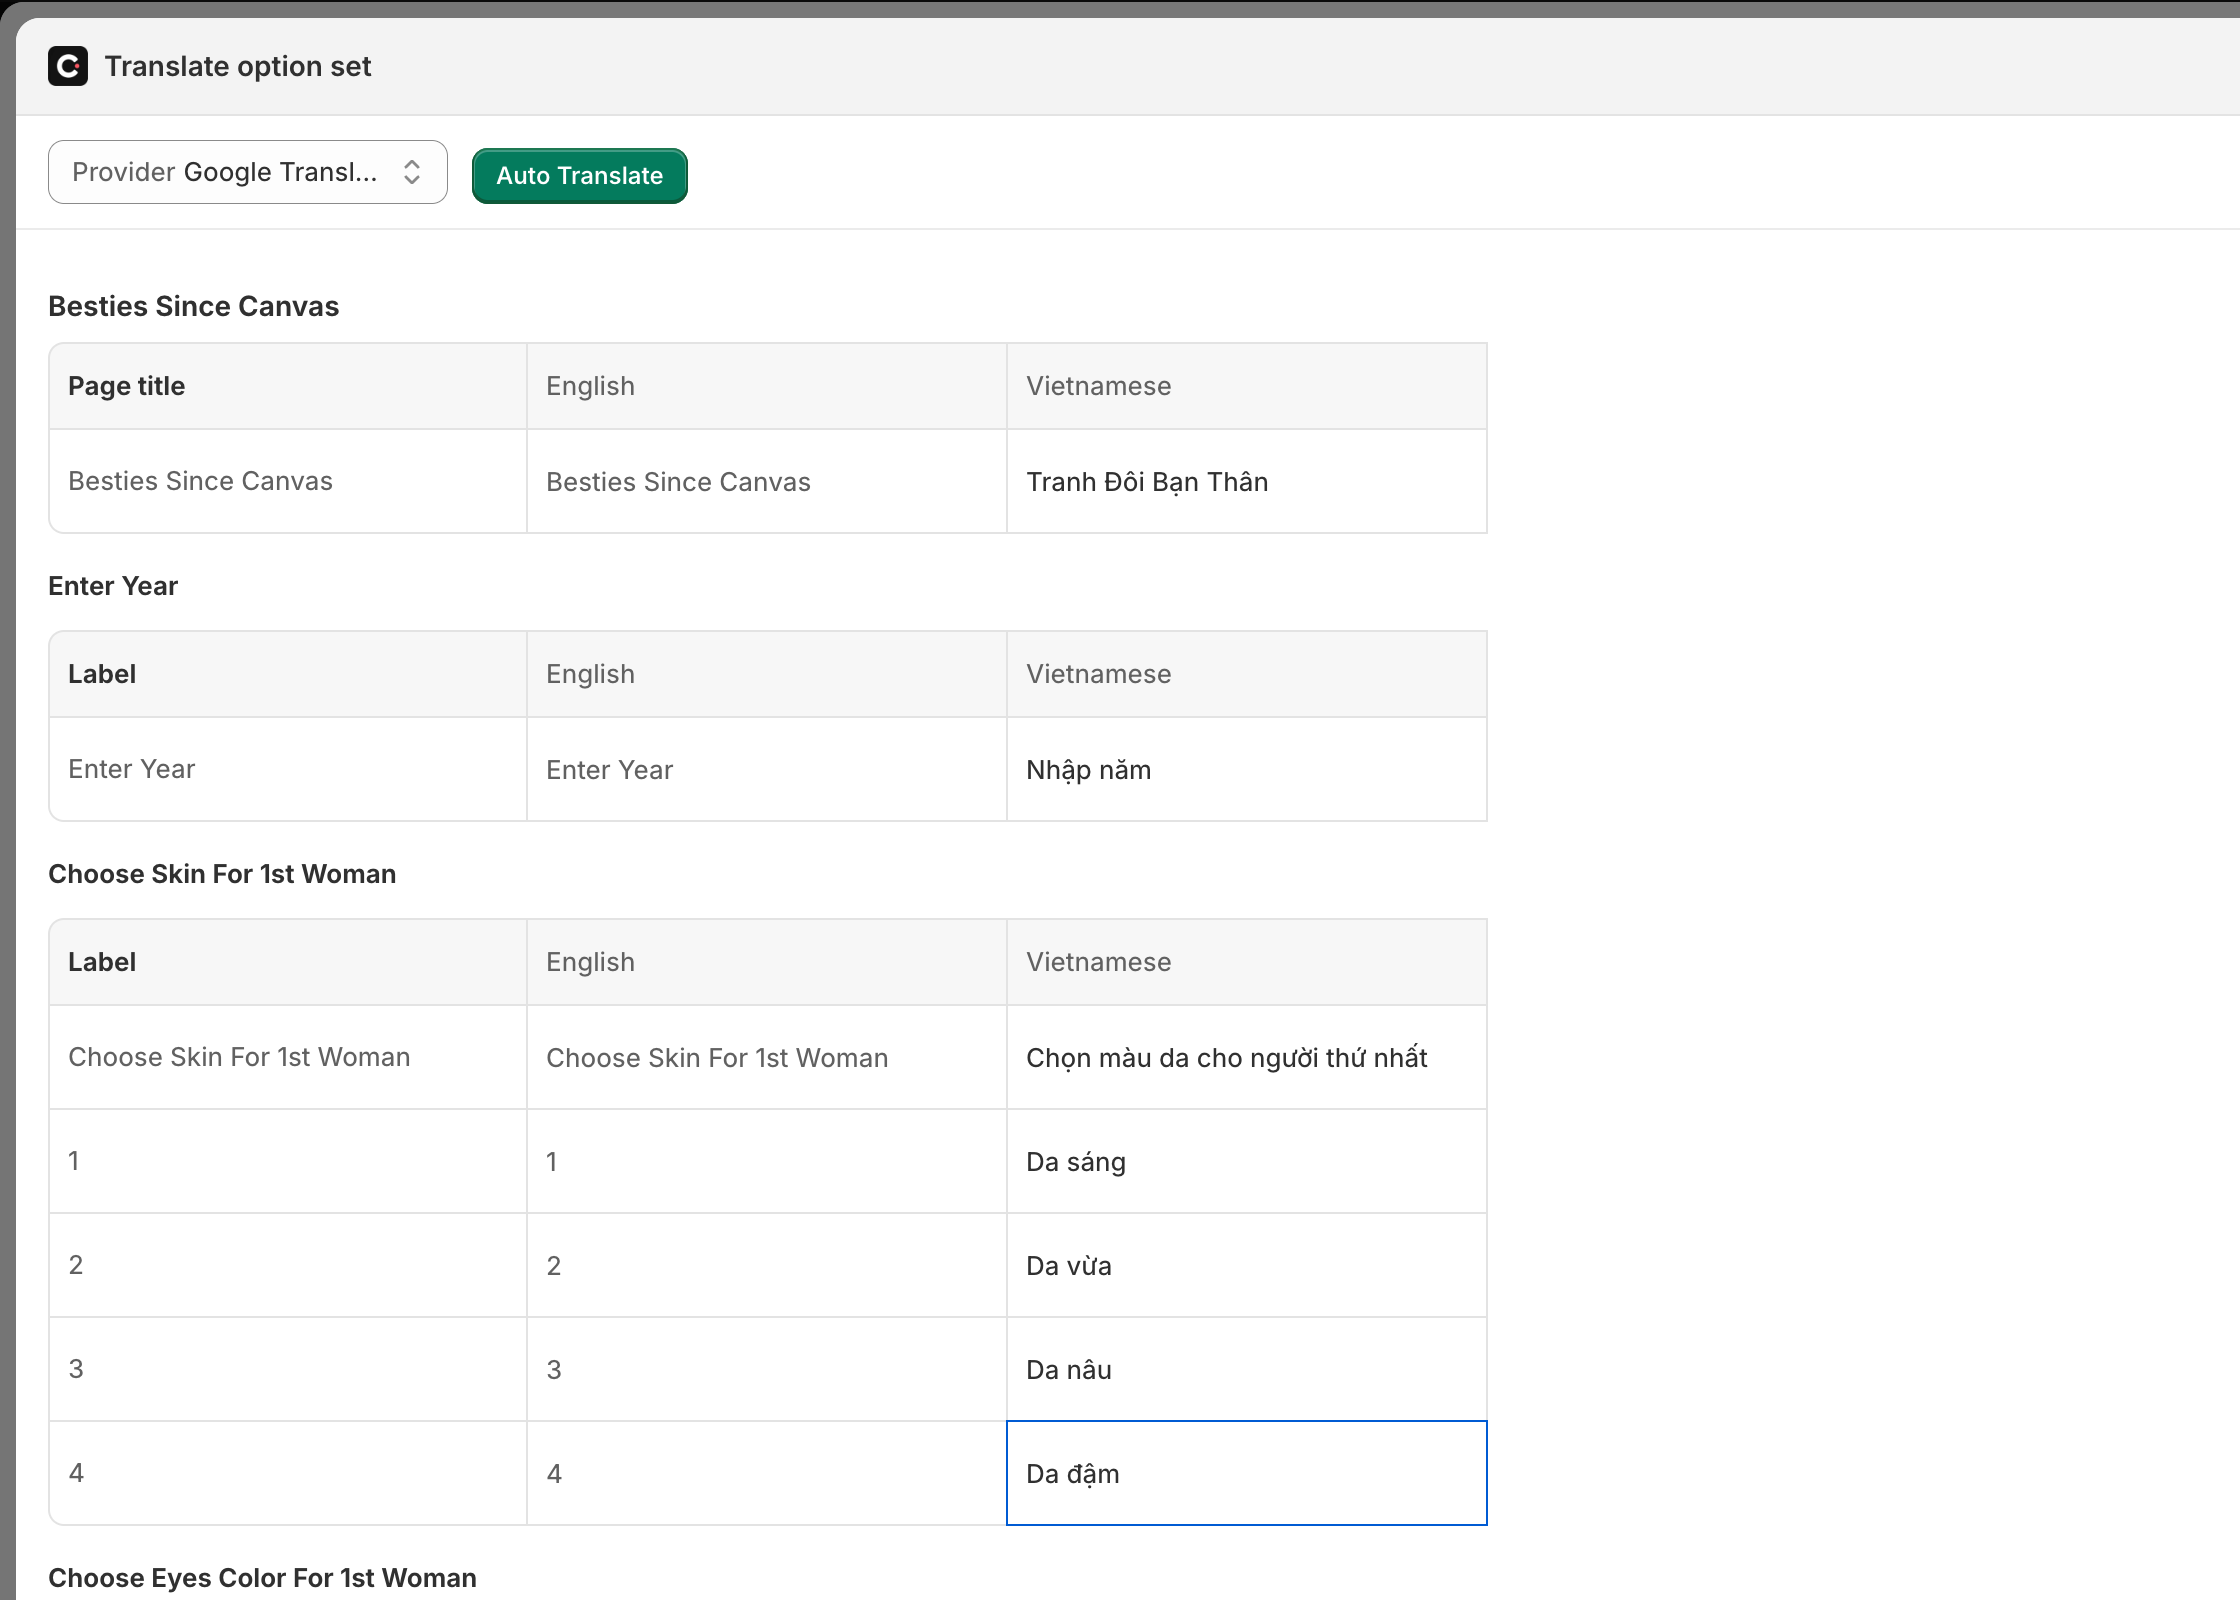 You get a row for:
* the **name of the option set**,
* the **label** of every question,
* every **choice** inside a question,
* the extra bits of wording attached to a question, like help text and placeholders.
Grey wording in a language column means that row isn't translated yet, so shoppers see your original. Type over it and it turns into real text.
Click **Save** in the top bar when you're done. Nothing reaches your storefront before that.
## Let Customei draft it
If you'd rather not type everything, pick a translation service from **Provider** and click **Auto Translate**.
You get a row for:
* the **name of the option set**,
* the **label** of every question,
* every **choice** inside a question,
* the extra bits of wording attached to a question, like help text and placeholders.
Grey wording in a language column means that row isn't translated yet, so shoppers see your original. Type over it and it turns into real text.
Click **Save** in the top bar when you're done. Nothing reaches your storefront before that.
## Let Customei draft it
If you'd rather not type everything, pick a translation service from **Provider** and click **Auto Translate**.
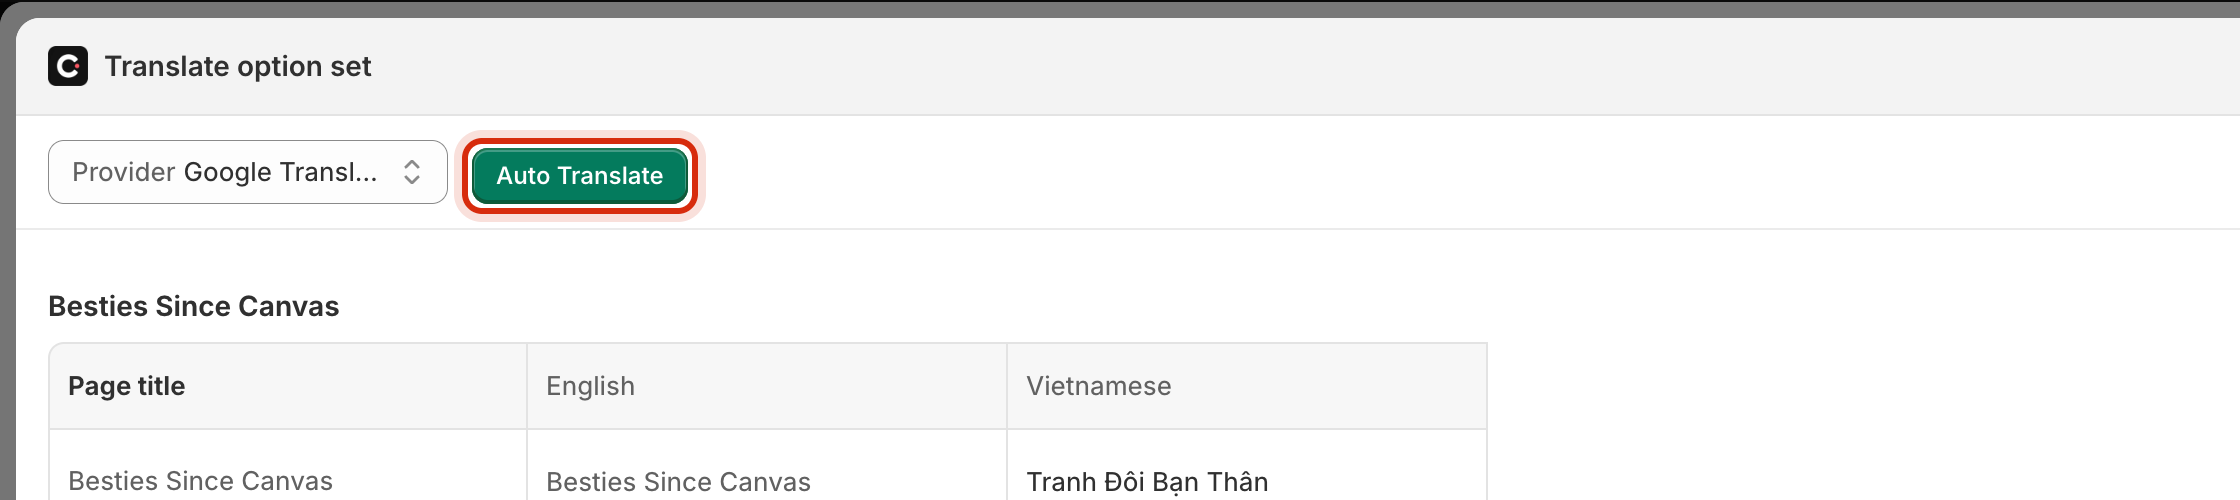 You can choose Google Translate, Gemini, or OpenAI. It works through your languages one at a time and fills the columns in as it goes. Your [fixed phrases](/translations/glossary) are respected, so your brand names come out the way you set them.
Drafted translations are a starting point, not a final answer. Read them before you save, especially short labels: a service has no way of knowing that *Top* means the shirt and not the direction.
This needs a translation service connected to your account. If you see a message about checking the provider, no service is set up yet. Ask your developer or [support@customei.com](mailto:support@customei.com) to add one, and translate by hand in the meantime.
## Change your original wording later
If you edit an English label after translating it, Customei asks whether you want to redo the translations for that row in every language. Say yes and it drafts them again; say no and your old translations stay as they are.
## Where to next
Lock down the words that must not vary.
Add another column.
The questions behind these rows.
Publish so shoppers see the change.
You can choose Google Translate, Gemini, or OpenAI. It works through your languages one at a time and fills the columns in as it goes. Your [fixed phrases](/translations/glossary) are respected, so your brand names come out the way you set them.
Drafted translations are a starting point, not a final answer. Read them before you save, especially short labels: a service has no way of knowing that *Top* means the shirt and not the direction.
This needs a translation service connected to your account. If you see a message about checking the provider, no service is set up yet. Ask your developer or [support@customei.com](mailto:support@customei.com) to add one, and translate by hand in the meantime.
## Change your original wording later
If you edit an English label after translating it, Customei asks whether you want to redo the translations for that row in every language. Say yes and it drafts them again; say no and your old translations stay as they are.
## Where to next
Lock down the words that must not vary.
Add another column.
The questions behind these rows.
Publish so shoppers see the change.