

Upload pictures, fonts or vectors
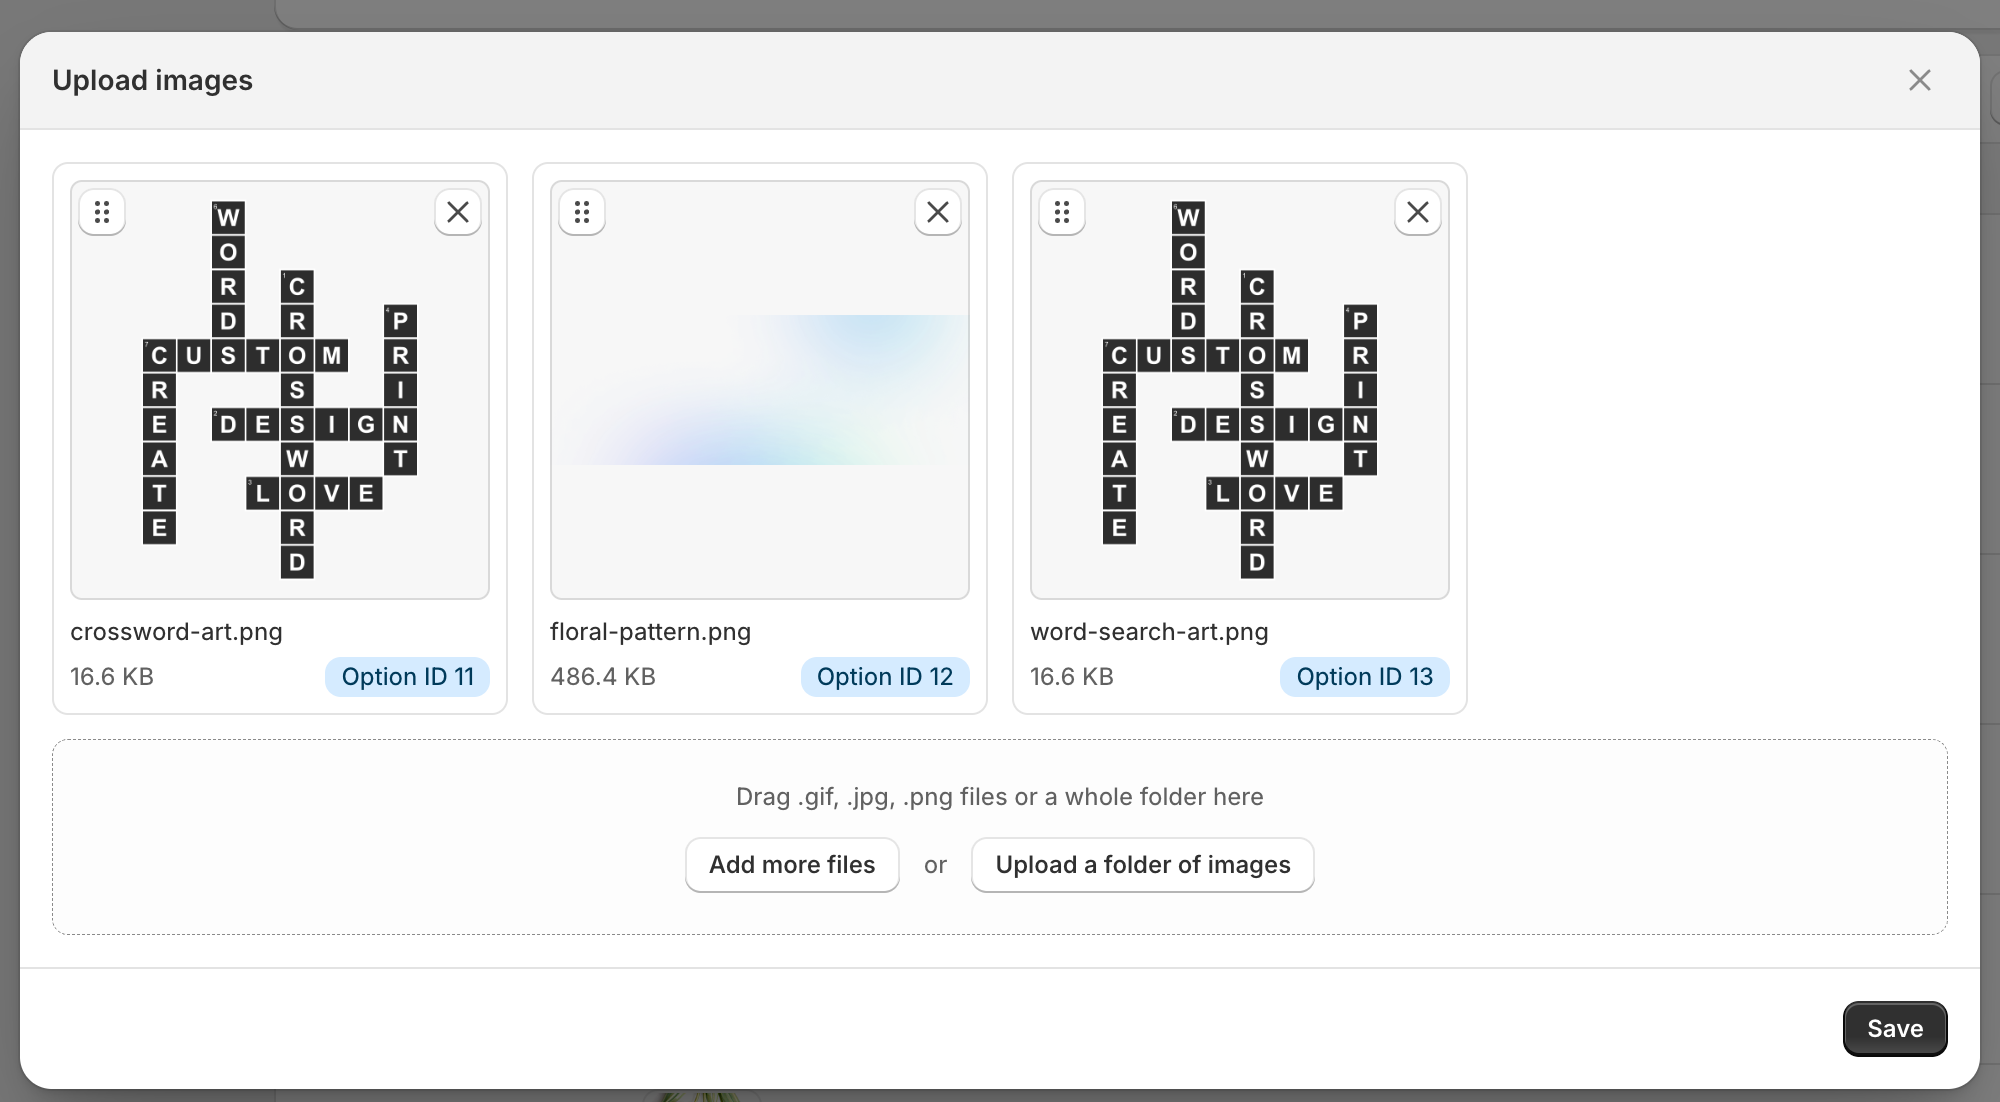
Drop files in, or upload a whole folder. Each tile shows the Option ID it will get.
- Drag files onto the box.
- Click Add images and pick them.
- Click Upload a folder of images and pick a whole folder. Handy for a set of 200 that already lives in one place.
What each library accepts
Anything else is left out and a message tells you how many were skipped. Files you’ve already queued are ignored rather than added twice.
The queue
Save starts the upload. Each tile fills with a progress bar, and if one fails the button becomes Retry and only the failed files go again. Tiles already uploaded are outlined in green, so a retry never re-sends work that succeeded.
Option IDs
Every tile carries a badge like Option ID 7. That number is the item’s handle inside the library, given in the order the files are saved. It matters because a picture choice in an option set stores the Option ID, not the file name. That’s why the picker in Connect options to your design shows id: 1, id: 2 beside each picture.After the upload
Customei makes smaller copies of every picture so your storefront loads quickly. The dialog stays open and shows each item going from optimizing to ready, then you click Done. You don’t have to wait. Close it and the work carries on, and the list shows which items are still being processed.Add colours
A colour library has Add color instead of an upload box.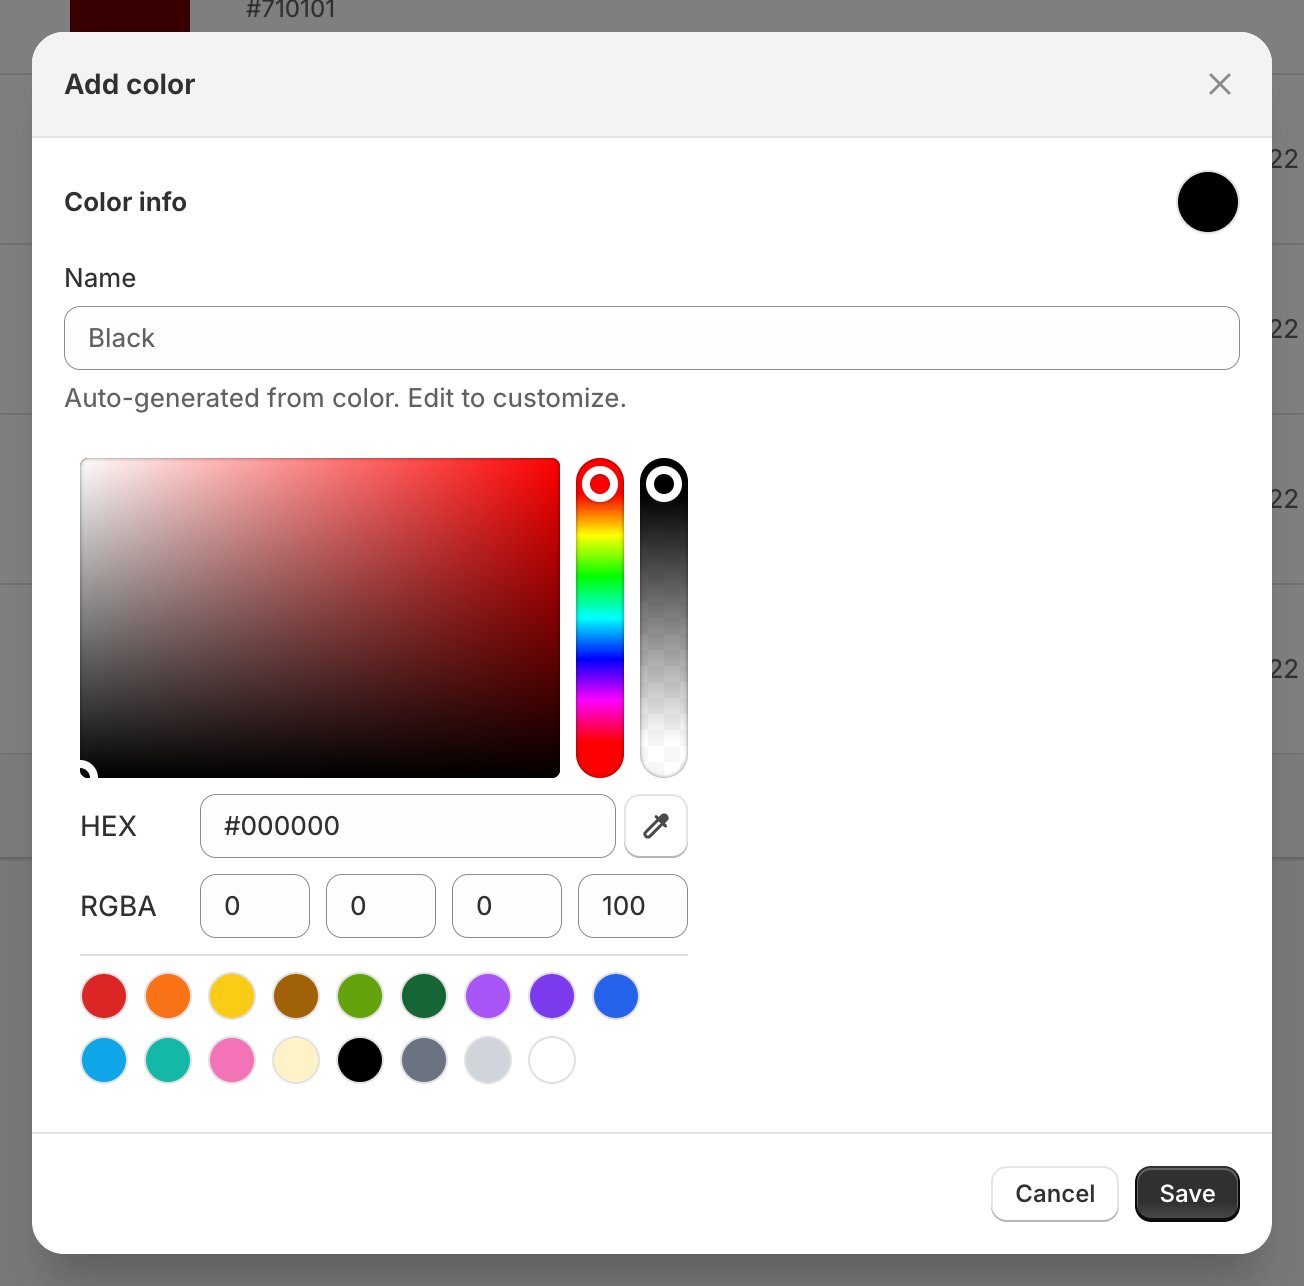
Pick a colour and Customei names it for you.
Bring in a whole ZIP
Import takes a.zip and unpacks it into a library. Use it when someone sends you a folder of 300 designs.
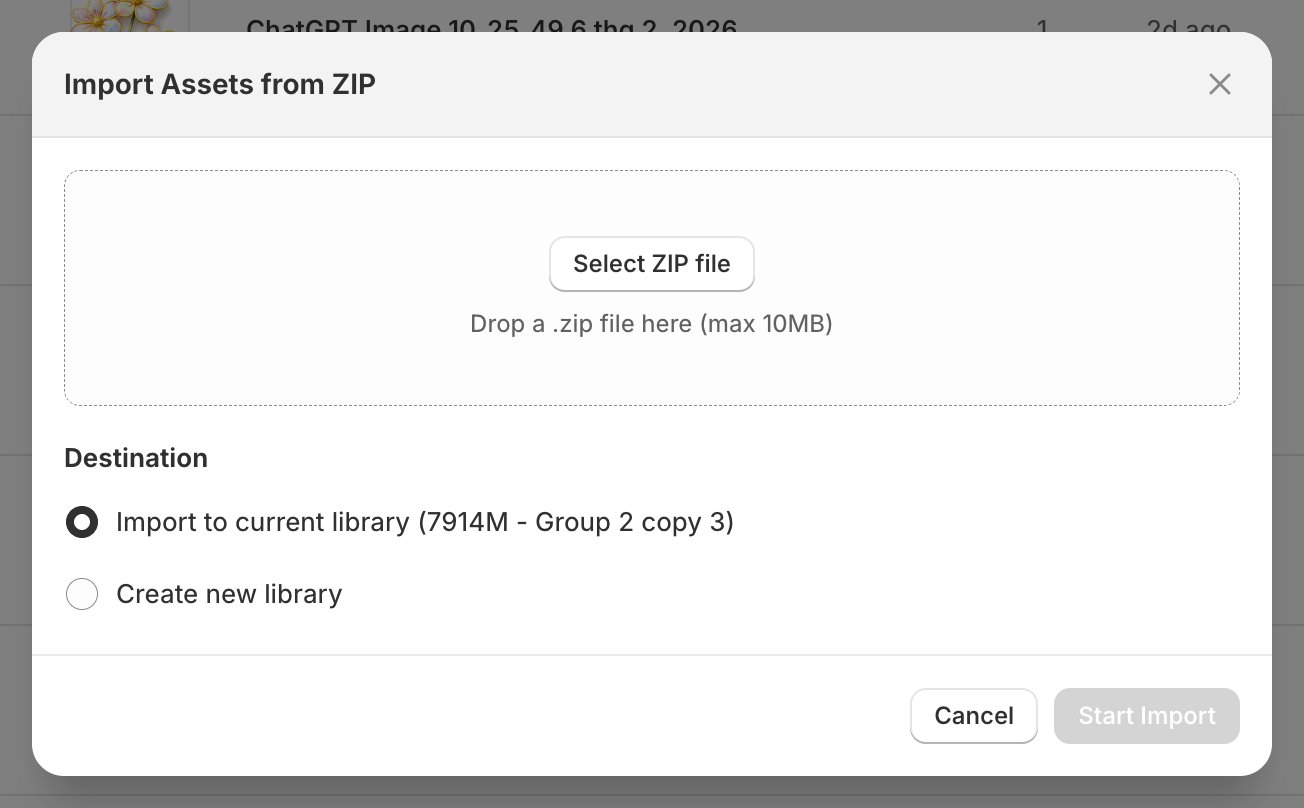
Import Assets from ZIP. Pick the file, then say where it should land.
Drop the file in and Customei reads it without importing anything yet: you get a list of what it found, a count of supported files, and a count of anything it will skip.
Start Import runs it in the background. You can leave the page: a banner keeps you posted and tells you when it’s done.
Where to next
Your files
Everything you’ve uploaded, and what uses each file.
Options that keep themselves up to date
Why topping up a library updates your options for you.
Connect options to your design
Turn a library into choices your customer can pick.
Create a library
Back to making the box.