

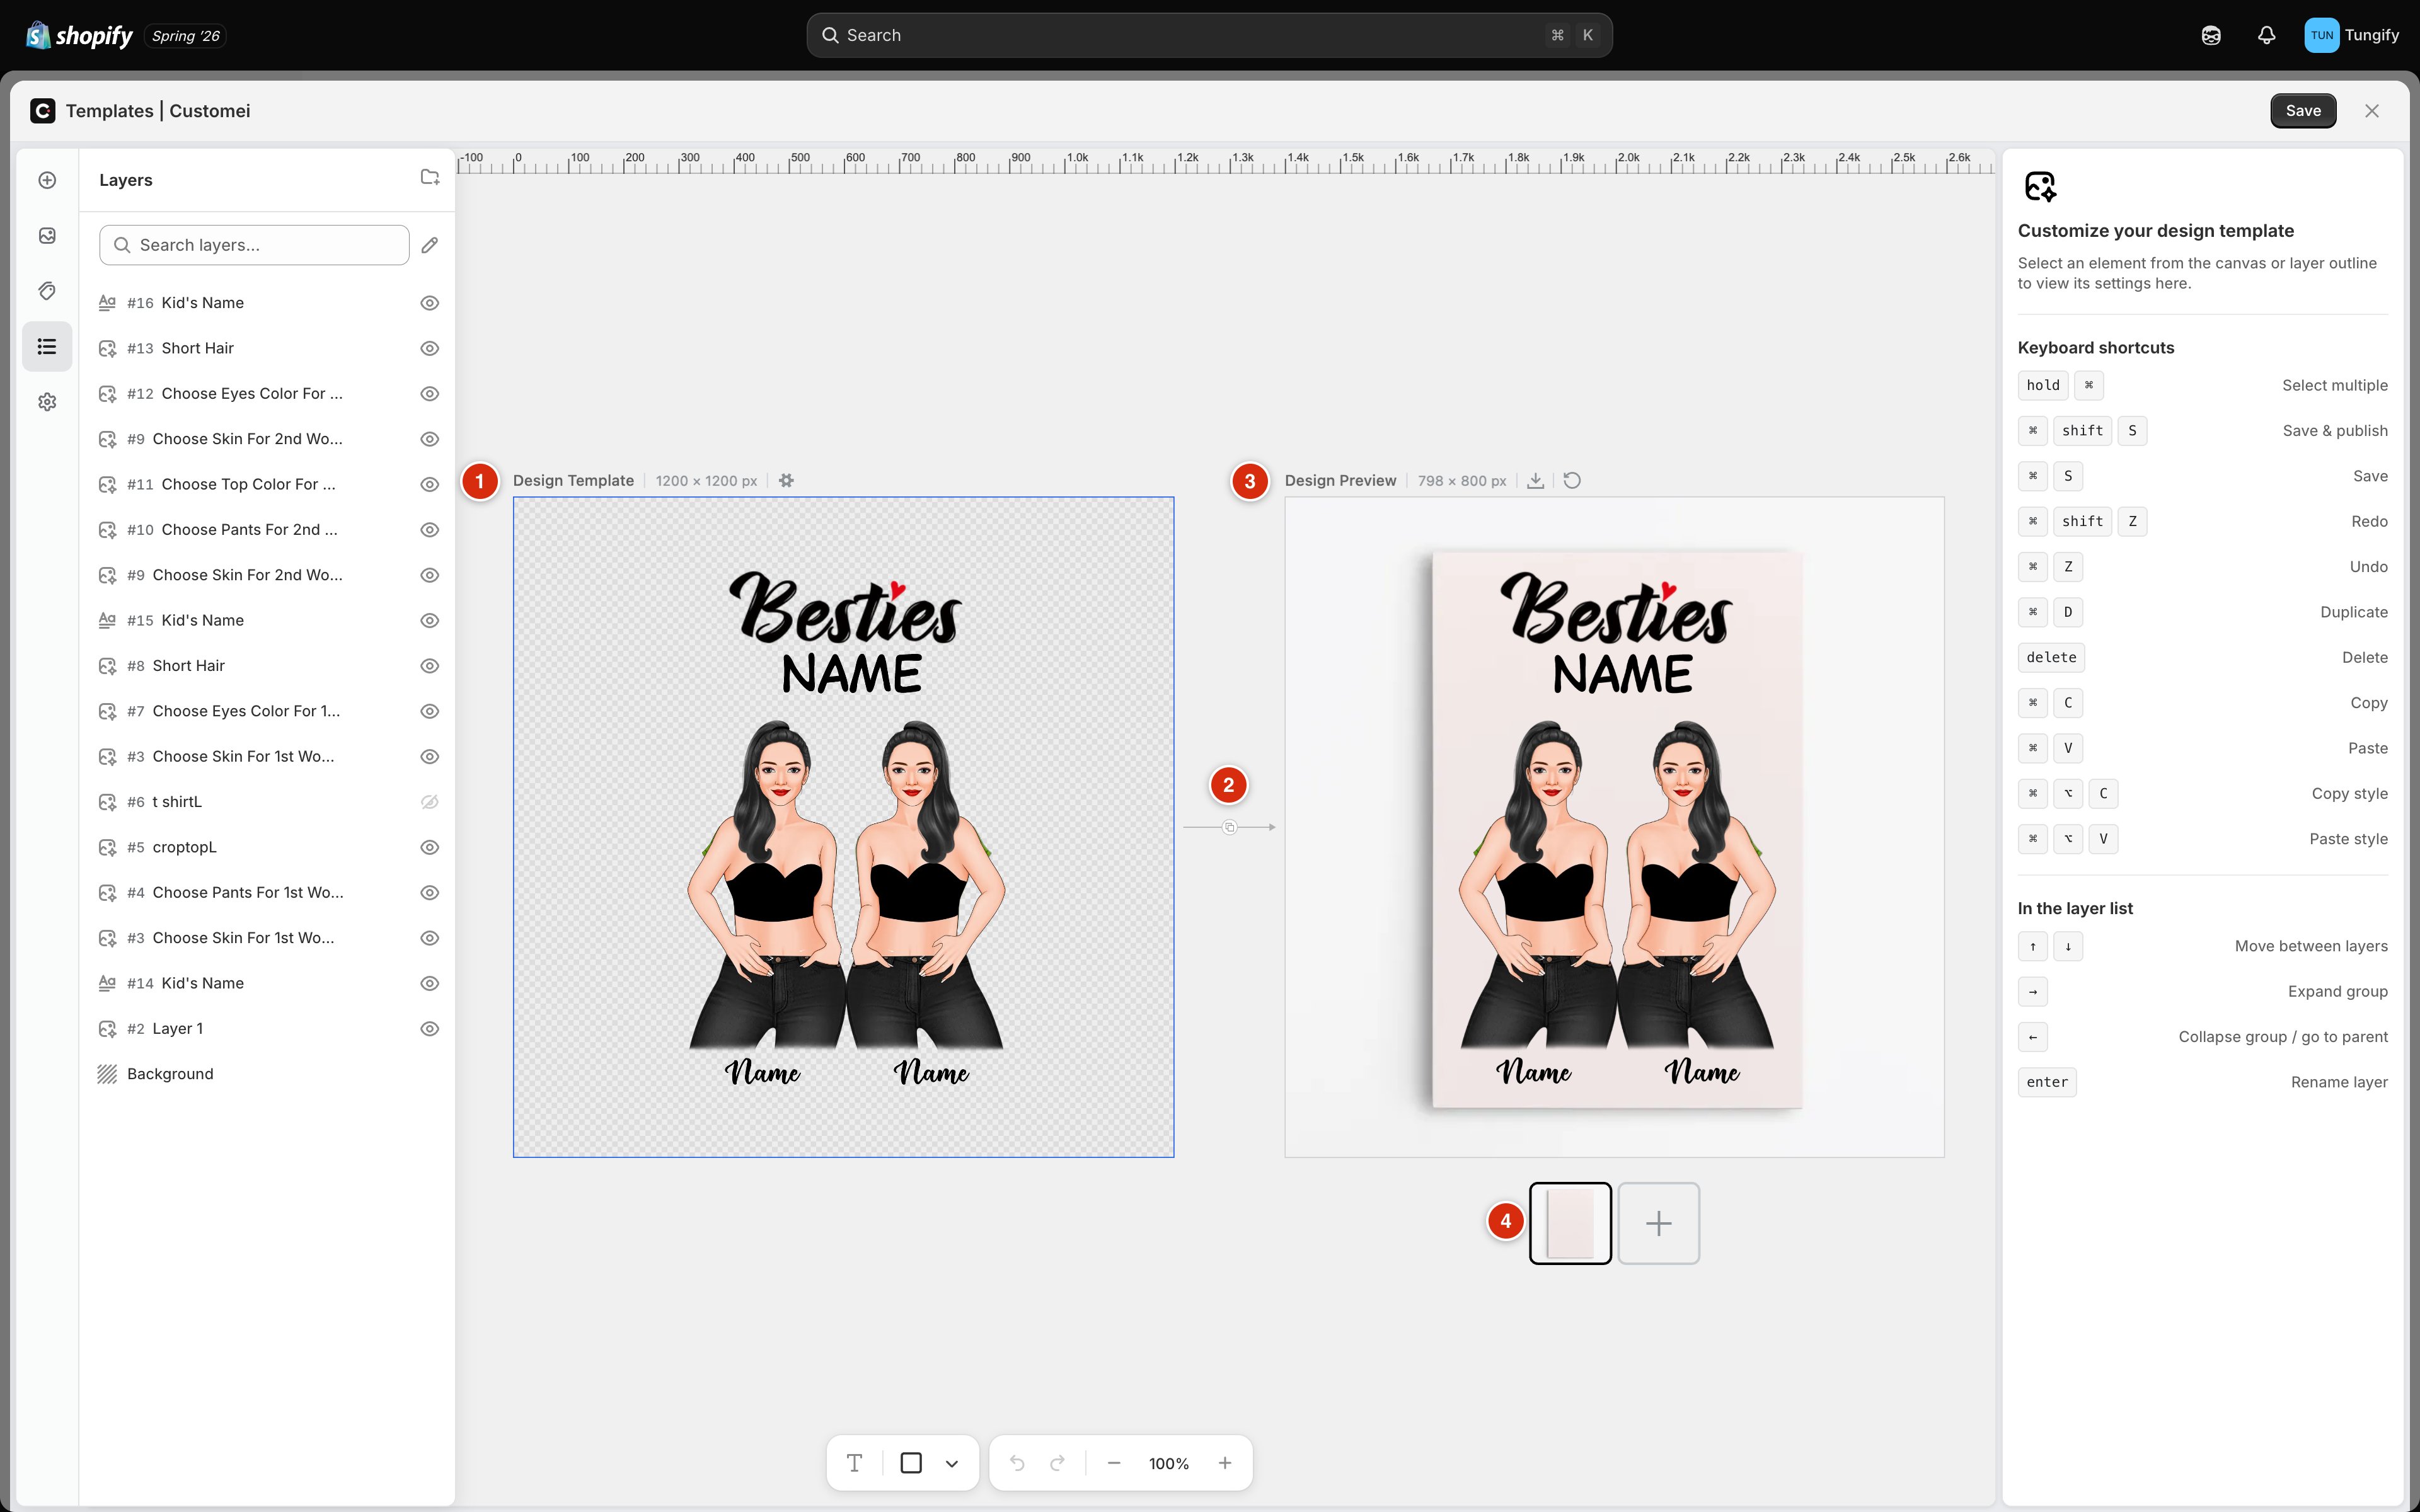
- Design Template, the artwork that gets printed · 2. The button that switches how you edit the preview · 3. Design Preview, your artwork shown on a product · 4. One thumbnail per preview, plus + to add another
Everything you sell is made from the Design Template. The Design Preview exists so you and your customer can see how that artwork will look on the real thing: on a mug, on a t-shirt, on a canvas.
A brand-new template has no preview yet. The right-hand frame shows an Add Mockup button until you pick a product photo. See Add a mockup preview.
The label above each frame
Each frame is labelled with its name and its size in pixels, followed by a few small icons.
The two sizes are often different, and that’s normal. The Design Template is your print size. Each Design Preview is as big as the area the product photo has for artwork.
The preview follows your design
By default a preview frame simply mirrors your artwork. Move a layer on the Design Template, and it moves on the preview too. Change the wording, swap a photo, restyle the text, and the preview keeps up without you doing anything. That link holds until you rearrange something on the preview frame itself. This is usually what you want. A design centred on a print file often needs nudging up a little to sit nicely on a t-shirt chest, and you don’t want your next design edit to undo that nudge.Putting a preview back in step
If a preview has drifted somewhere you didn’t intend, click the circular arrow next to its label. Every layer jumps back to where the Design Template has it, and the frame starts following your design again.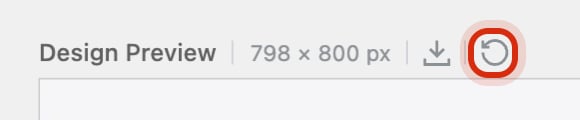
The circular arrow next to the Design Preview label returns the layers to their design positions.
Working on a preview frame
Click inside a preview frame and the editor quietly switches its attention to that frame. Two panels change with it, and each one tells you so.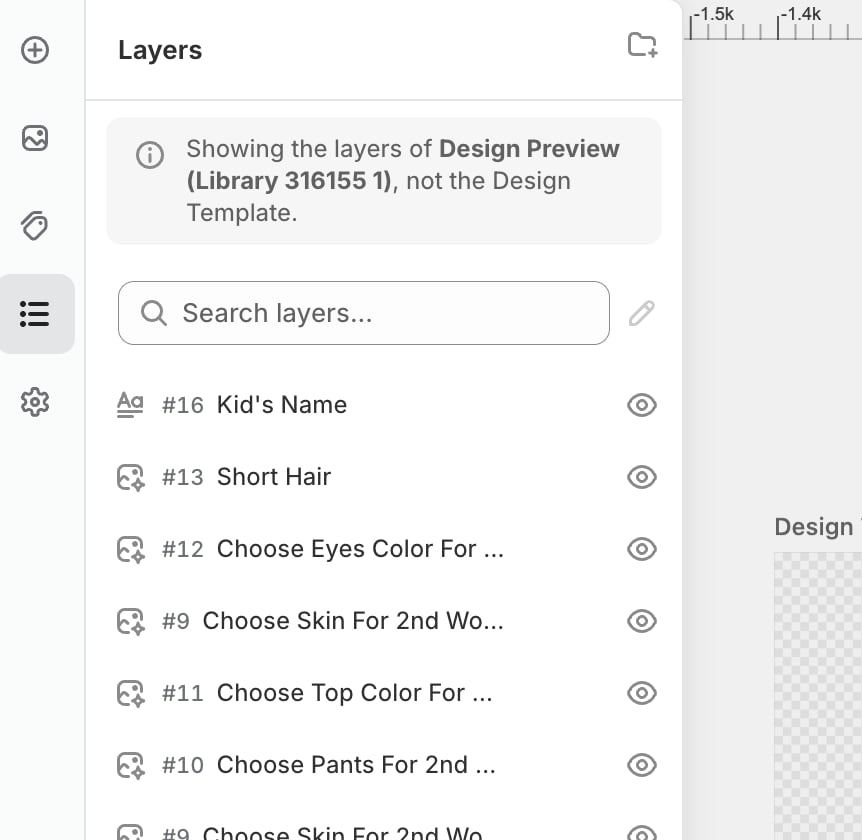
The Layers panel lists the layers of the preview frame you clicked into, not the template's.
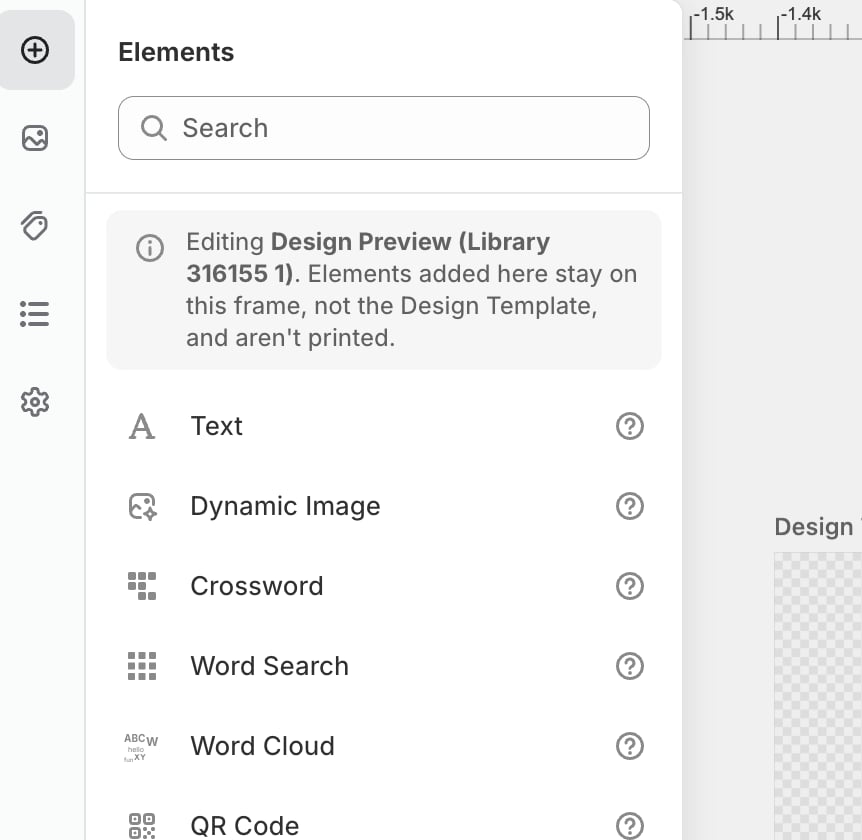
Anything you add while a preview frame is active belongs to that frame alone.
Two ways to edit a preview
The small round button on the arrow between the two frames switches how you work on the preview.
Use layer by layer to fine-tune where individual pieces sit on the product. Use whole design when the artwork is fine but the whole thing needs to sit a little higher, smaller, or at an angle on the photo. Resizing in whole-design mode keeps the proportions locked so your artwork can’t stretch.
Whole-design mode isn’t available on a preview where you’ve placed extra copies of a layer. Remove the extras, or switch to a different preview first.
If your artwork covers the whole product
Sometimes the preview shows your design spread across the entire photo, hiding the product underneath.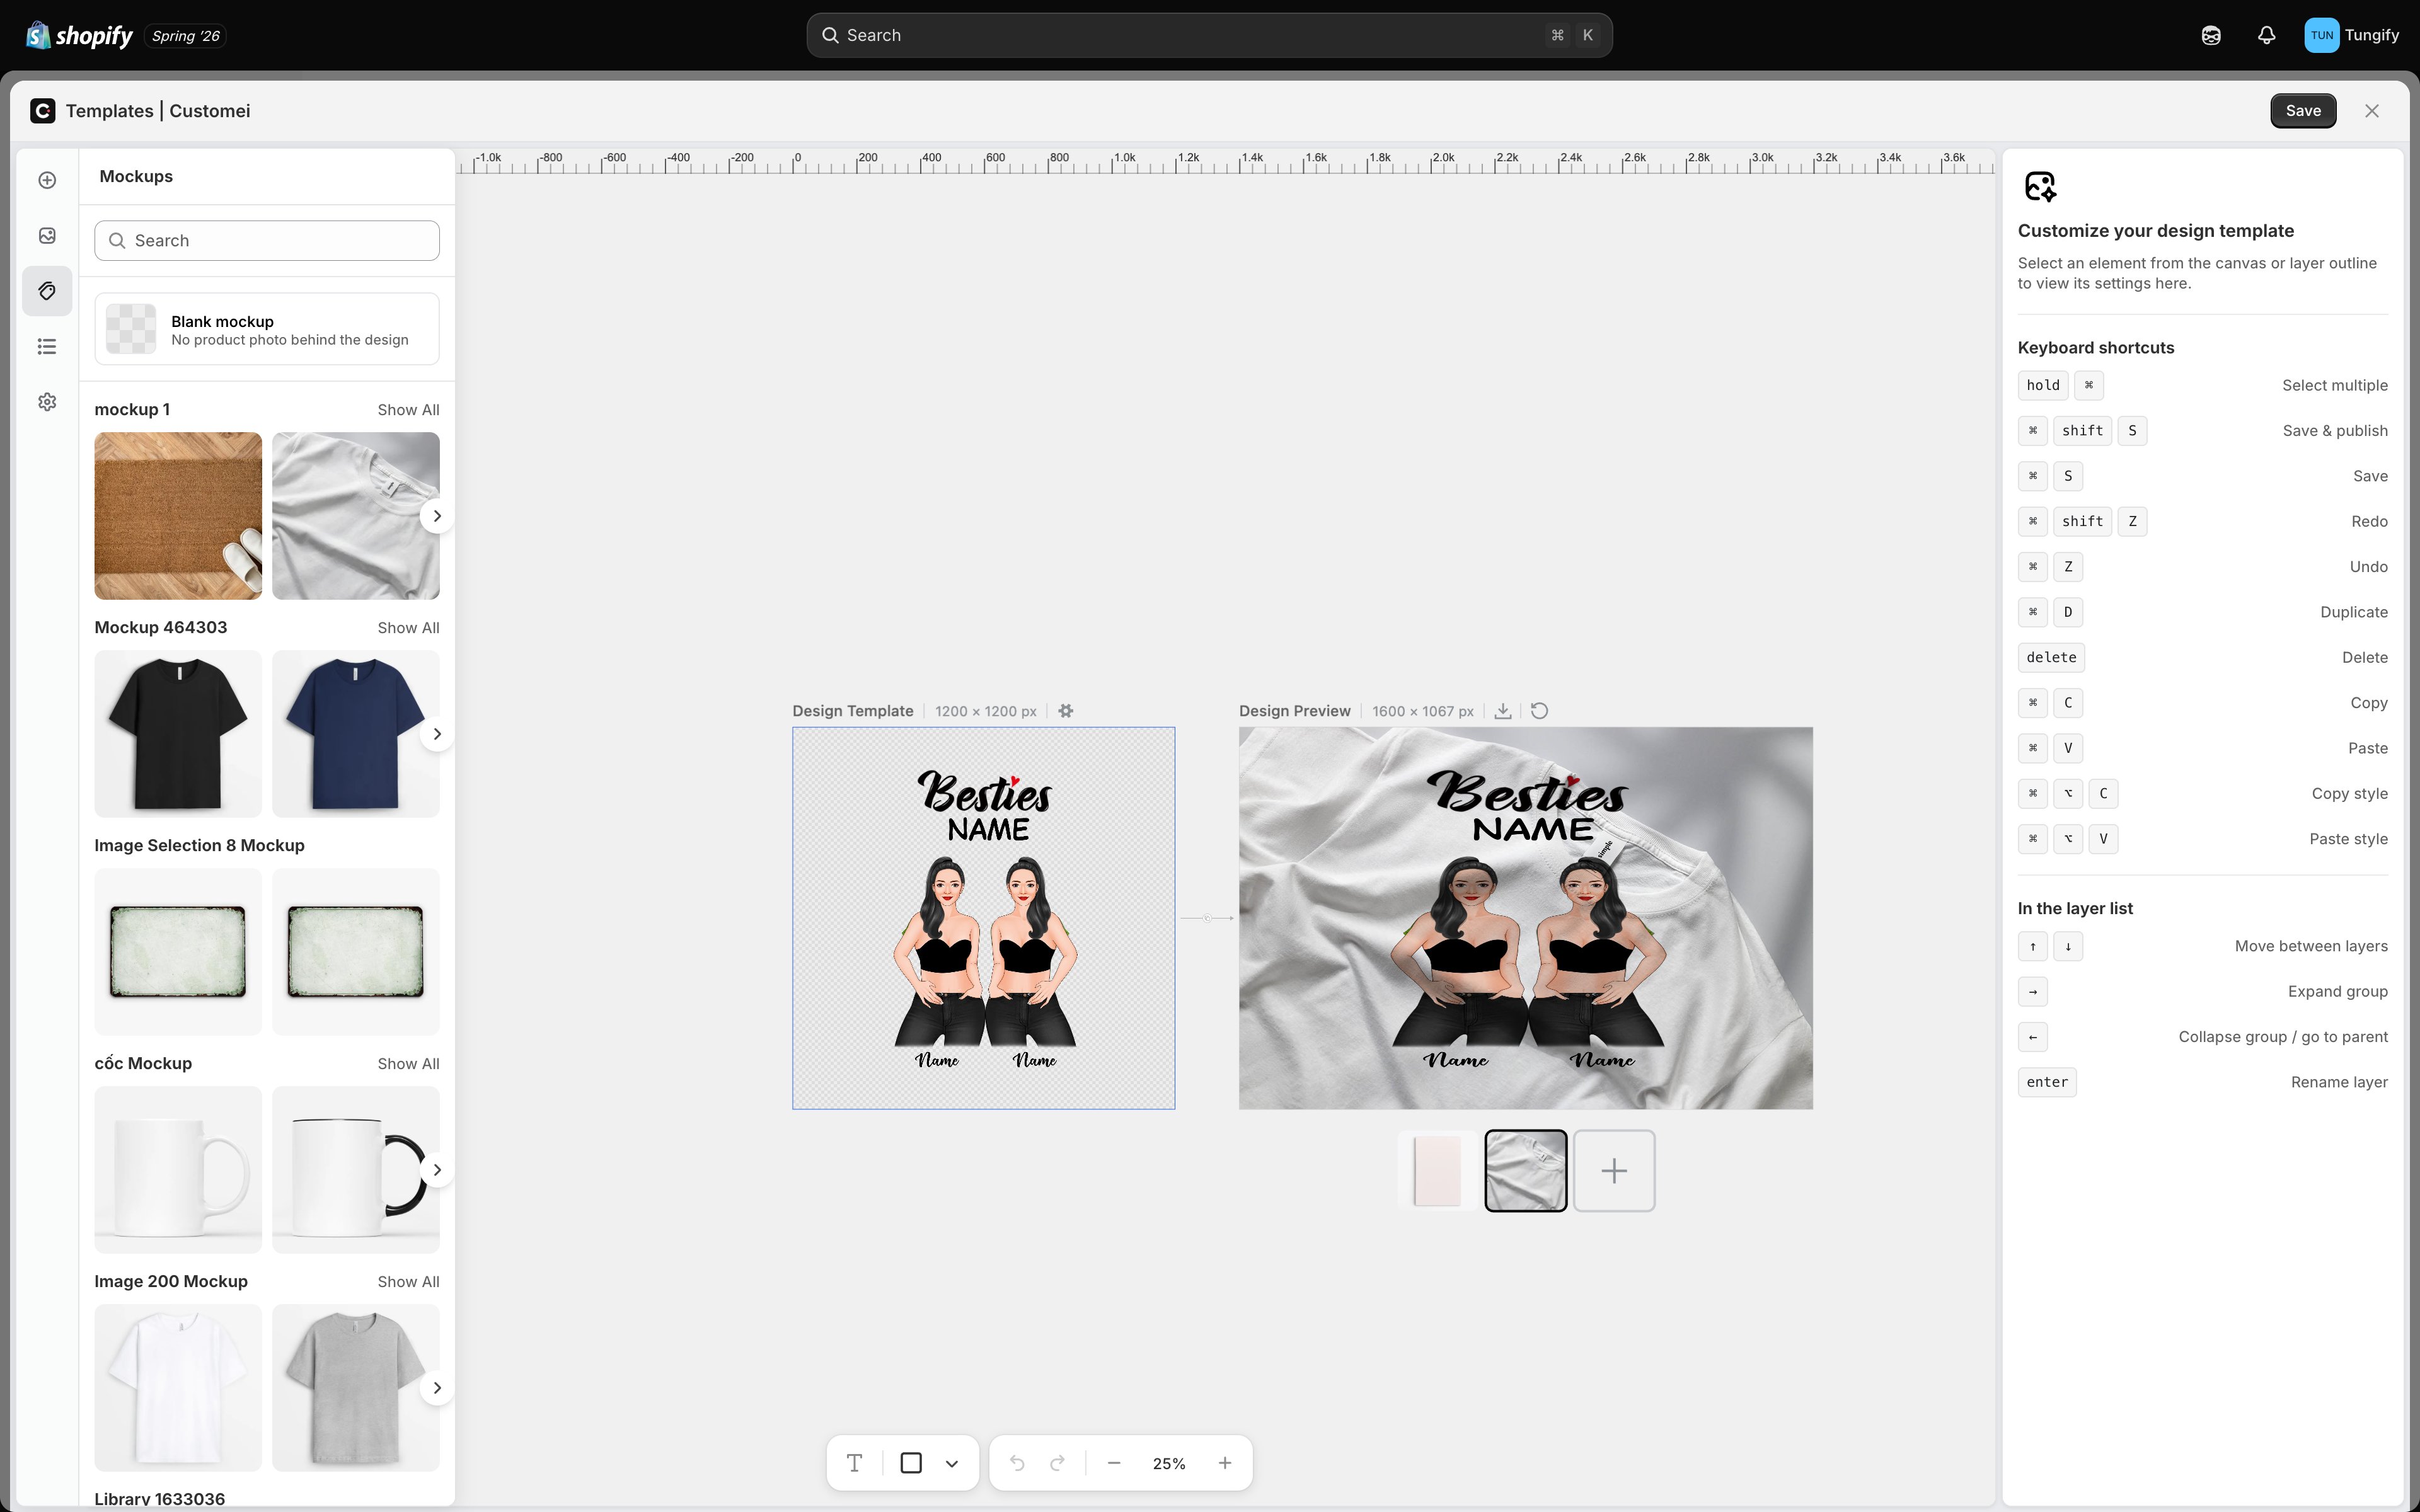
The artwork covers the shirt because this mockup has no print area defined.
Download a preview as an image
The download icon next to the Design Preview label saves the preview exactly as you see it. It’s the quickest way to get a listing photo for Shopify.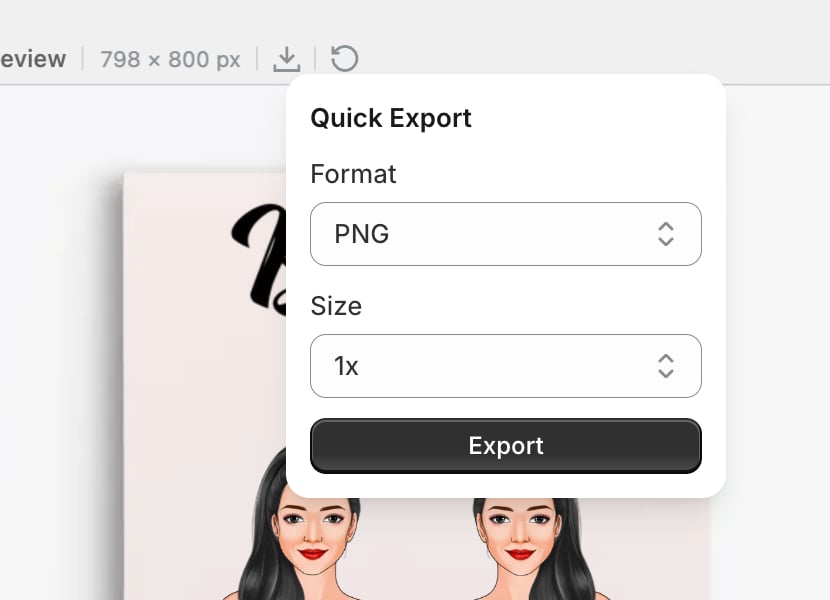
Quick Export: pick a file type and a size, then Export.
- Format: PNG for anything with transparency, JPEG for a smaller file, PDF for print.
- Size: 1x matches the frame, 2x and 3x give you a bigger image for a hero shot.
Where to next
Add a mockup preview
Put a product photo behind your artwork.
Preview settings
Blending, surface warp, and switch animations.
Mockups
Where product photos live and how they’re prepared.
Create a design template
Back to the artwork side.