

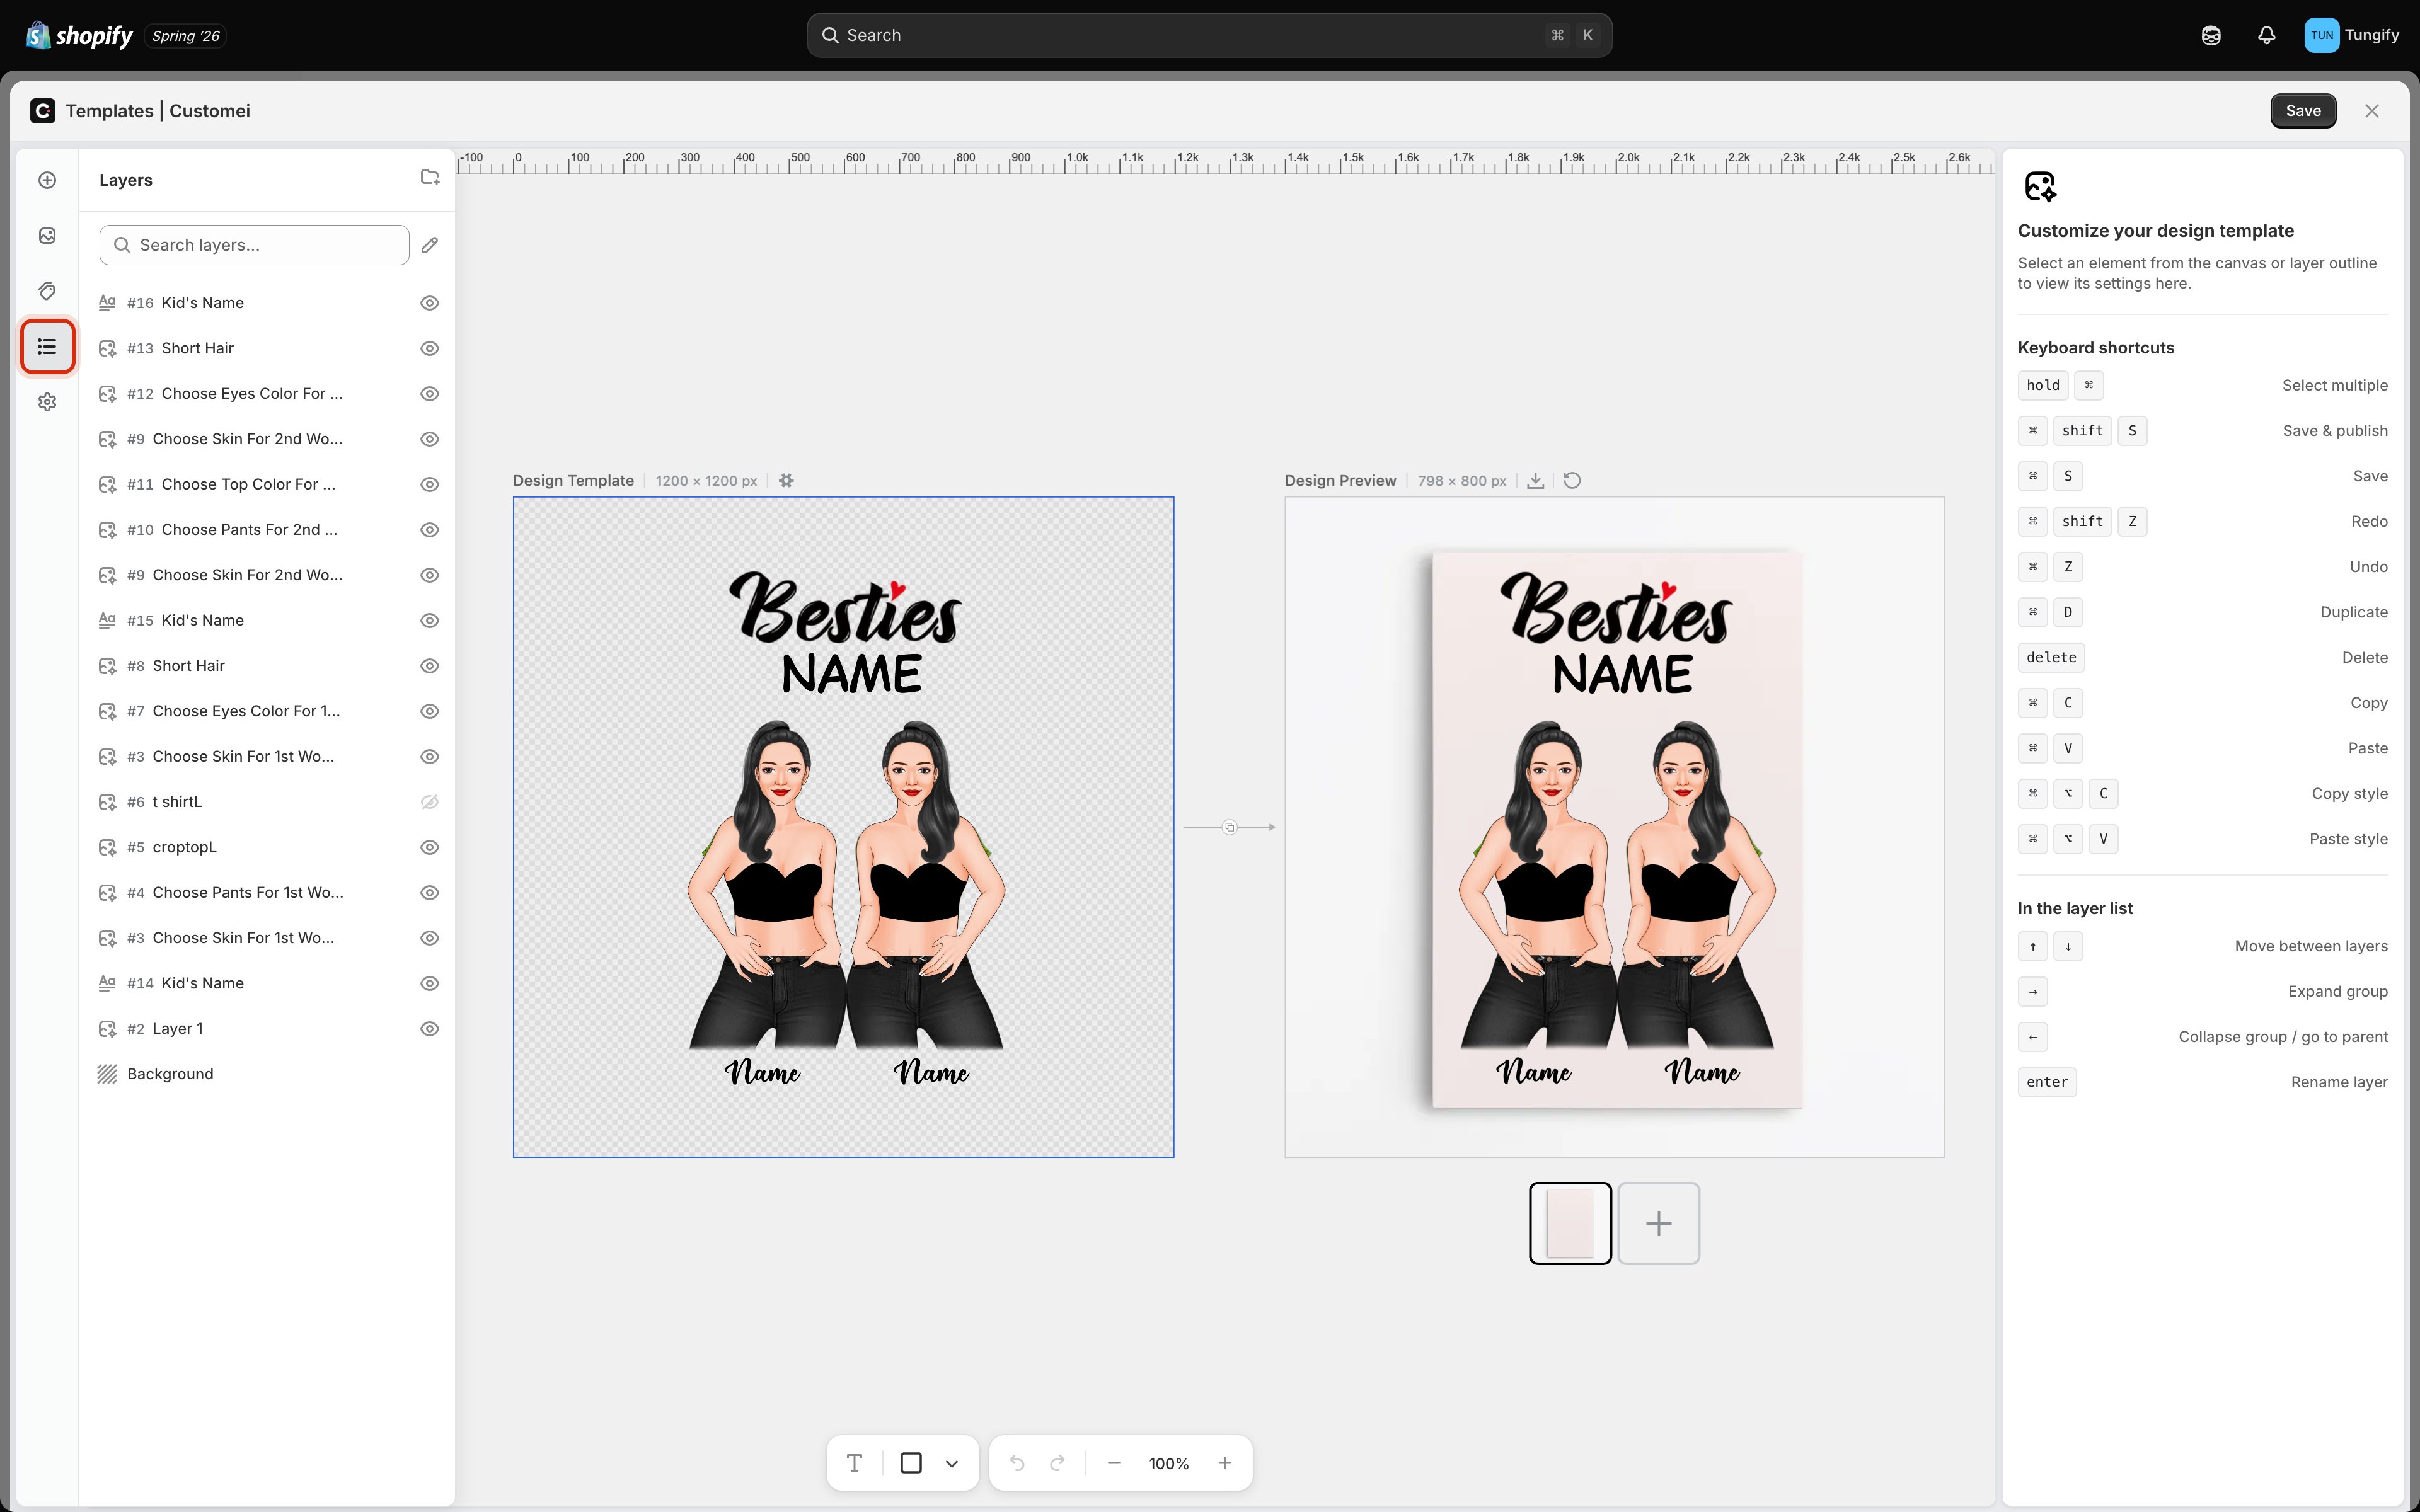
The Layers panel, opened from the left rail. The list runs top to bottom in the same order the pieces stack on the canvas.
Reading the list
Each row tells you three things at a glance.- The small icon on the left says what kind of layer it is:
Aafor text, a picture icon for an image. - The number (
#16,#13) is the layer’s number. That is the handle an option set uses to point at this layer, so a customer’s choice knows what to change. Two layers can share a number on purpose, and then one choice drives both at once. - The name is yours to set.
Kid's NameandChoose Pants For 2nd WomanbeatLayer 7when you come back to this template in three months.
Picking a layer
Click a row to select that layer, and its settings appear in the right-hand panel. Hold ⌘ while clicking to select several at once. You can also walk the list from the keyboard once something is selected:Reordering
Drag a row up or down to restack it. Whatever is higher in the list is drawn in front on the canvas, so if a customer’s name is disappearing behind their photo, drag the name above it.Hiding and locking
Hover a row and three controls appear on its right: a ⋯ menu, a padlock, and an eye.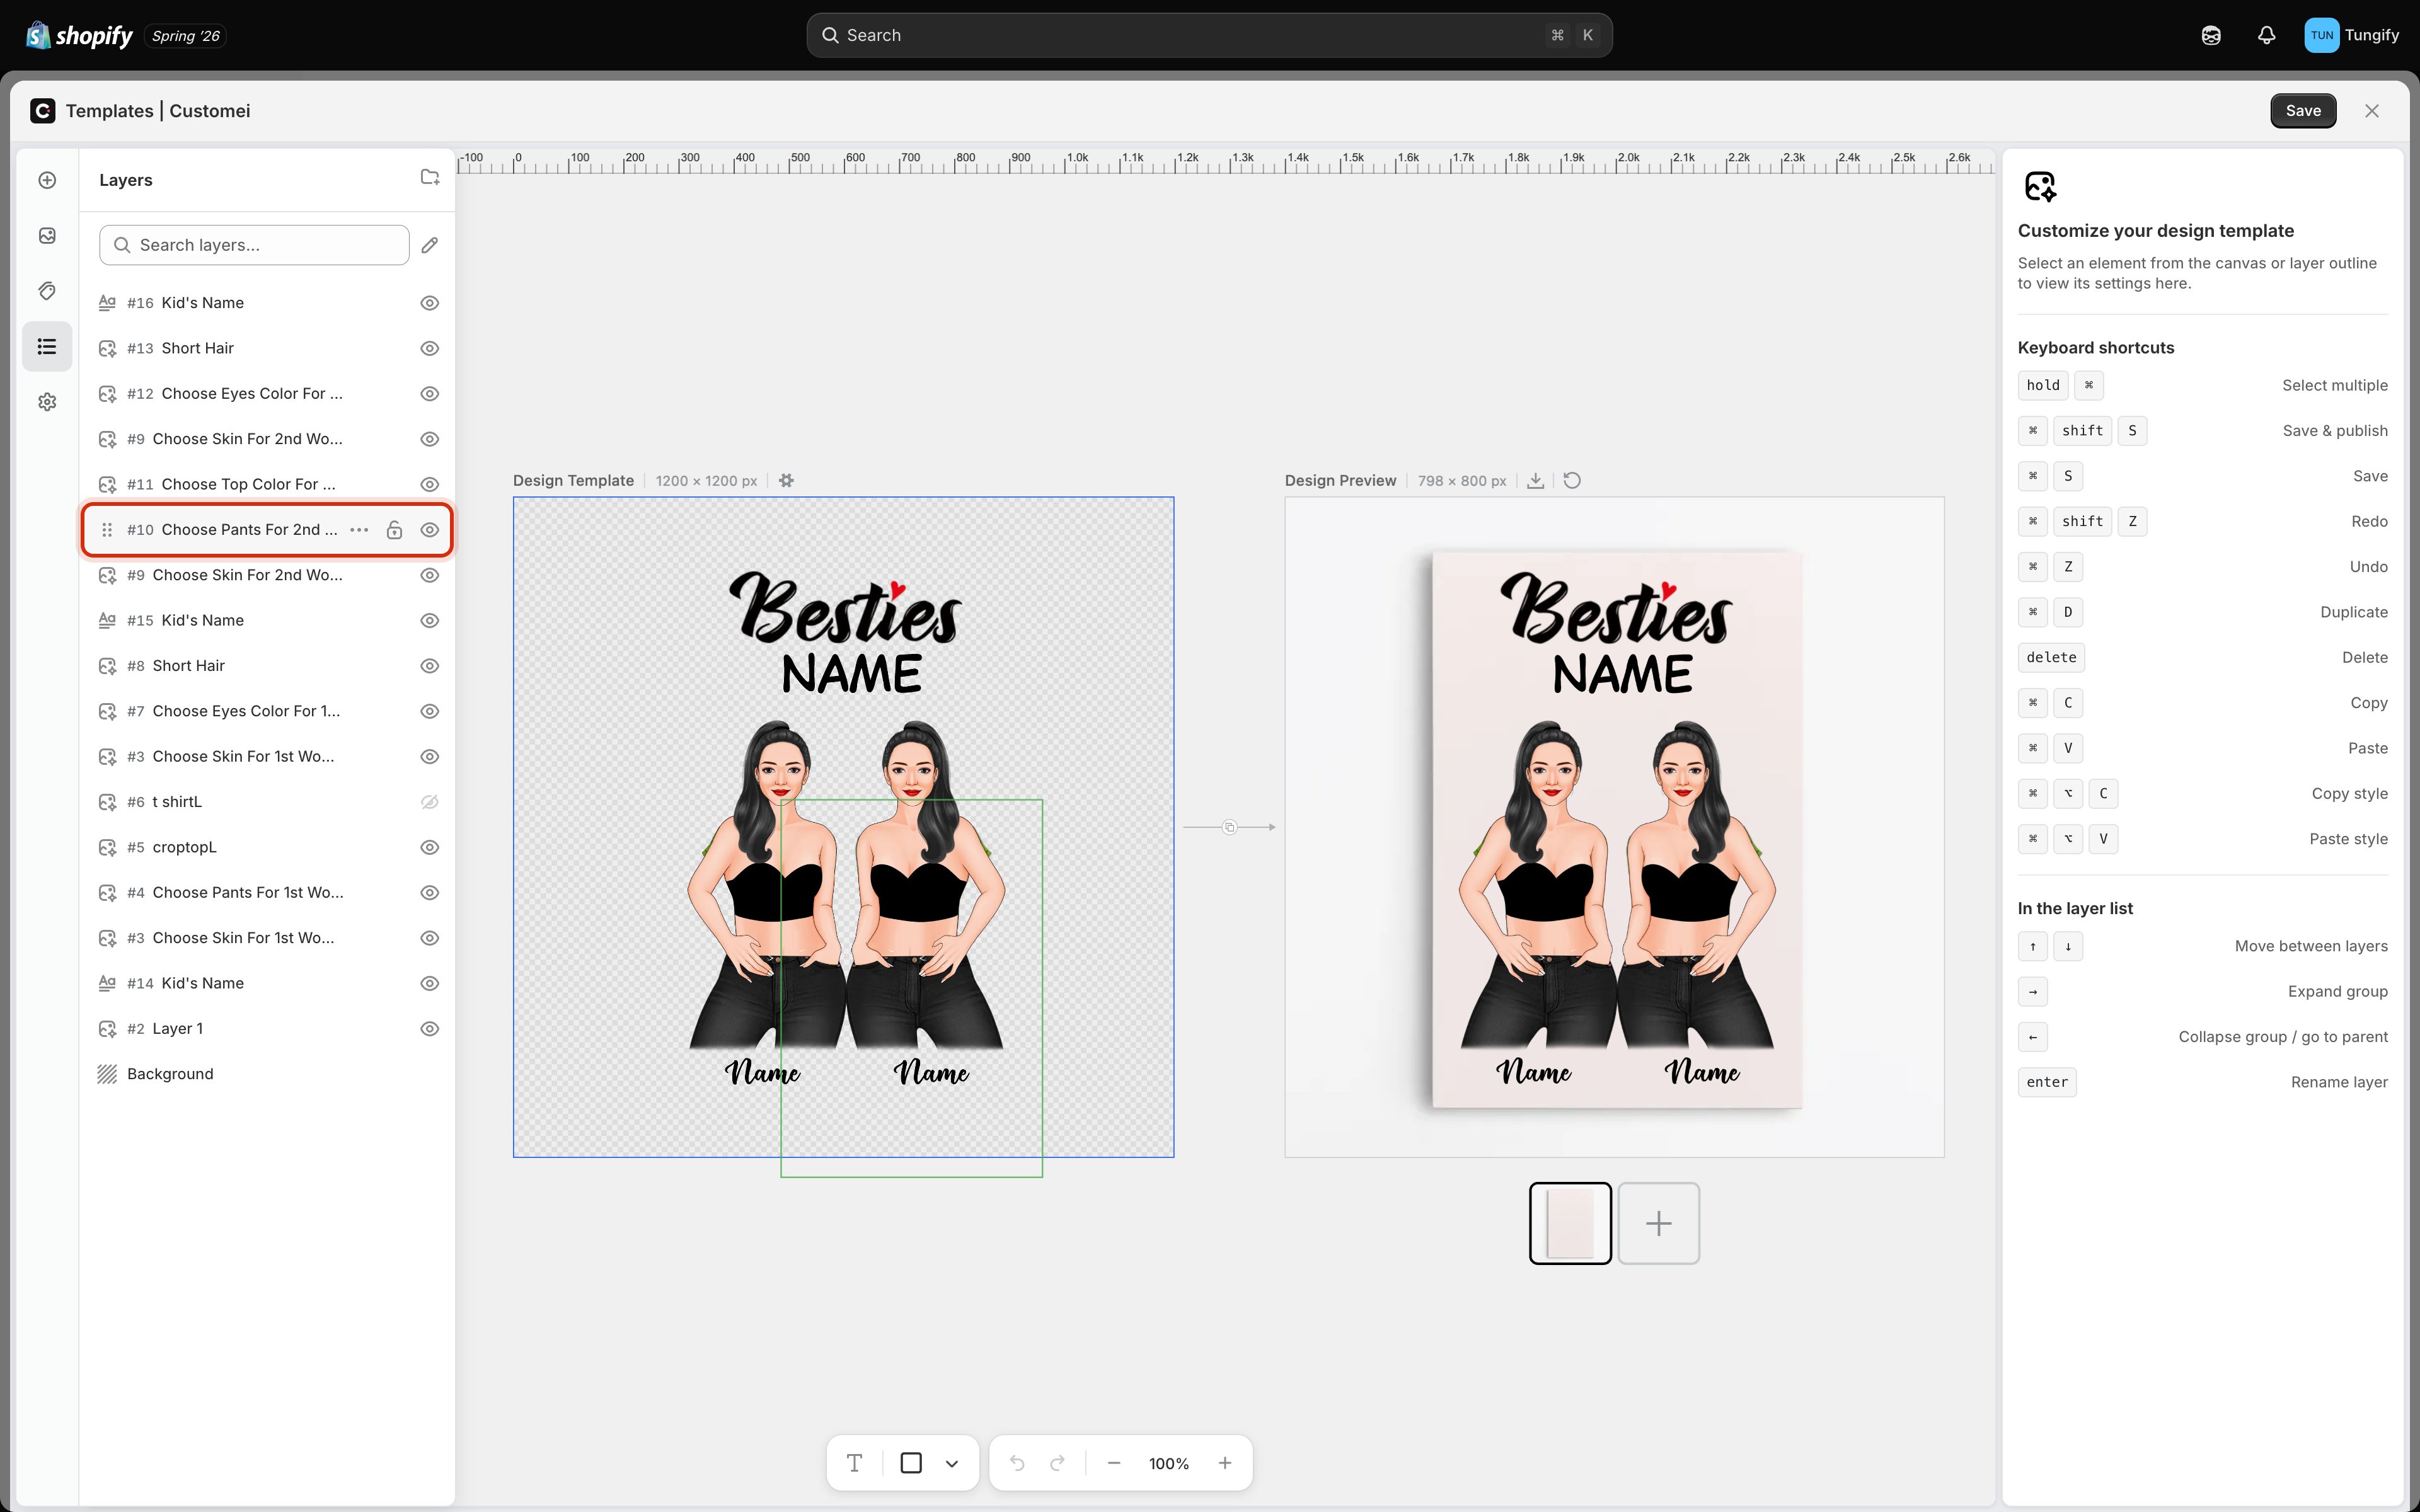
Hovering a layer reveals its own controls: the drag handle, the ⋯ menu, the padlock, and the eye.
- The eye hides a layer while you work. Hiding is a working view only, not a way to keep something off the finished product. If a piece should never print, delete it or let an option set decide when it shows.
- The padlock freezes a layer so you cannot drag or resize it by accident. Very handy for a border or a fixed logo you keep nudging.
The right-click menu
Right-click any row for the rest of the actions.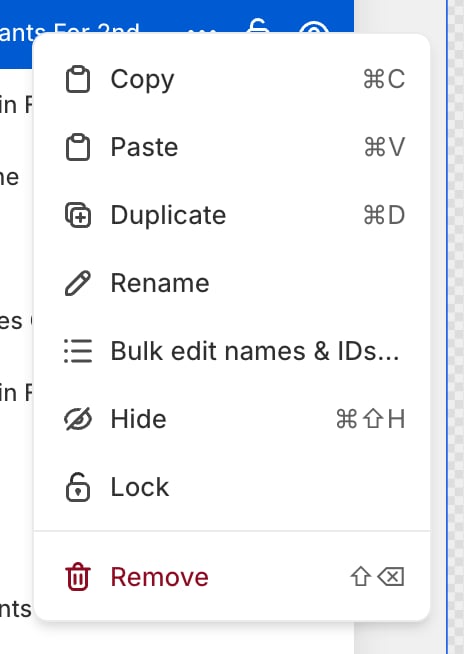
Right-click a layer for copy, duplicate, rename, hide, lock, and remove.
Renaming a lot of layers at once
Renaming rows one by one gets old fast. Pick Bulk edit names & IDs… from the right-click menu and you get the whole template as a grid.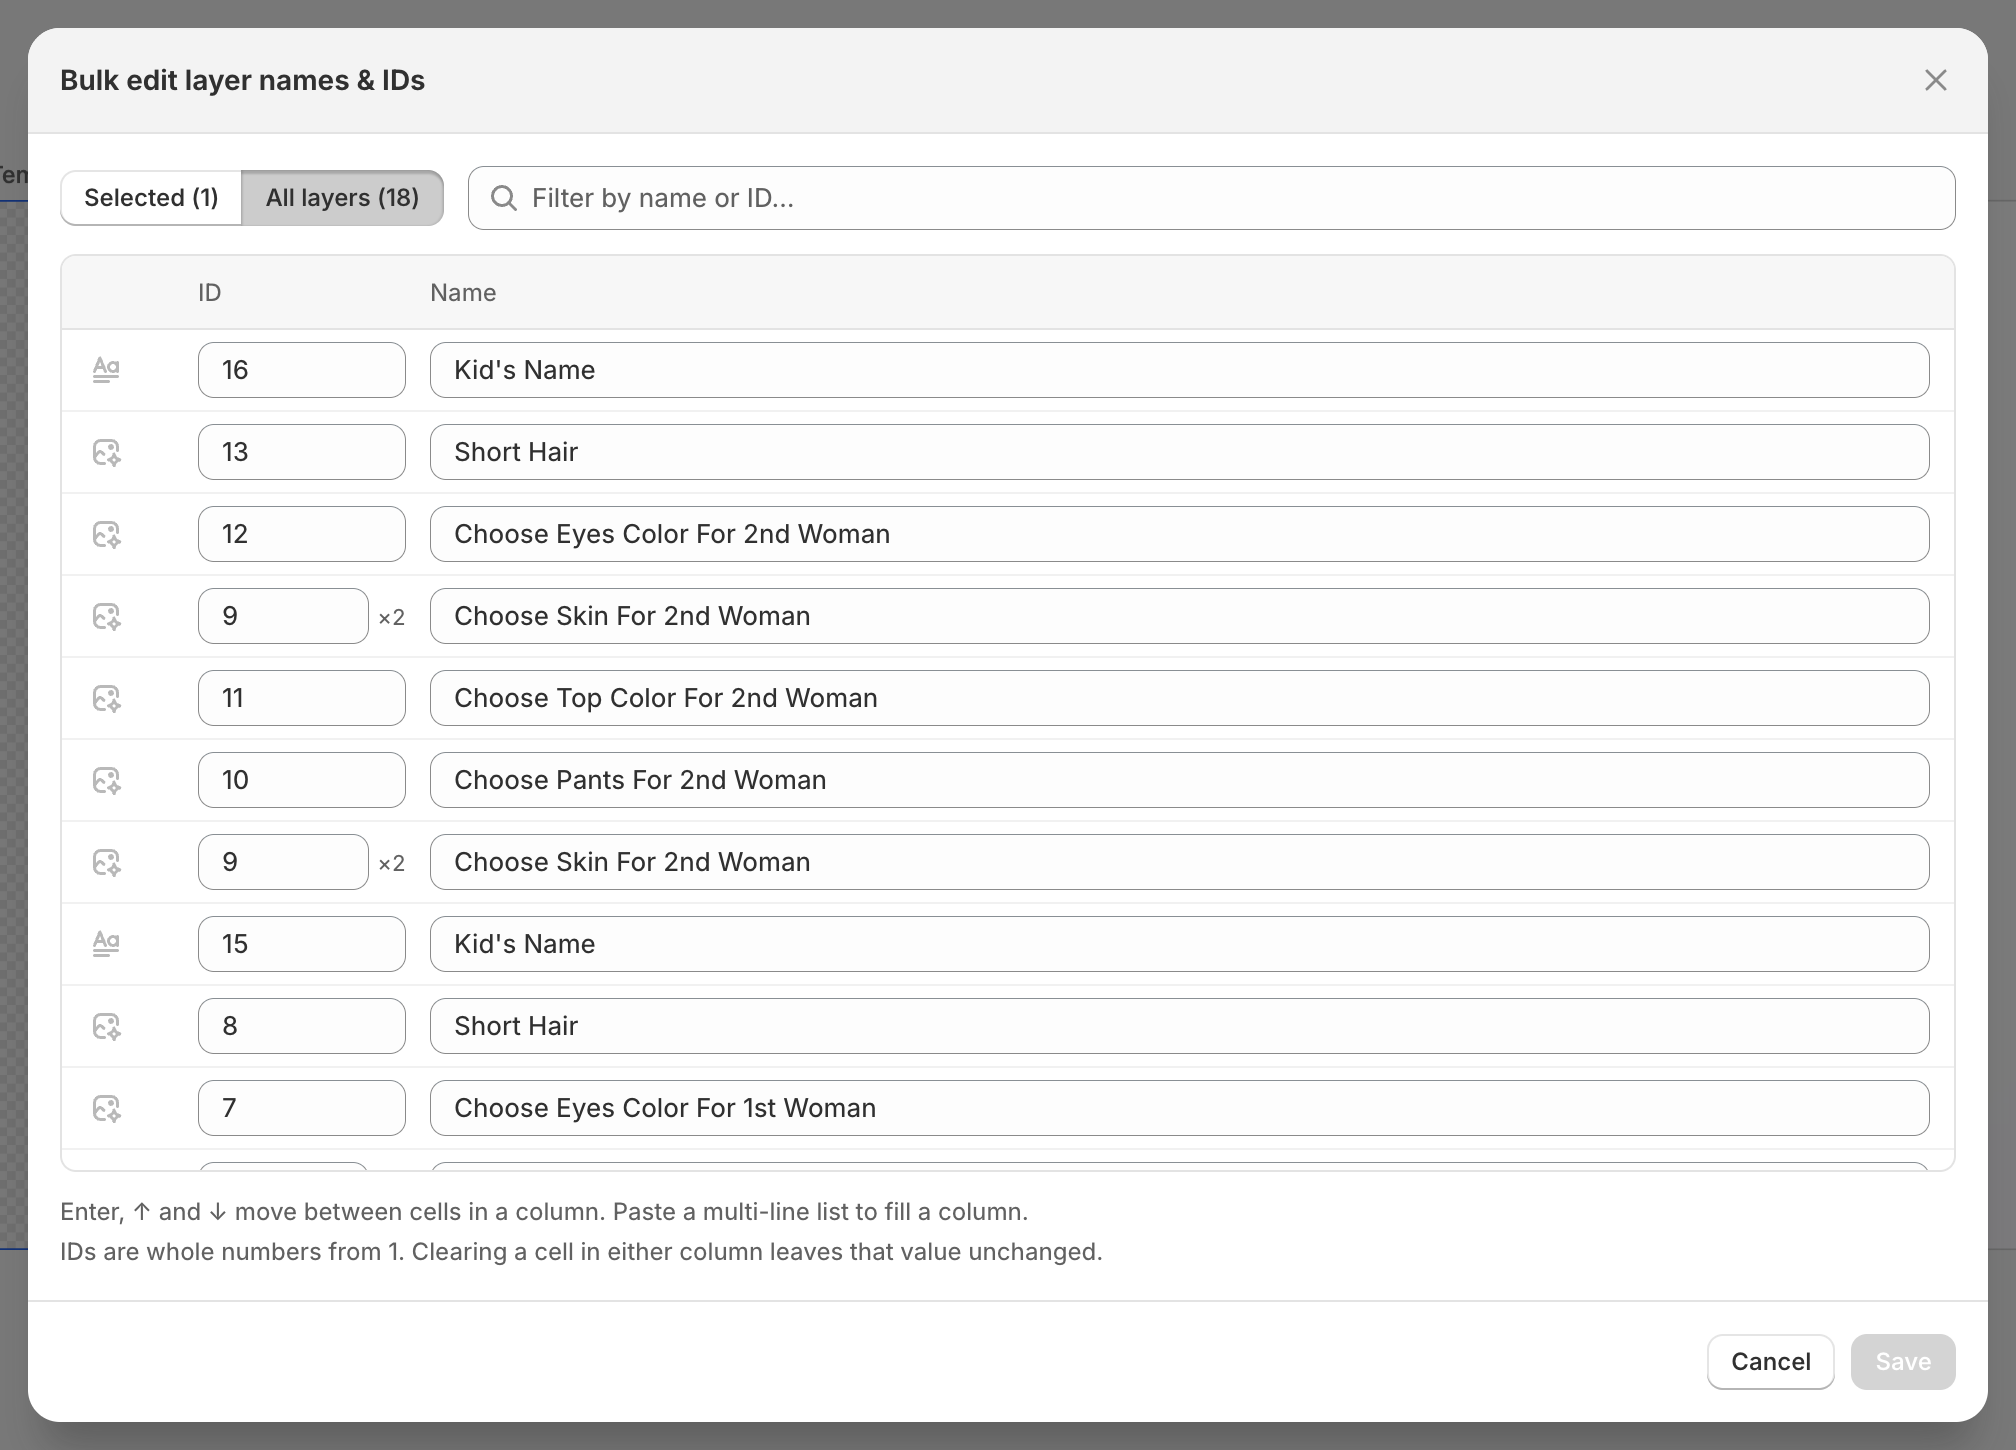
The bulk editor: every layer's number and name in two columns, with a count of how many layers share each number.
- Switch between Selected and All layers at the top, or narrow the grid with Filter by name or ID.
- Enter, ↑ and ↓ step down a column, so you can retype a whole column without reaching for the mouse. You can also paste a multi-line list to fill a column in one go, which is the quickest way to bring names in from a spreadsheet.
- A badge like ×2 next to a number means two layers share it. That is fine when you meant it, and a bug when you did not: one customer choice will drive both.
- Numbers are whole numbers starting at 1. Leave a cell empty to keep what is already there.
- The Background row’s number is reserved and cannot be edited.
Where to next
Connect an option set
Point a customer choice at a layer using its number.
What customers can change
Decide which of these layers a shopper may edit.
Design and preview frames
Understand the two frames the layer list belongs to.
Build a template
Start a new template from scratch.