

- Your text stays text. You can still change the words, the size, and the font later.
- Your layers stay separate. A group in Photoshop becomes a group here, so nothing is flattened into one flat picture.
- Your pictures become swappable. Every picture is saved into a folder of images, so a customer can switch between them later.
Start the import
Go to Design Templates and click Import PSD.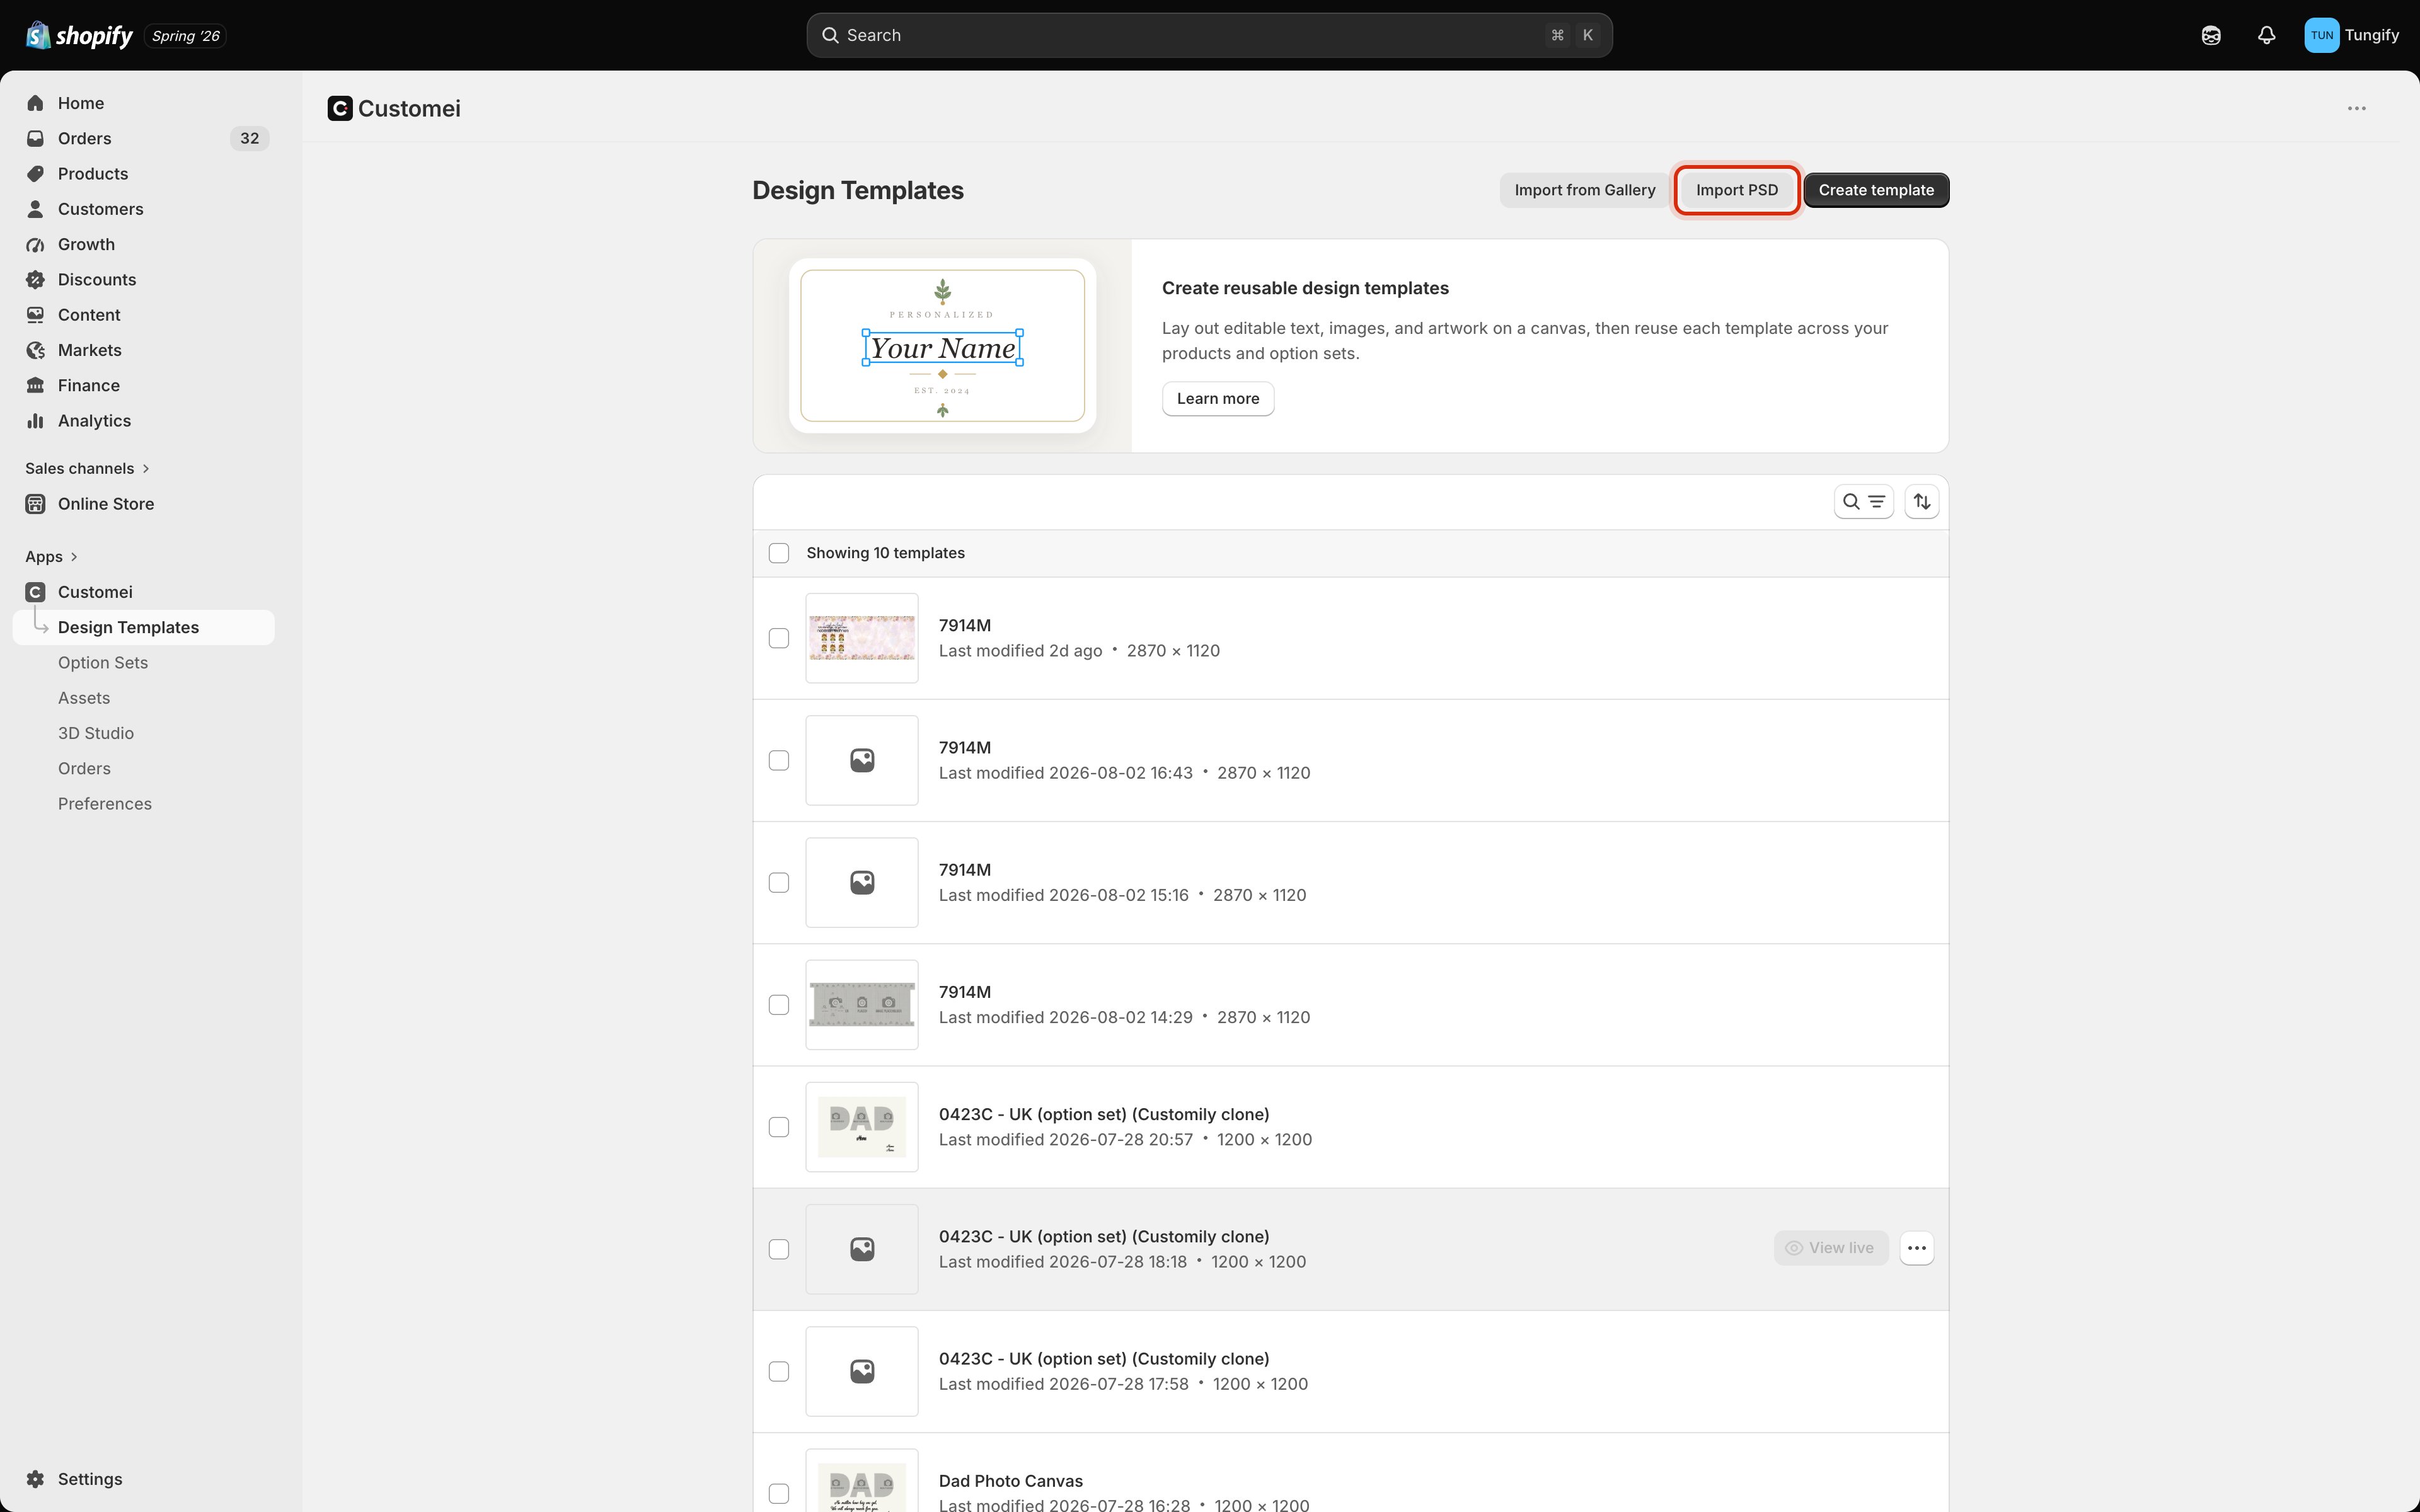
Design Templates. Import PSD sits next to Create template.
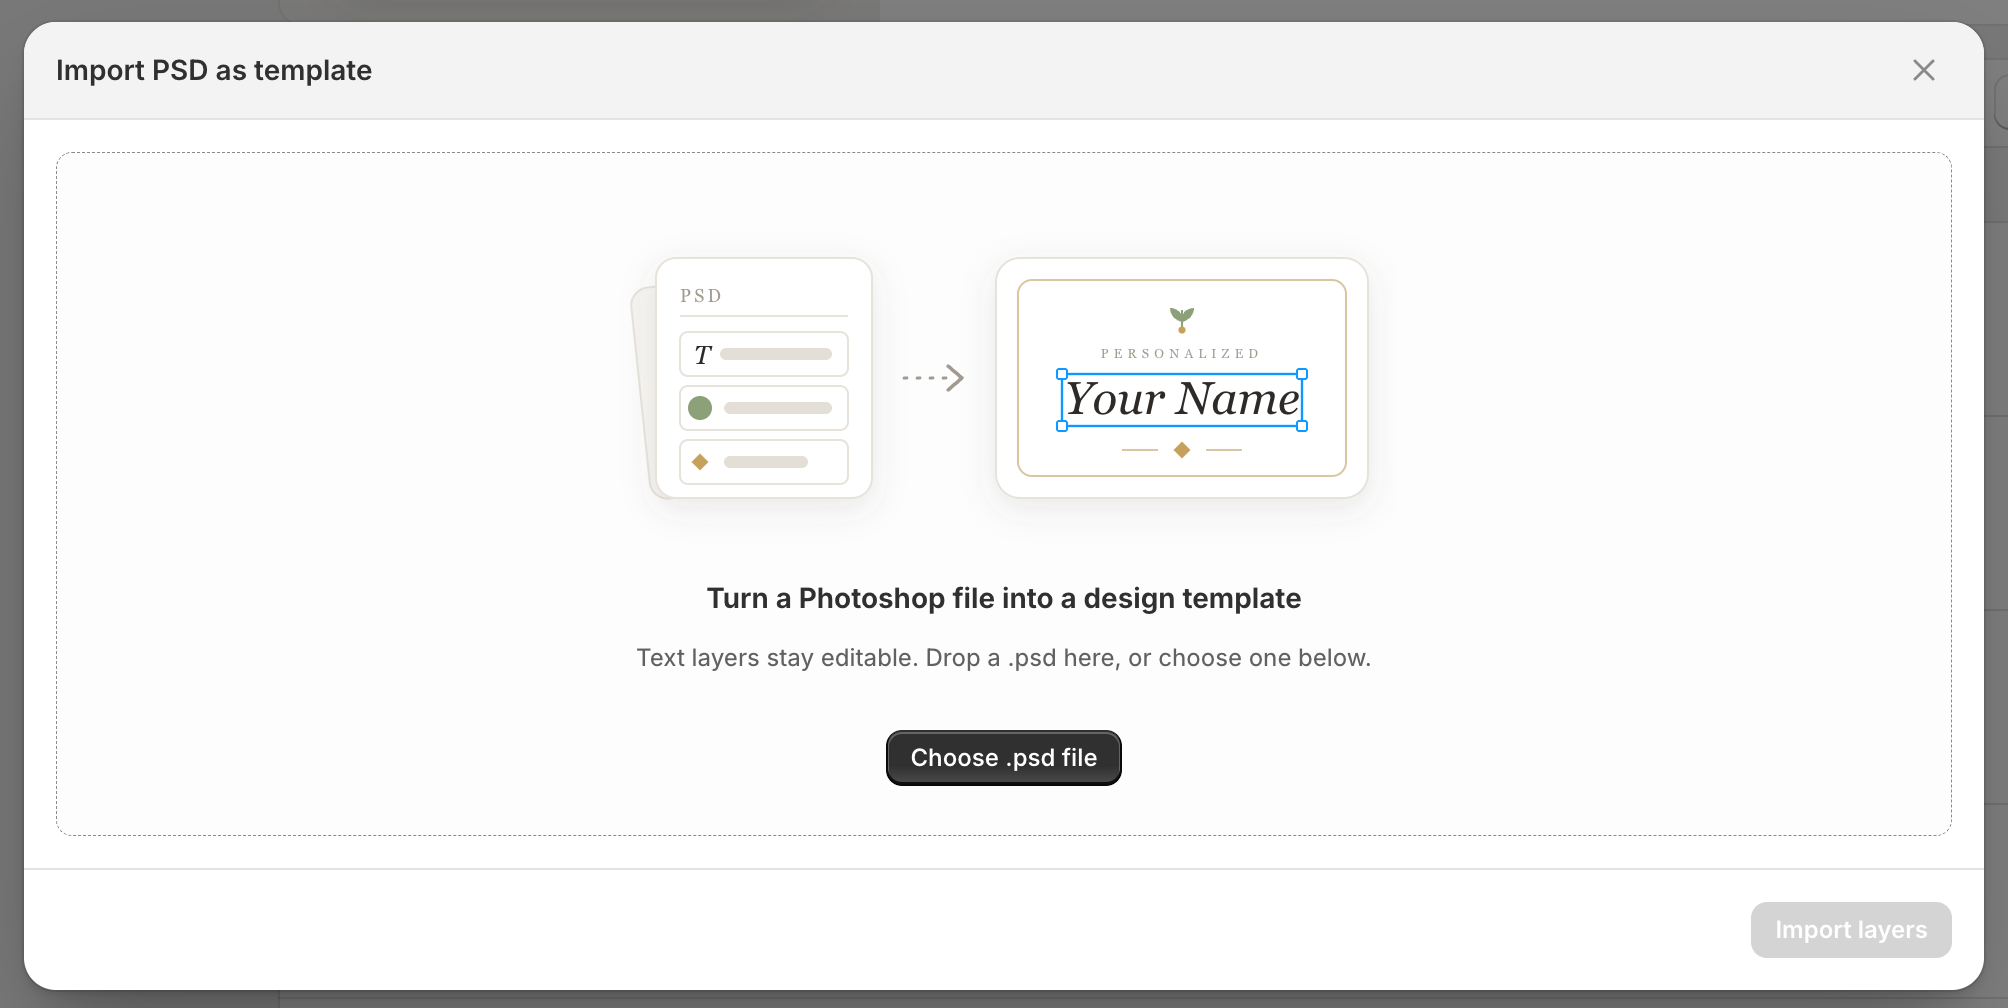
Drop a .psd here, or browse for it.
Only
.psd files, up to 400MB. If your file is bigger, flatten the layers you don’t need in Photoshop and try again. Reading a big file takes a few seconds and you can cancel while it runs.Check what’s coming in
Next you see your artwork on the left and its layers on the right. Nothing has been created yet, so take a moment here.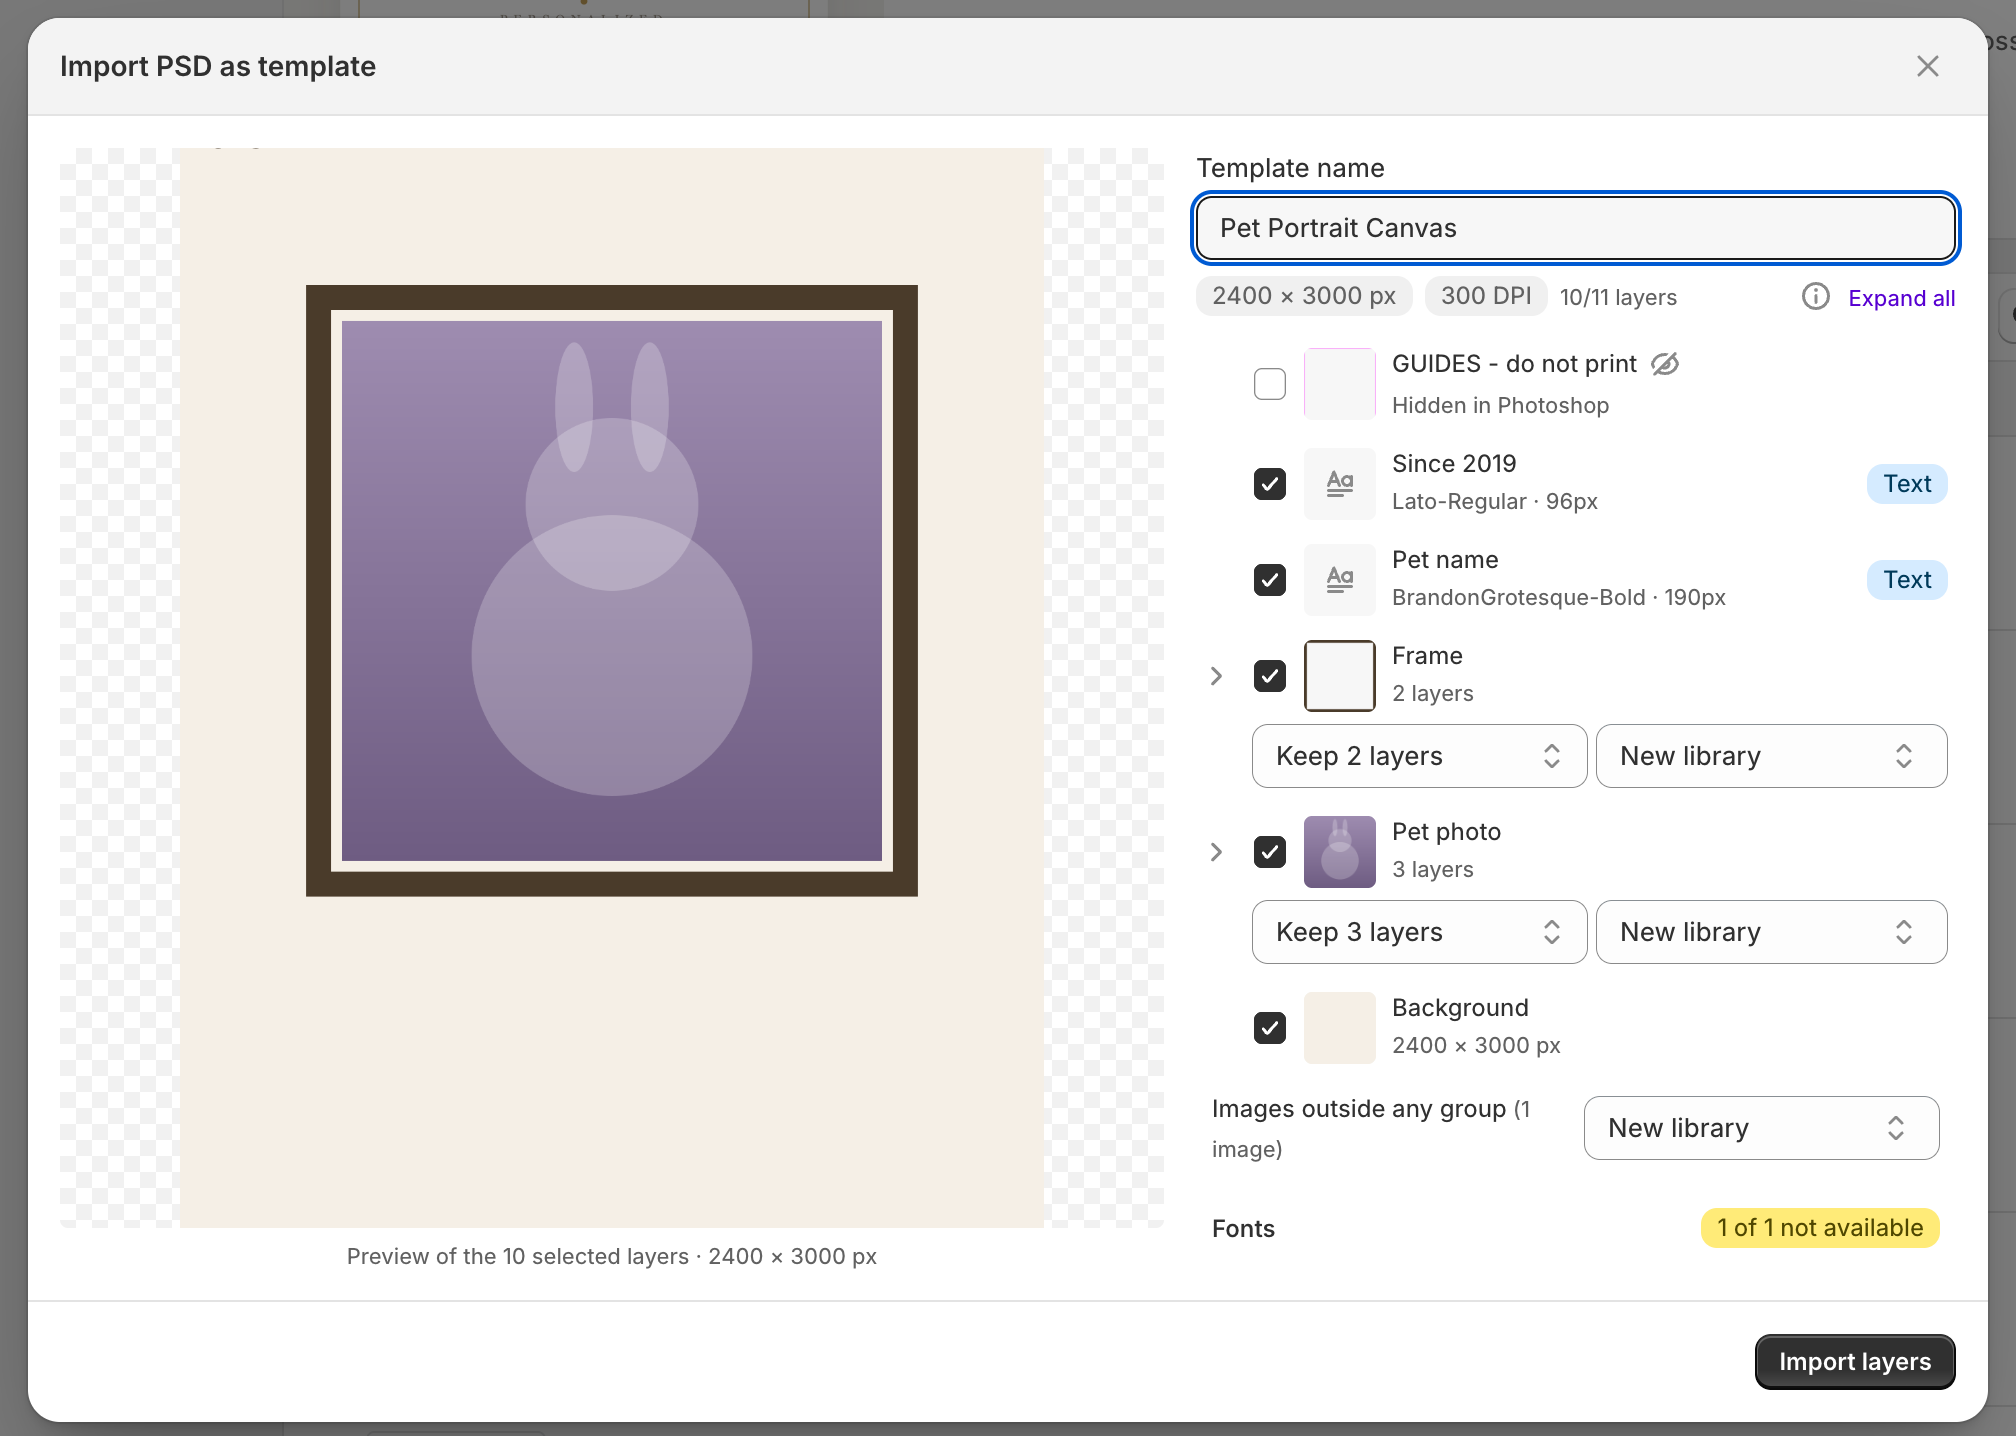
The review step. Your artwork on the left, every layer on the right.
The name and the size
The Template name starts as your file name. Change it to whatever you want to see in your template list. The two grey chips under it are the size and the print quality, both taken straight from your file. There is nothing to set: if you drew at 2400 × 3000 at 300 DPI, that’s what you get.Tick only what you want to keep
Every layer has a tick box. Untick the ones that are only there to help you design: guide layers, notes to yourself, the scribble you parked off to one side. Customei already unticks the obvious ones for you and says why underneath the layer name:
The counter at the top (
10/11 layers) tells you how many are ticked.
Groups: keep them or flatten them
Each group gets two controls of its own.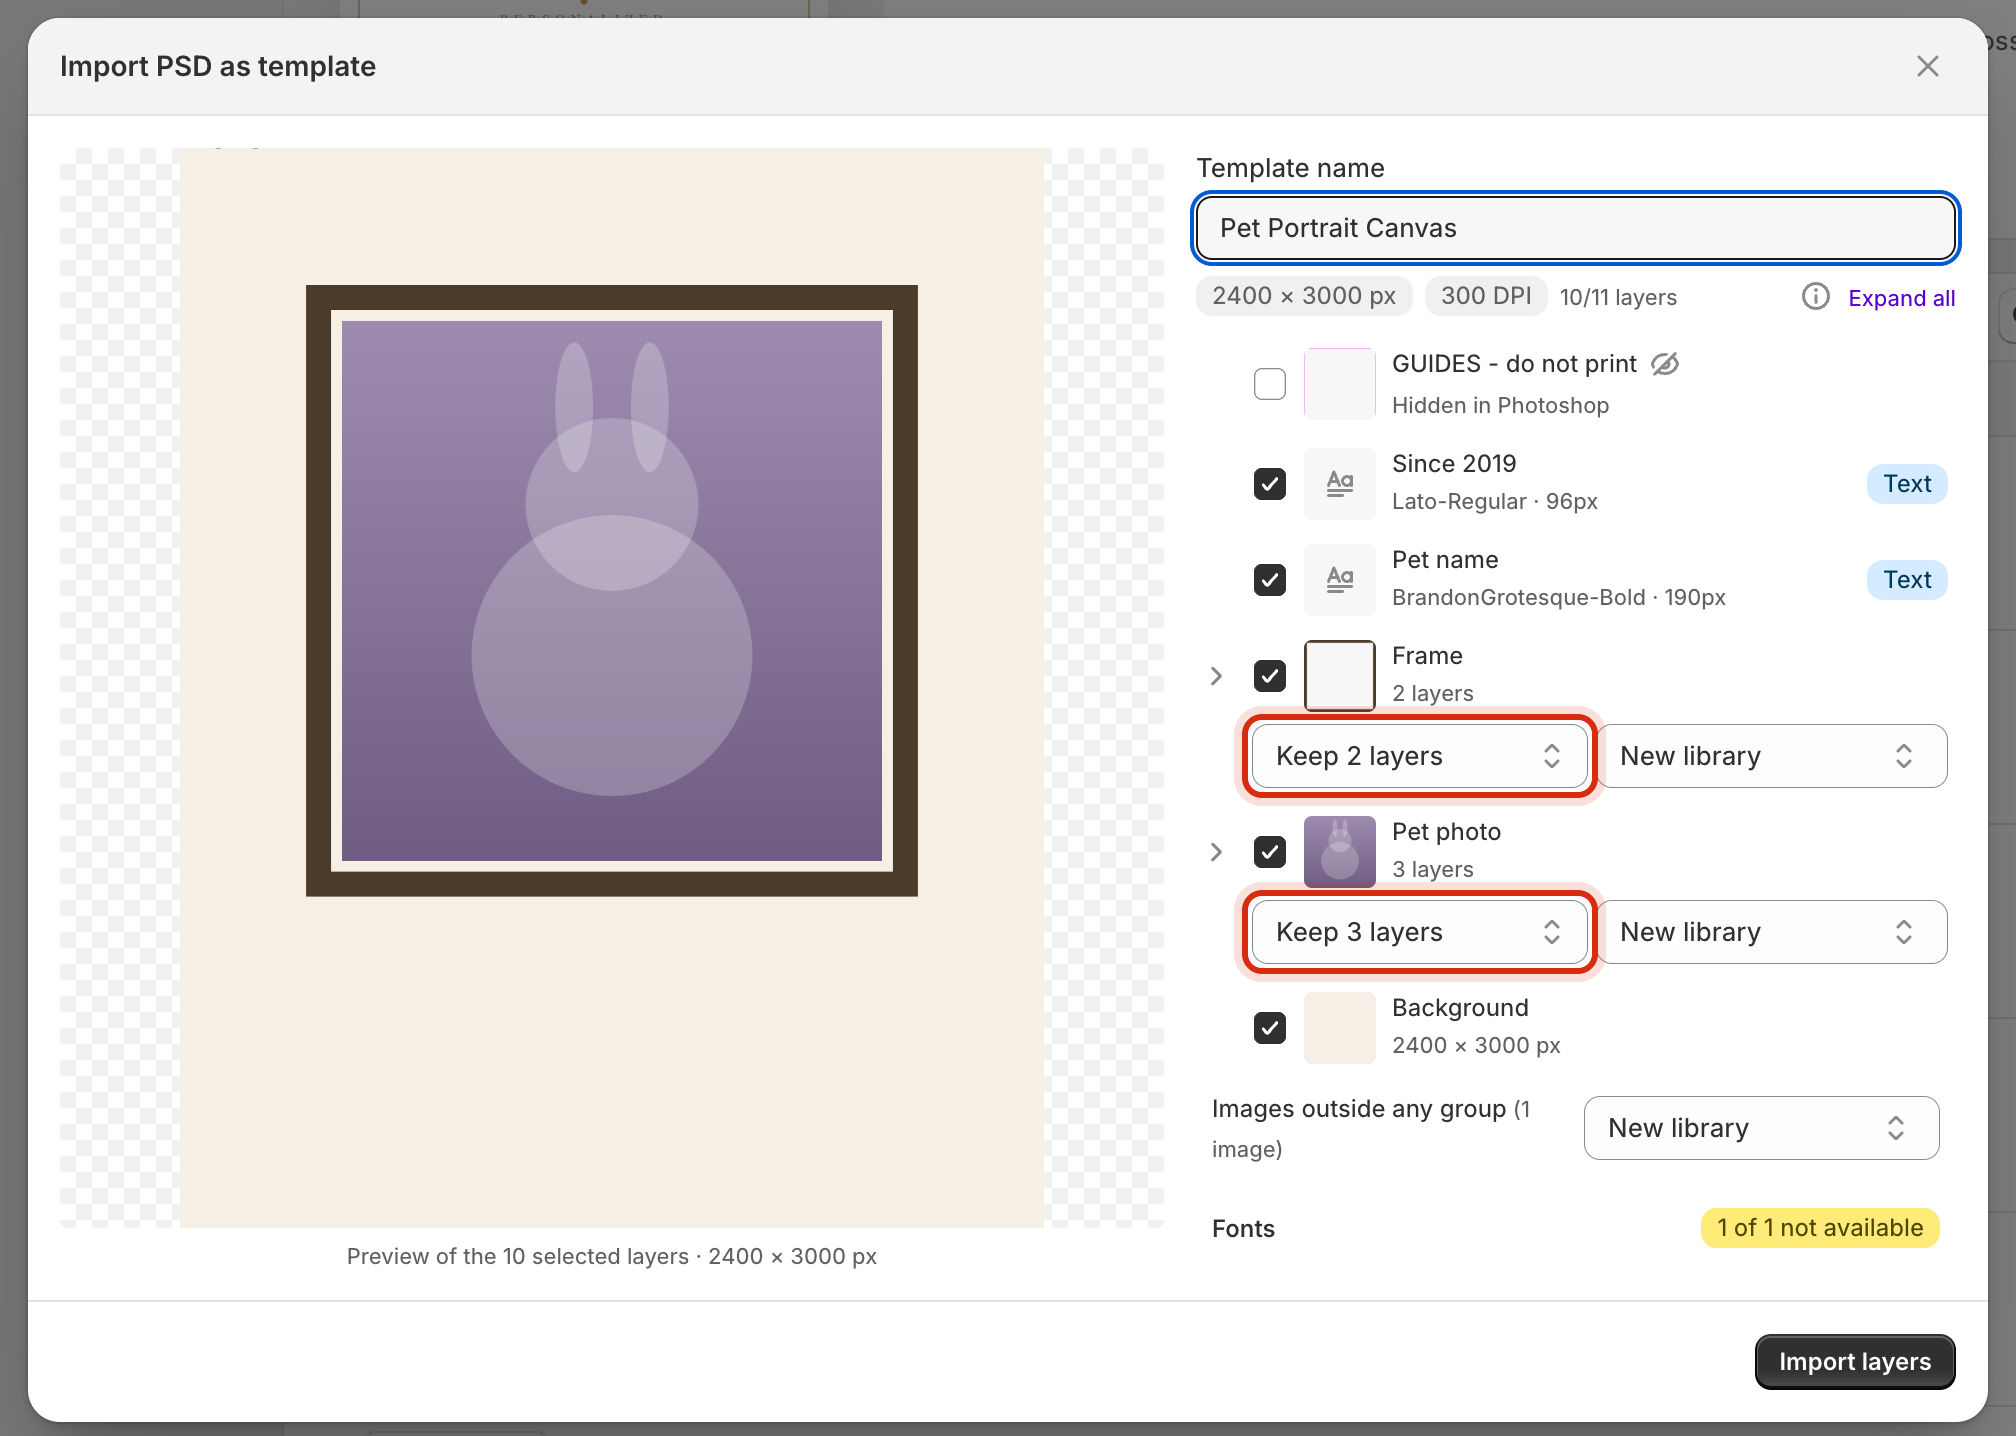
Every group chooses: keep its layers separate, or flatten it into one picture.
Fonts
Customei looks up every font your file uses and tells you which ones it has.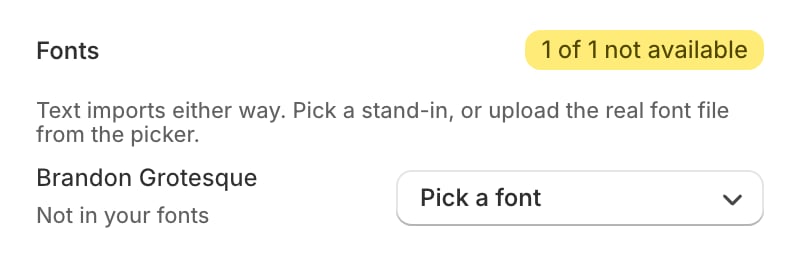
A font your account doesn't have. Pick a stand-in, or upload the real file.
The notes at the bottom
Under the layer list you may see one or two short lines about what Photoshop features survive. In plain terms:Import it
Click Import layers. Your pictures upload, and the template opens in the editor when it’s done.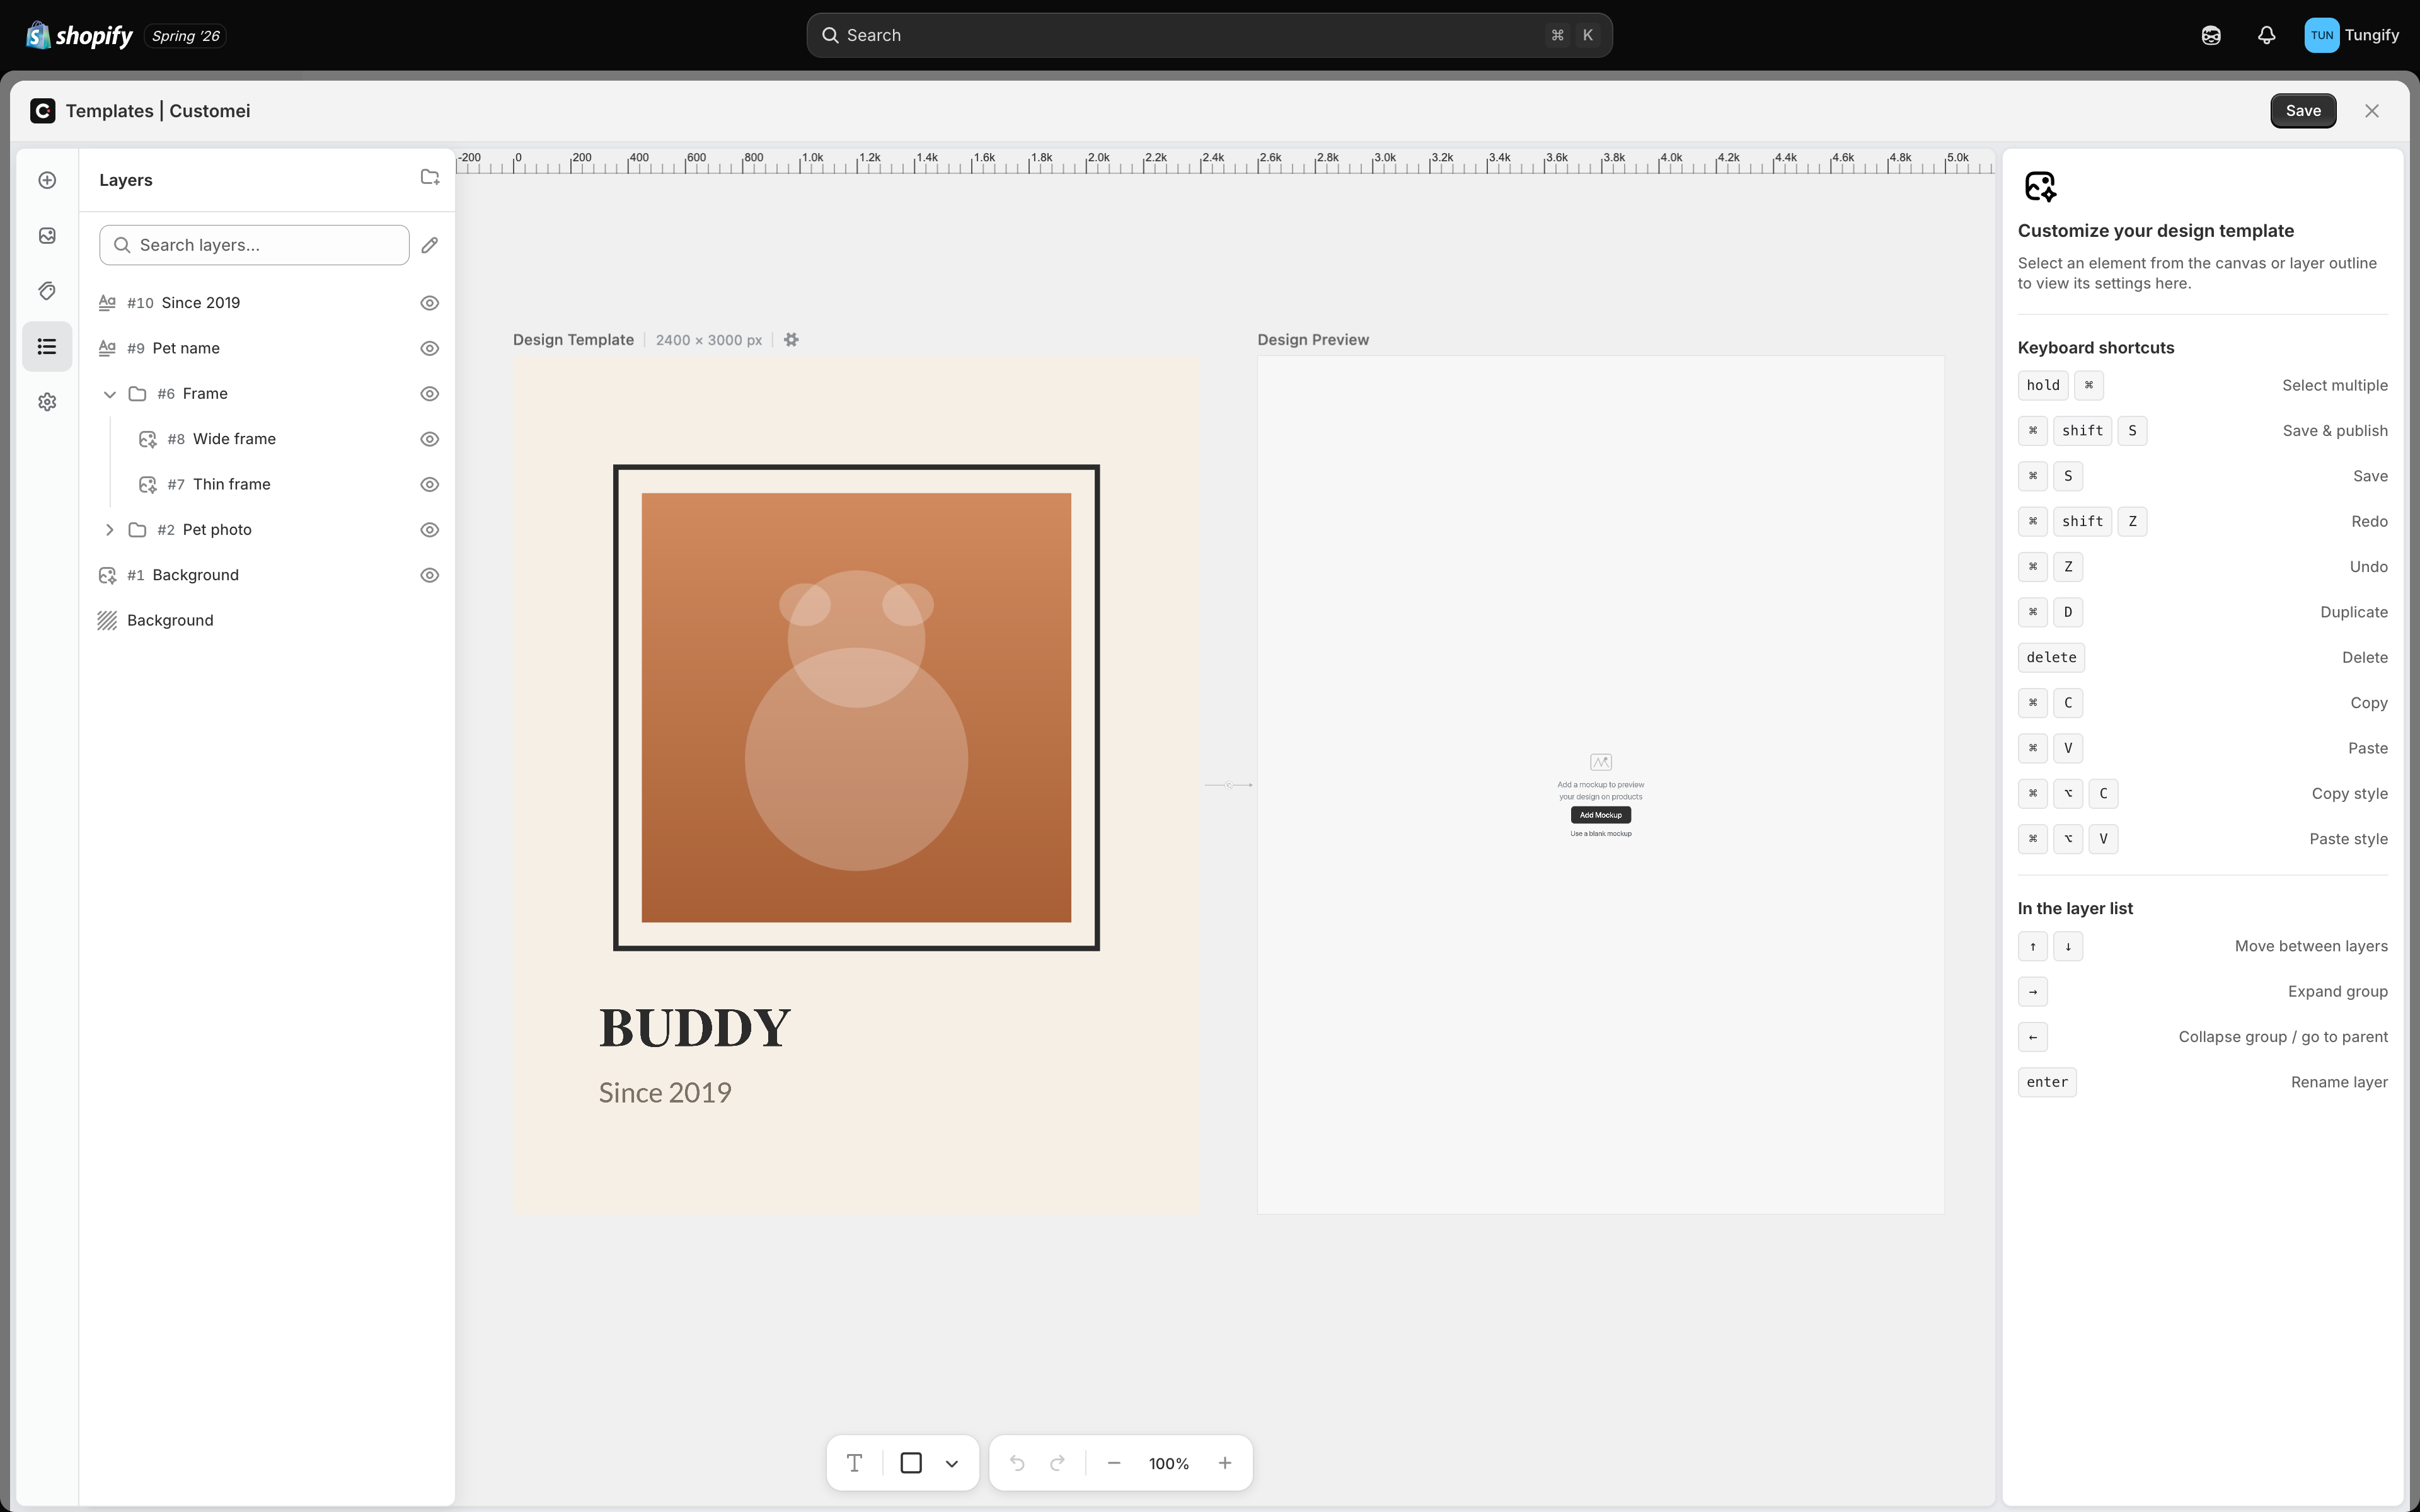
The finished template. Photoshop groups became layer groups, and every layer has its number.
- Your text is still text. Click Pet name and you can retype it, restyle it, and later let a customer fill it in.
- Every layer has a number (
#9,#6,#2). Those numbers are how you connect a customer’s answer to a layer. See Connect an option set to a template.
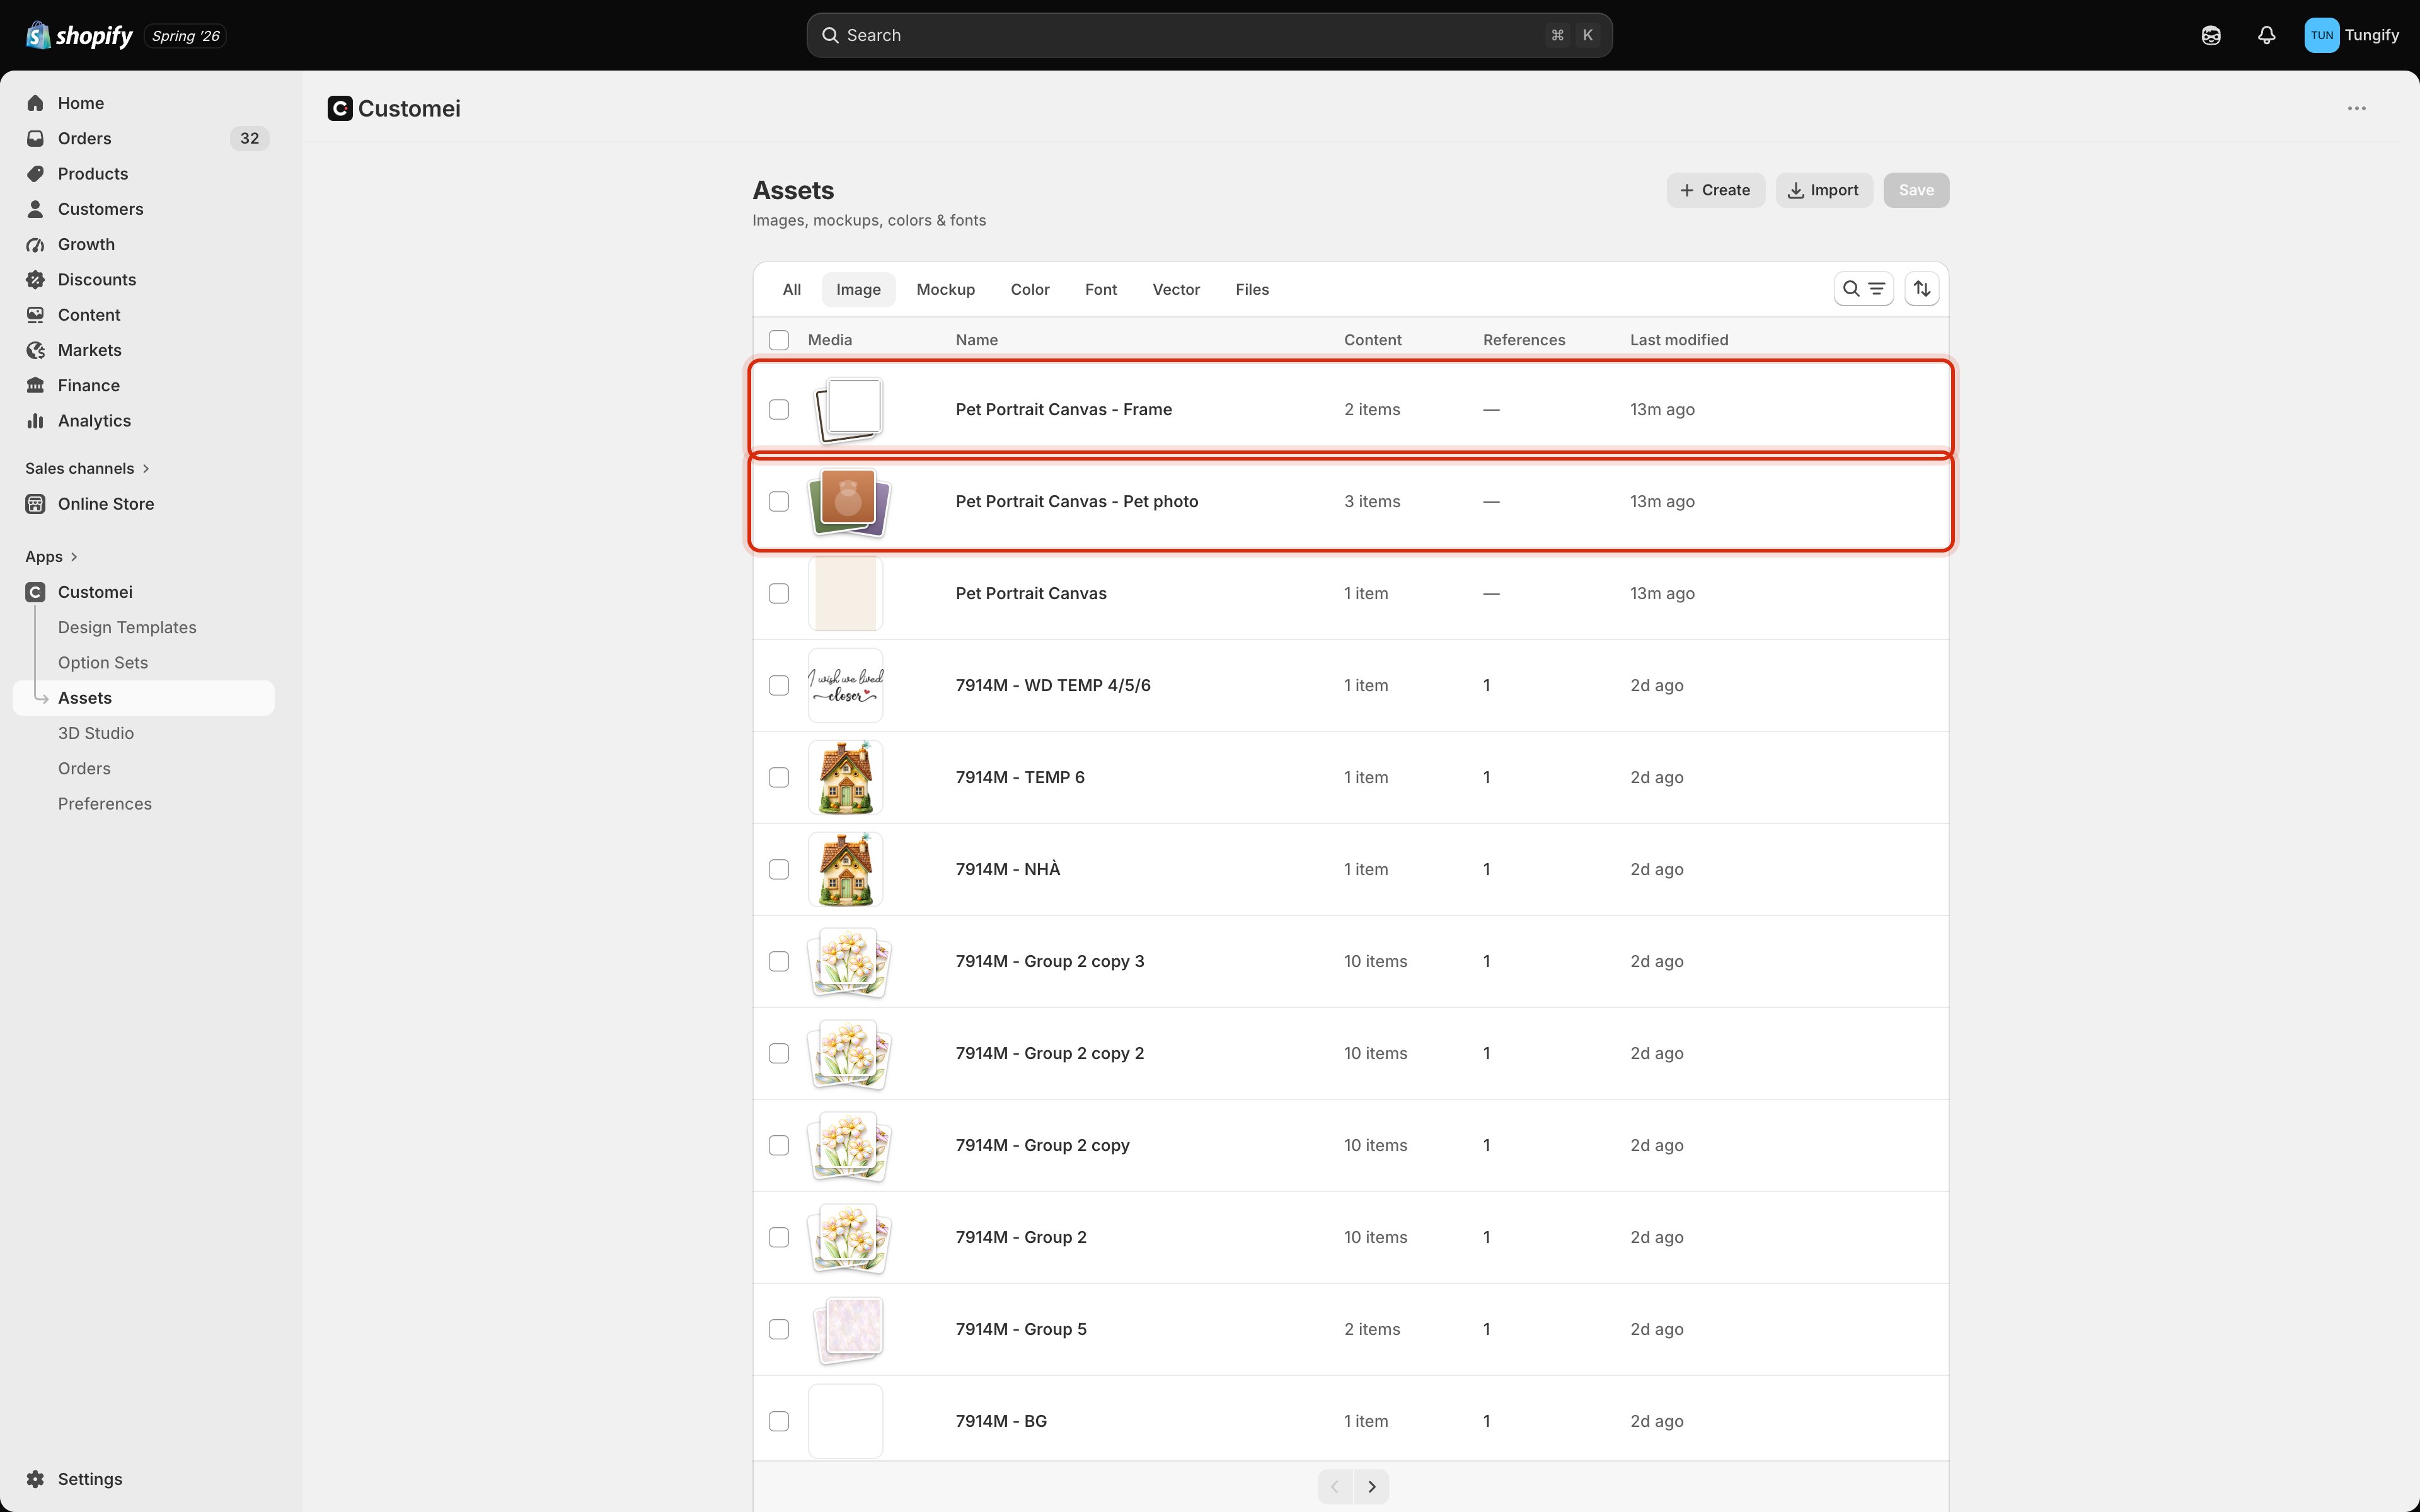
One folder per Photoshop group, named after your template.
Where to next
Add a mockup preview
Show your artwork on a photo of the real product.
Build your options
Write the questions your customers answer.
Connect answers to layers
Point each answer at a layer number.
Layers and arranging
Rename, reorder, and renumber what came in.