

- a design area, the patch of the photo where artwork belongs,
- a surface shape, how that patch curves, so print follows the product instead of lying flat on it,
- optional clip masks, edges that hide artwork where the product bends out of view.
Where mockups live
Mockups are assets, so they sit with your other reusable material under Assets. Open the Mockup tab to see just the mockup ones.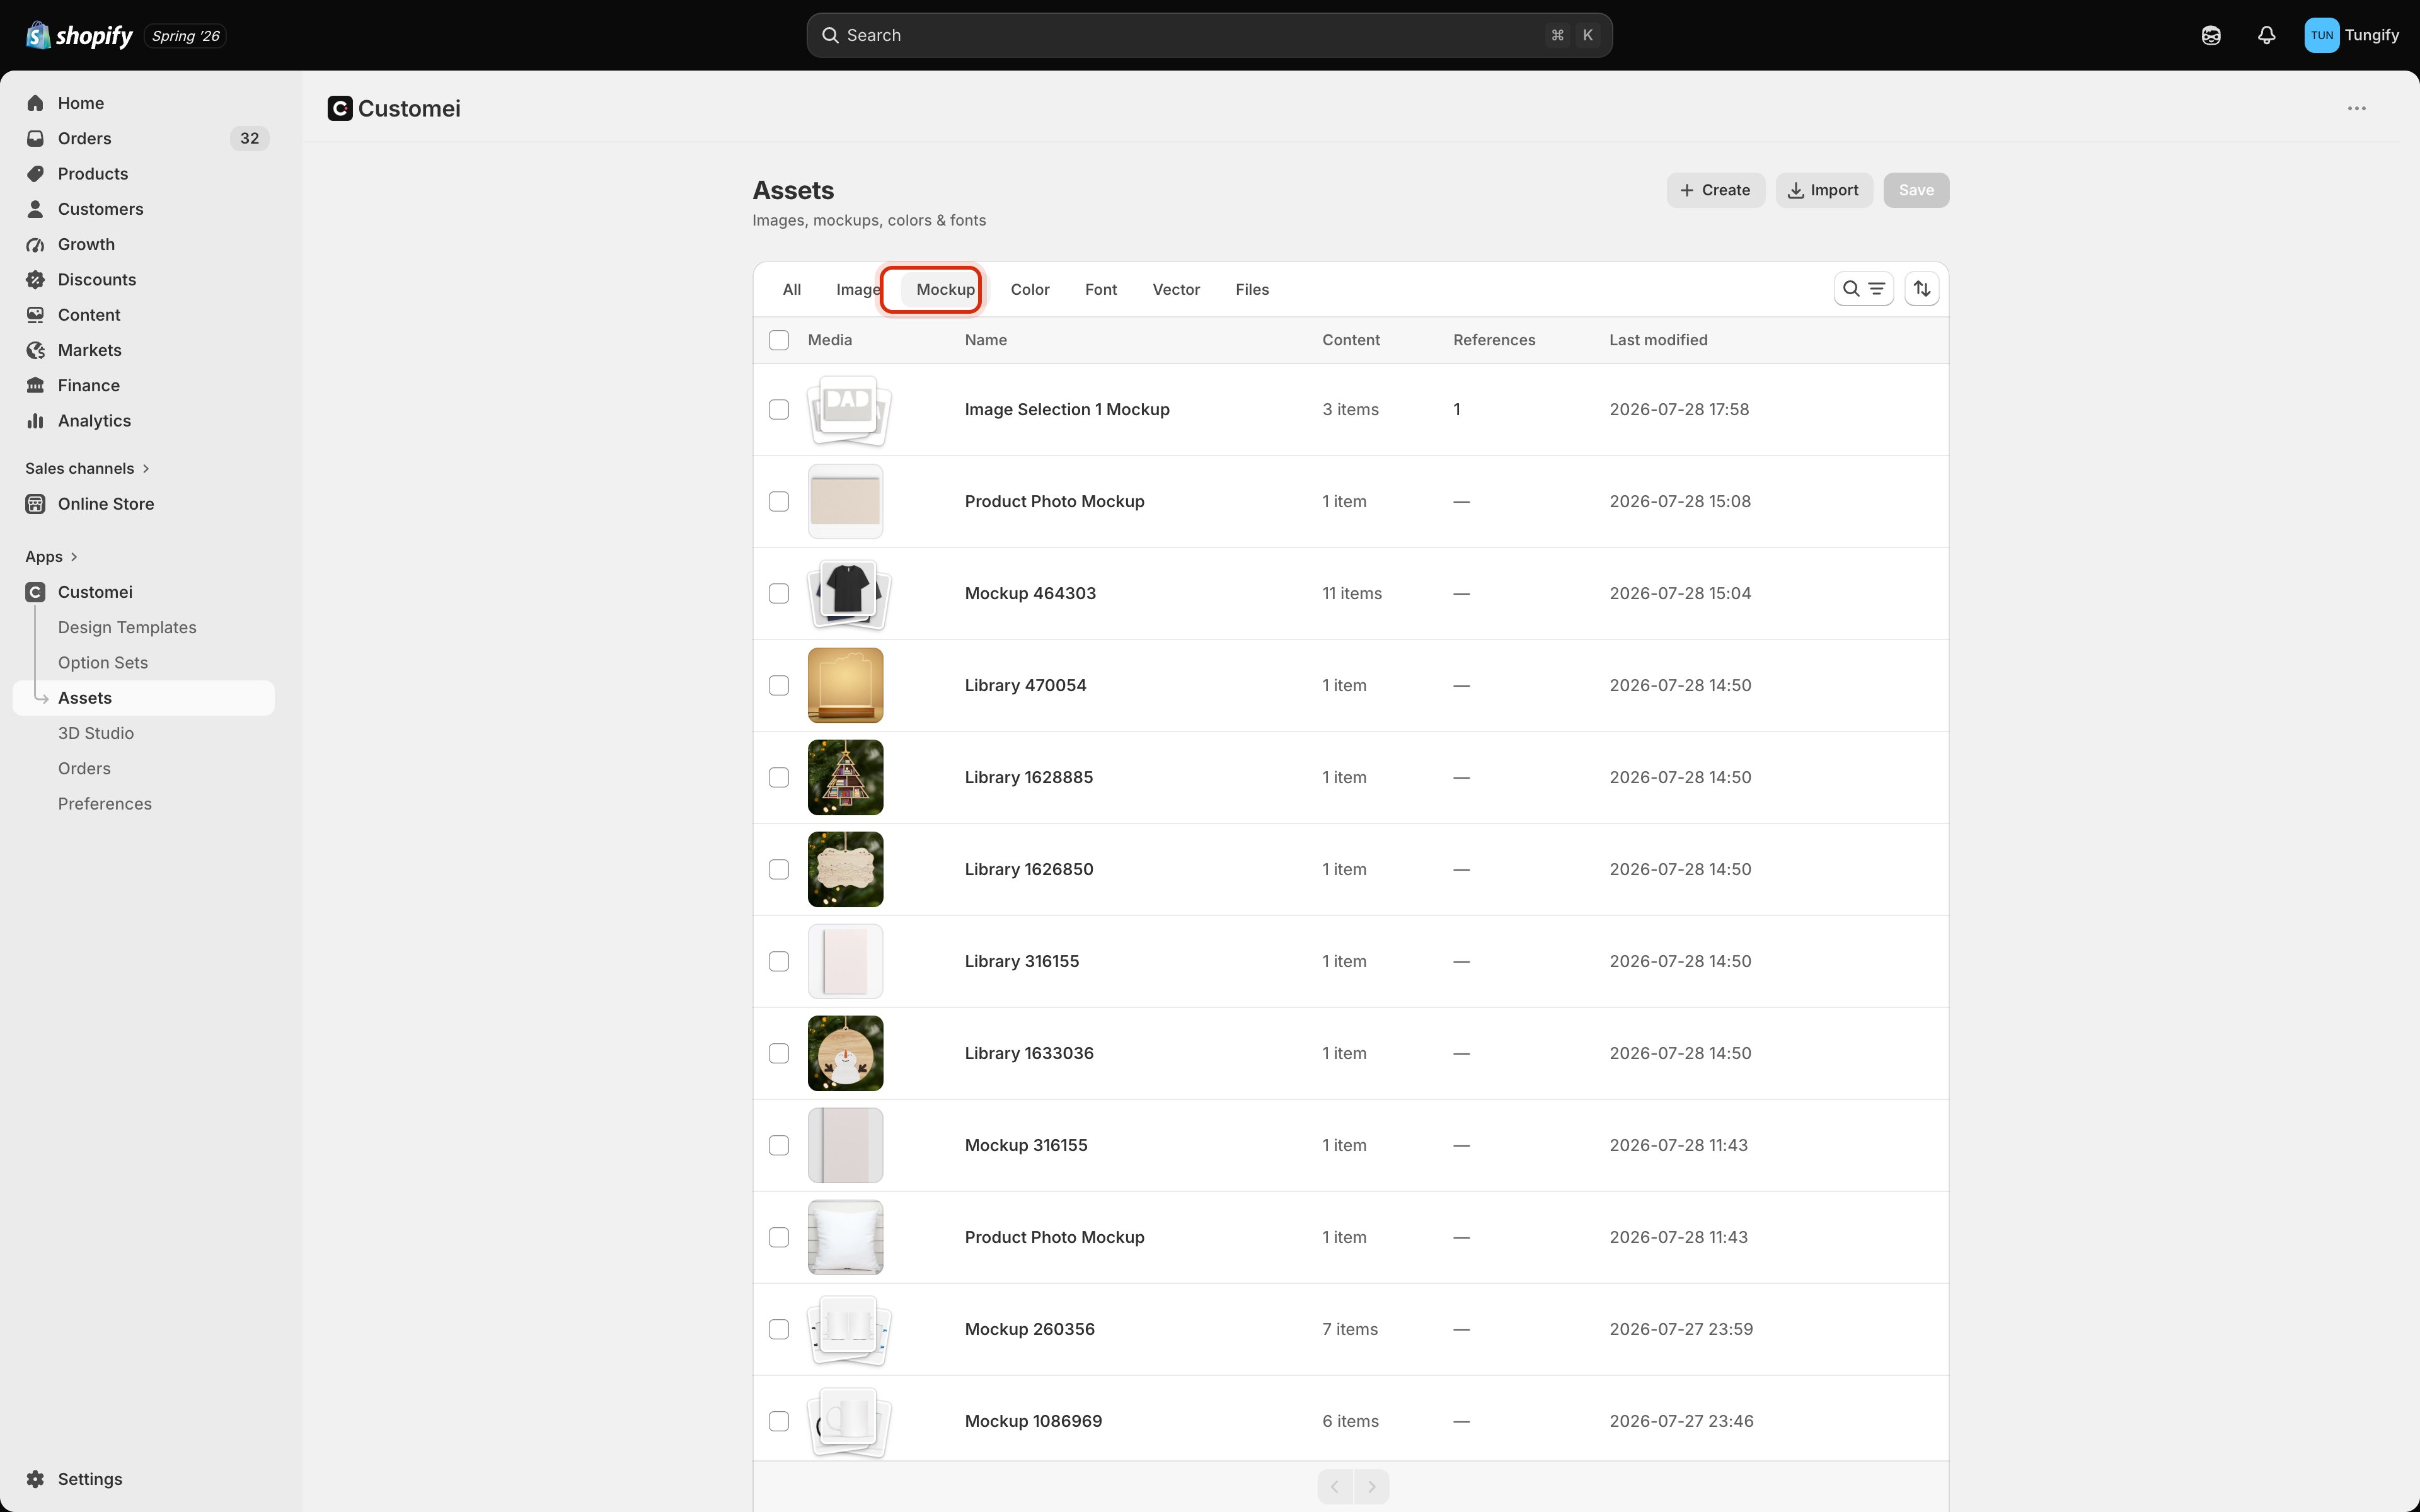
Assets, filtered to mockup libraries.
Inside a library
Click a library to see the individual mockups.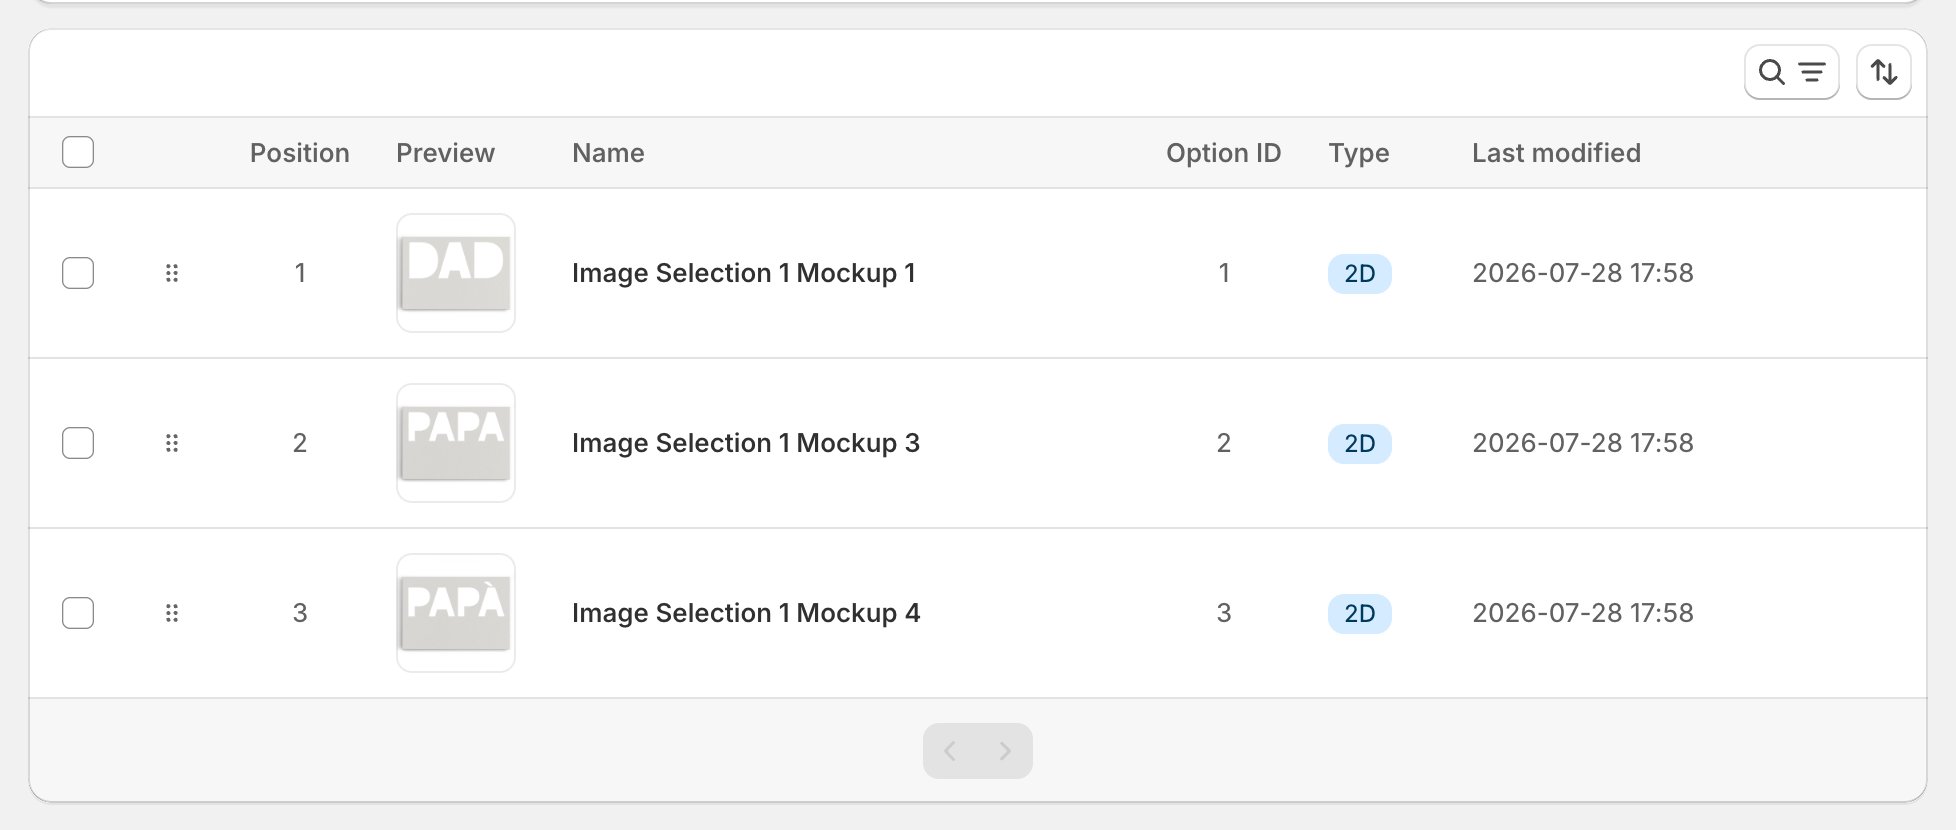
One mockup library. The banner tells you which design templates rely on it.
The banner at the top is worth reading before you change anything: it counts the design templates using this library, and View opens one so you can see where these photos actually land.
Adding mockups
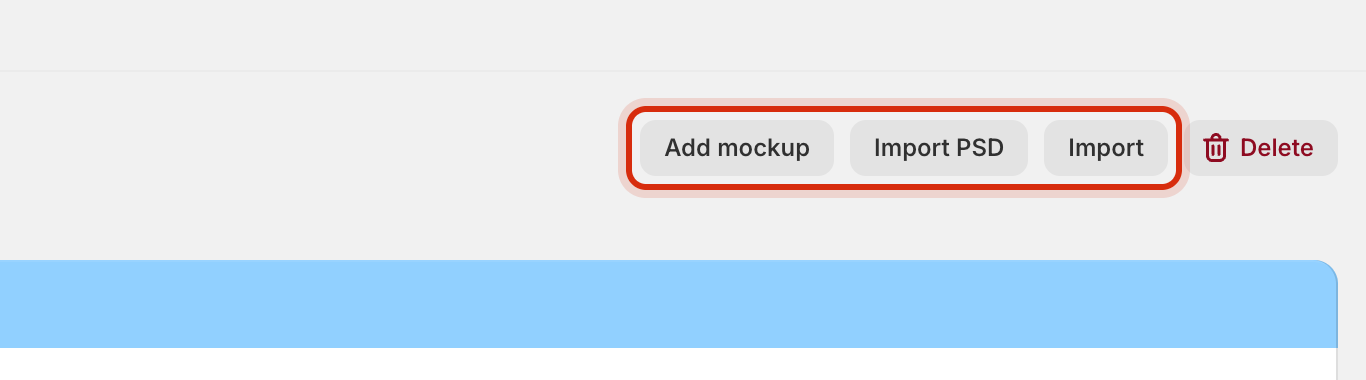
Three ways to get product photos into a library.
A freshly uploaded photo has no print area yet, so artwork will fill the whole frame until you mark one out. Open the mockup and draw it: see The mockup designer.
How a mockup reaches a customer
Mockups aren’t attached to products directly. They travel with your artwork:1
You prepare the mockup once
In Assets, with its print area and surface shape set.
2
You add it to a design template
In the editor it becomes a Design Preview frame beside your artwork. See Add a mockup preview.
3
Your shopper sees it on the product page
As they fill in the options, the preview updates with their choices on the real product.
Where to next
The mockup designer
Mark out where artwork goes on a photo.
Warp and realism
Make print follow the shape of the product.
Add a mockup preview
Use a mockup in a design template.
The design and preview frames
How the editor’s two canvases work.