

- An Image is one picture that stays put. Your logo, a frame, a decorative flourish.
- A Dynamic Image is a slot that swaps between several pictures. It is what you use when the customer picks a hair style, a skin tone, or a shirt colour and the artwork has to change to match.
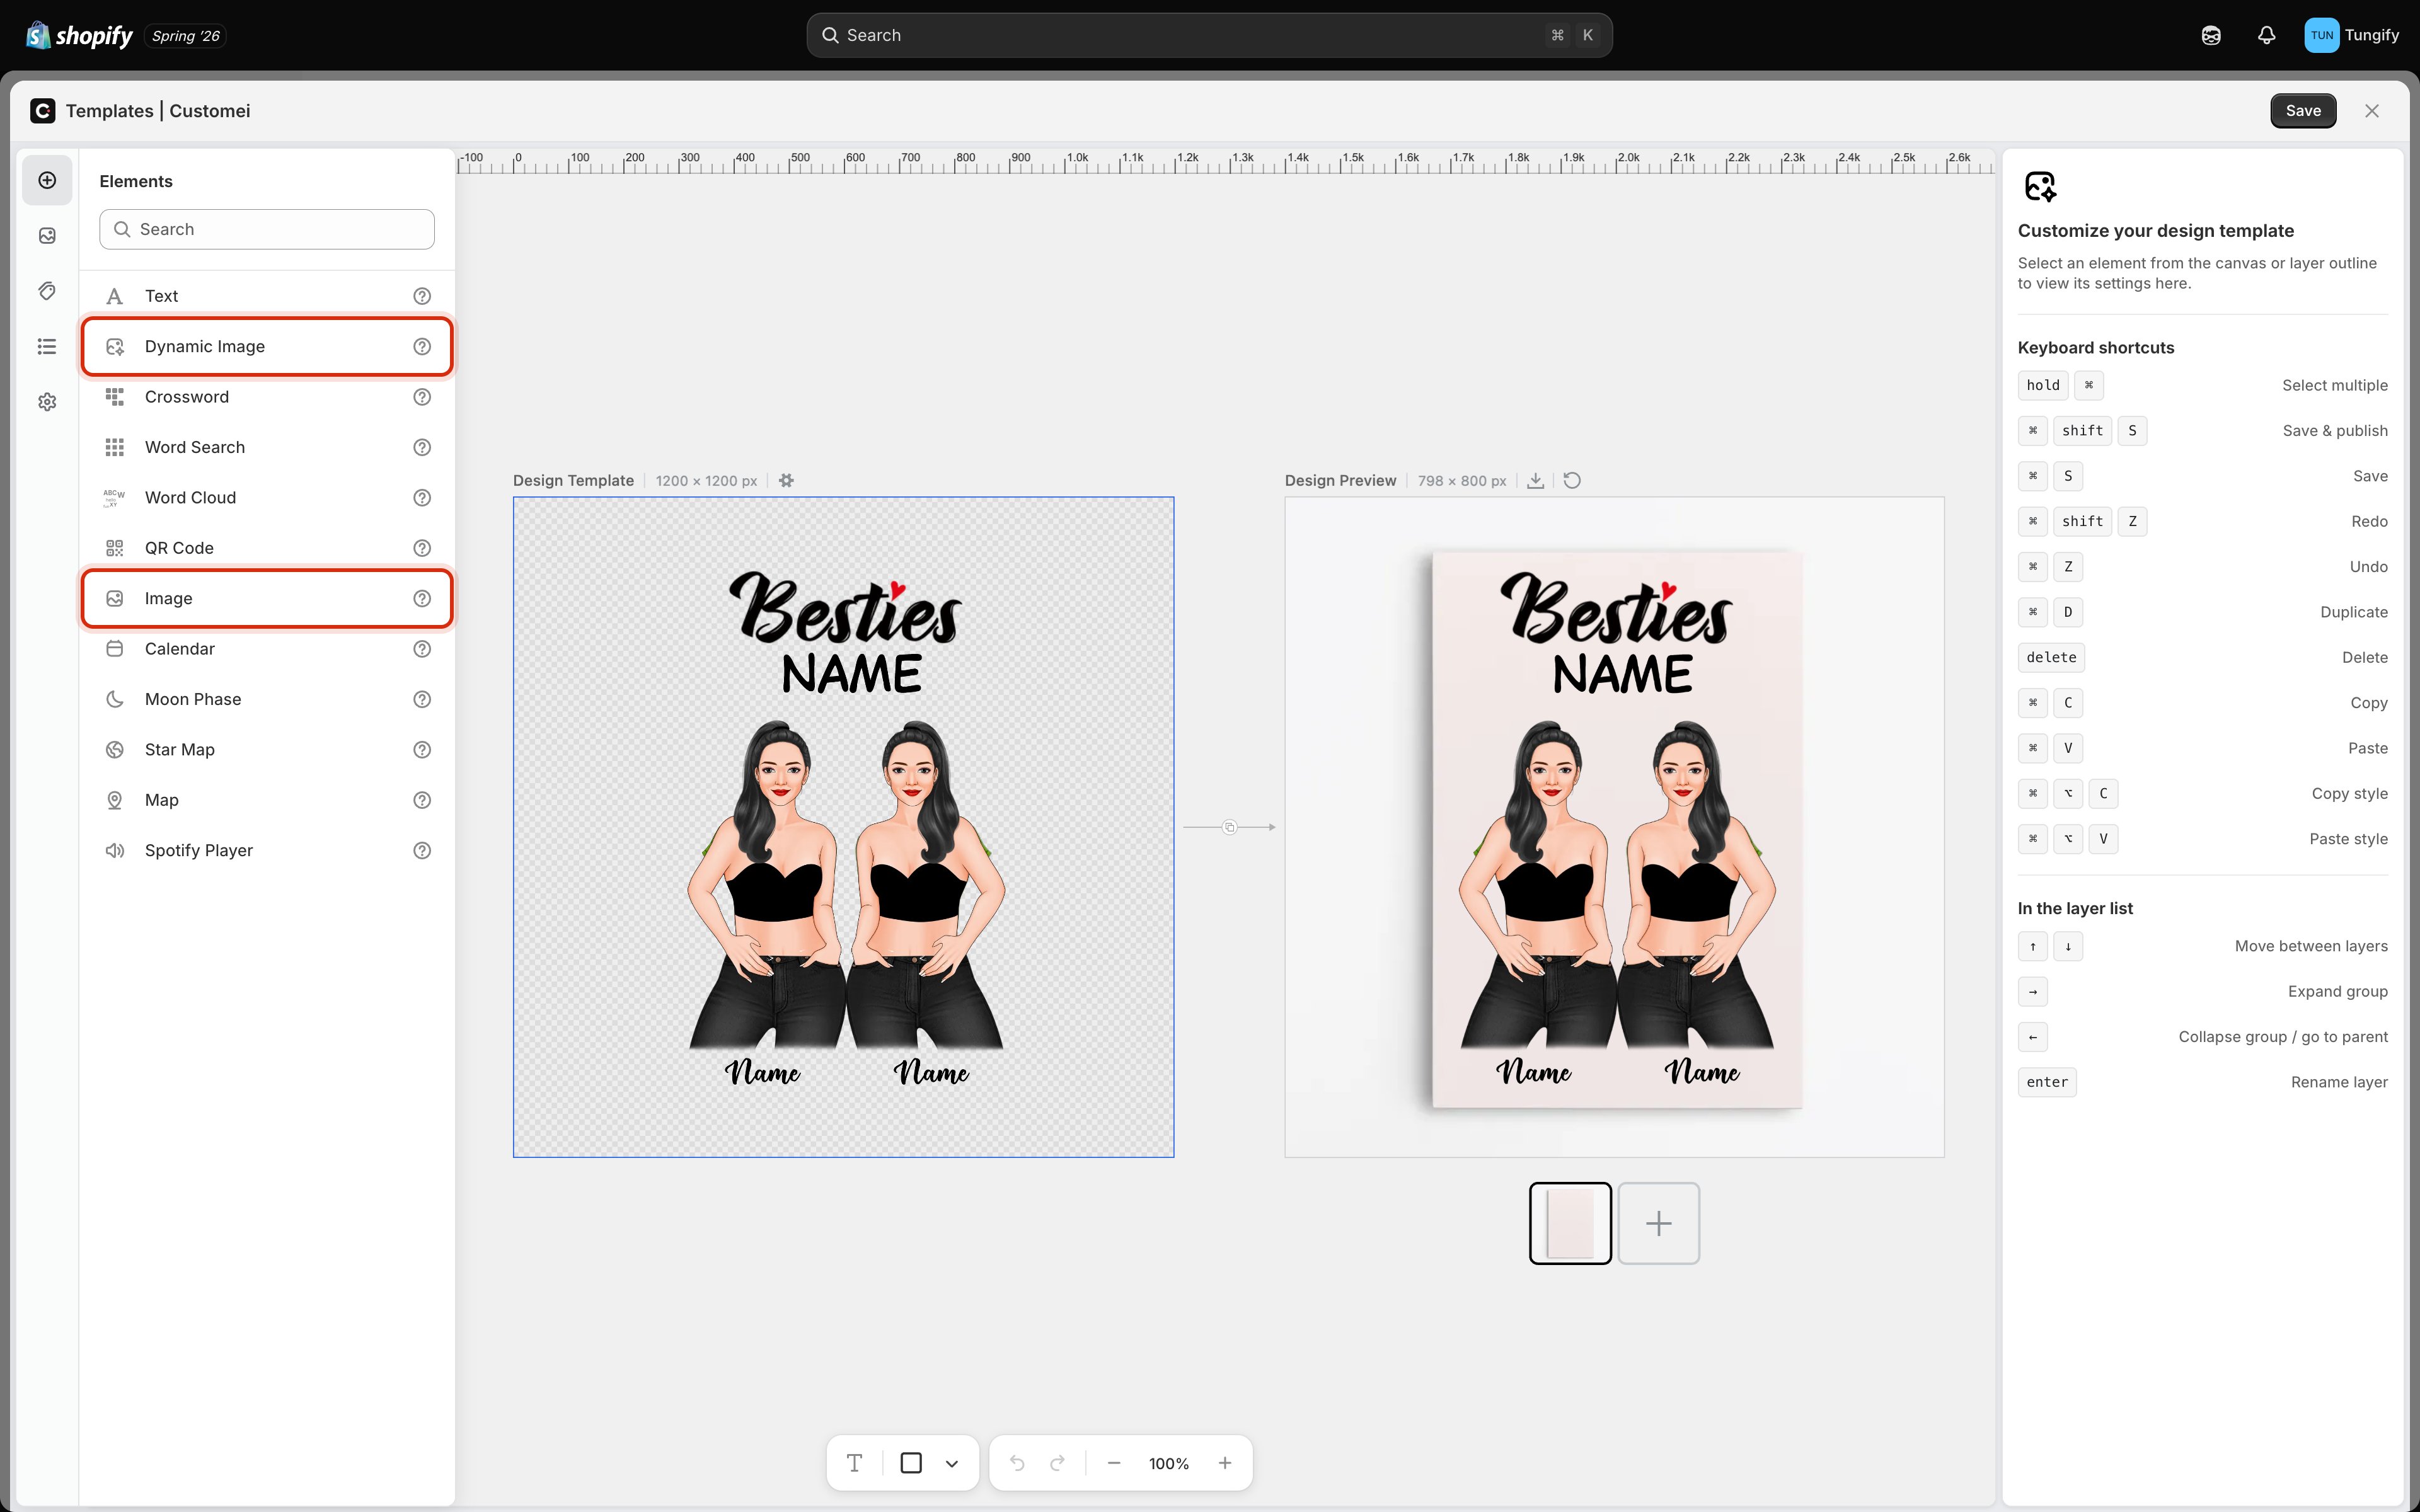
Dynamic Image and Image sit near the top of the Elements list.
Free stock photos
The second icon on the rail opens Photos, a library of free stock photography you can use straight away. Type what you want into the search box, or scroll the trending shots.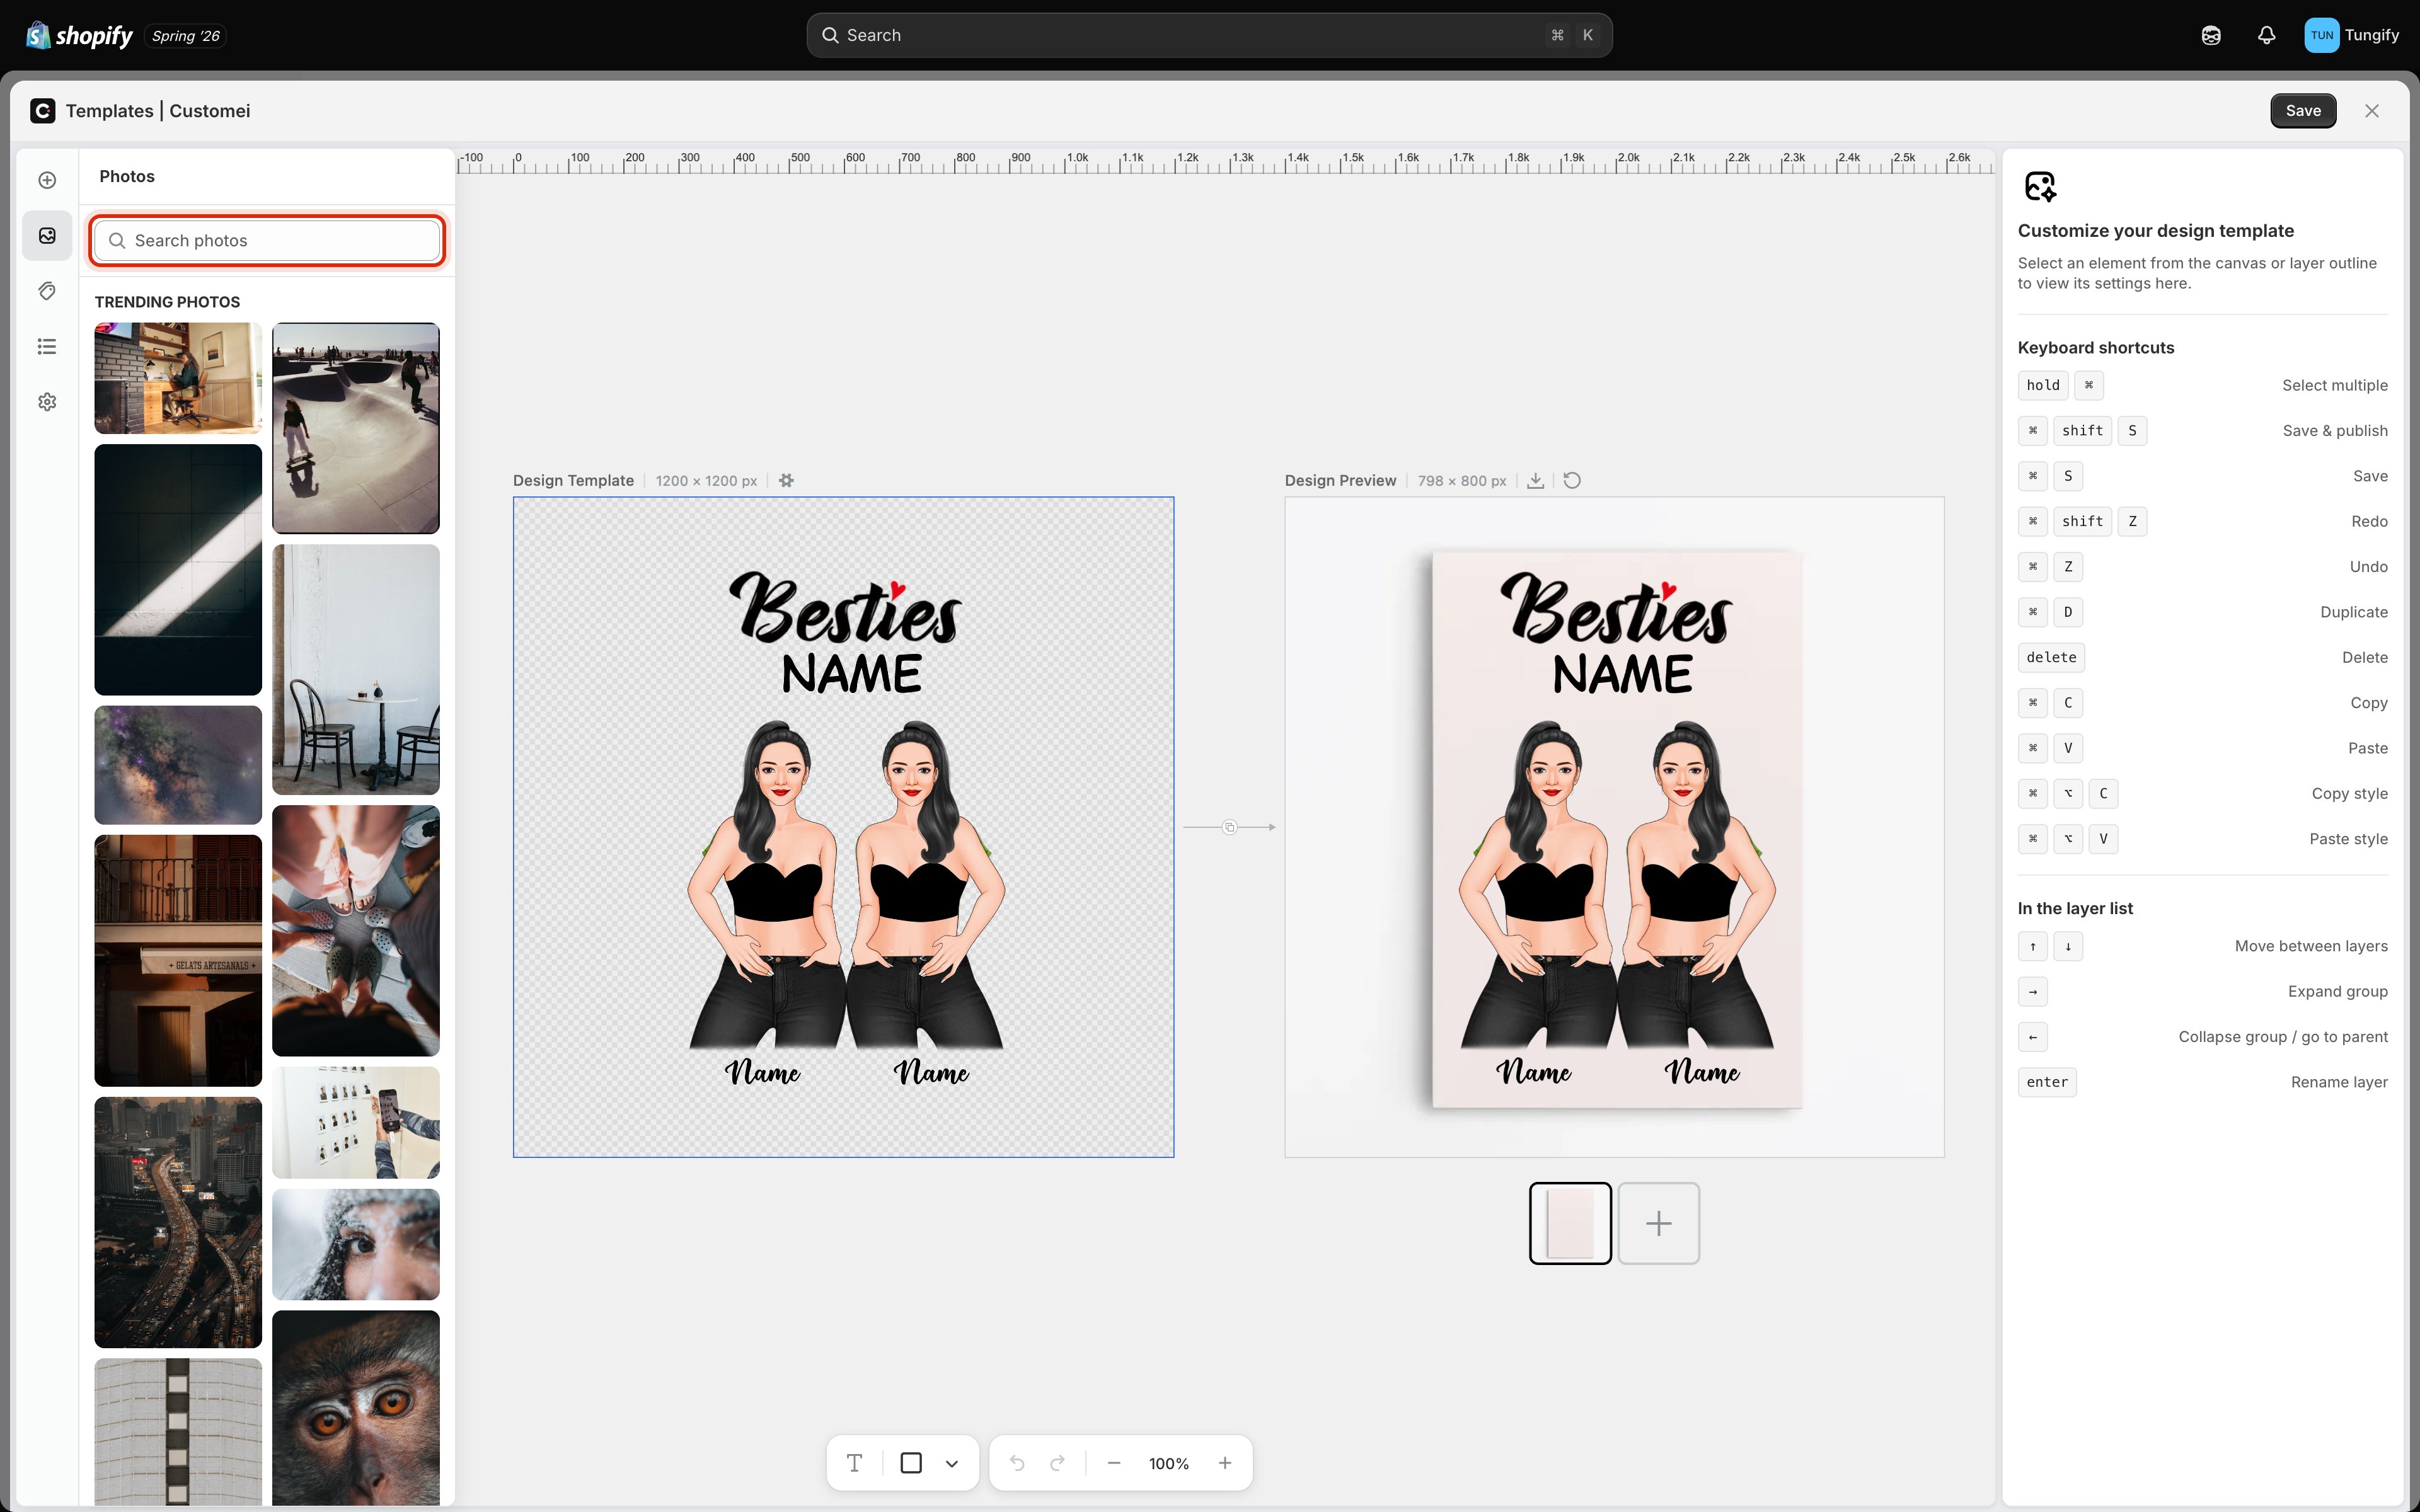
Search the built-in photo library, then click a photo to place it on the canvas.
Setting up a Dynamic Image
Select a dynamic picture layer and the right-hand panel fills with everything about it.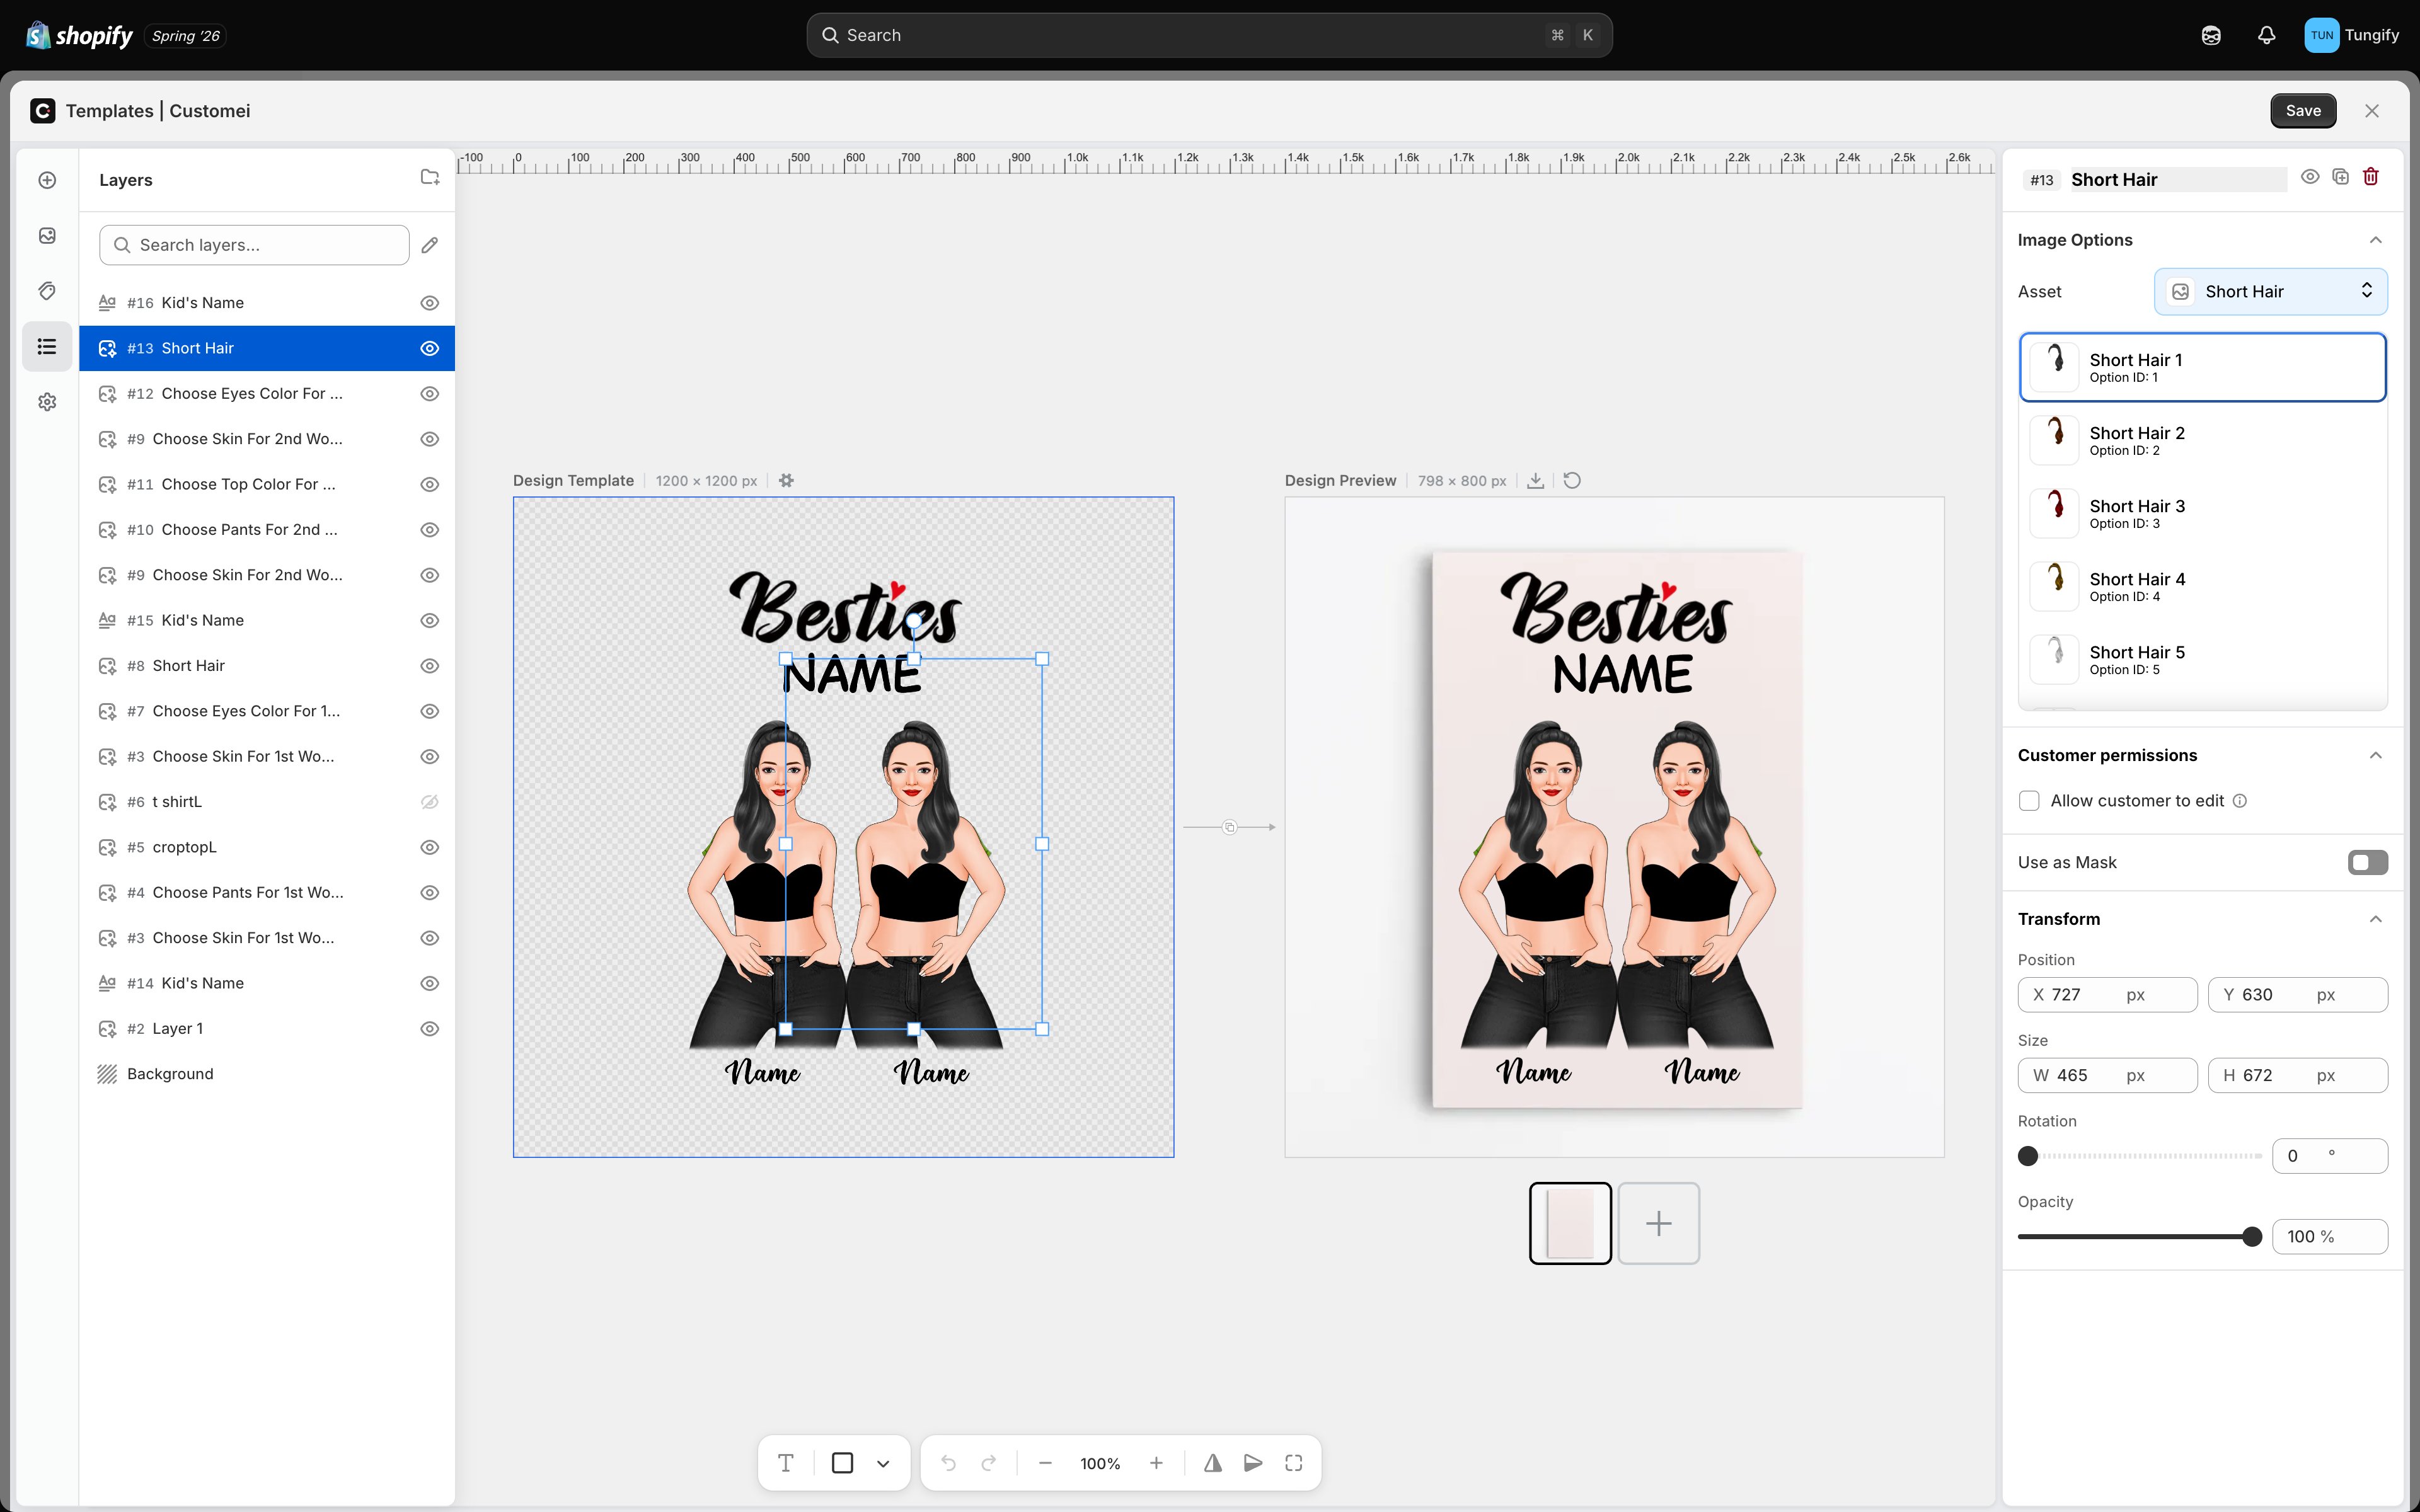
A dynamic picture layer: the Asset it points at, the pictures inside it, and each one's Option ID.
Letting the customer move the picture
Under Customer permissions there is one toggle, Allow customer to edit. On a picture layer it does not mean the shopper may swap the photo. It means they may nudge and rotate the picture inside its frame. See What customers can change for how that pairs with photo uploads. Use as Mask turns the layer into a cut-out for the layer beneath it, so a photo shows only through this shape. A heart-shaped photo slot is a mask over a picture, not a heart-shaped picture.Position, size, and flip
The Transform section gives you exact numbers rather than dragging by eye:
With a single picture layer selected, two extra buttons join the bar under the canvas: Flip horizontal and Flip vertical. Flipping is the usual trick for making two figures face each other rather than both facing the same way.
Where to next
Layers and arranging
Stack, lock, and rename the pictures you added.
What customers can change
Decide who may edit or upload a picture.
Connect an option set
Make a customer choice swap the picture.
Moving around the canvas
Zoom, align, and flip what you just placed.