

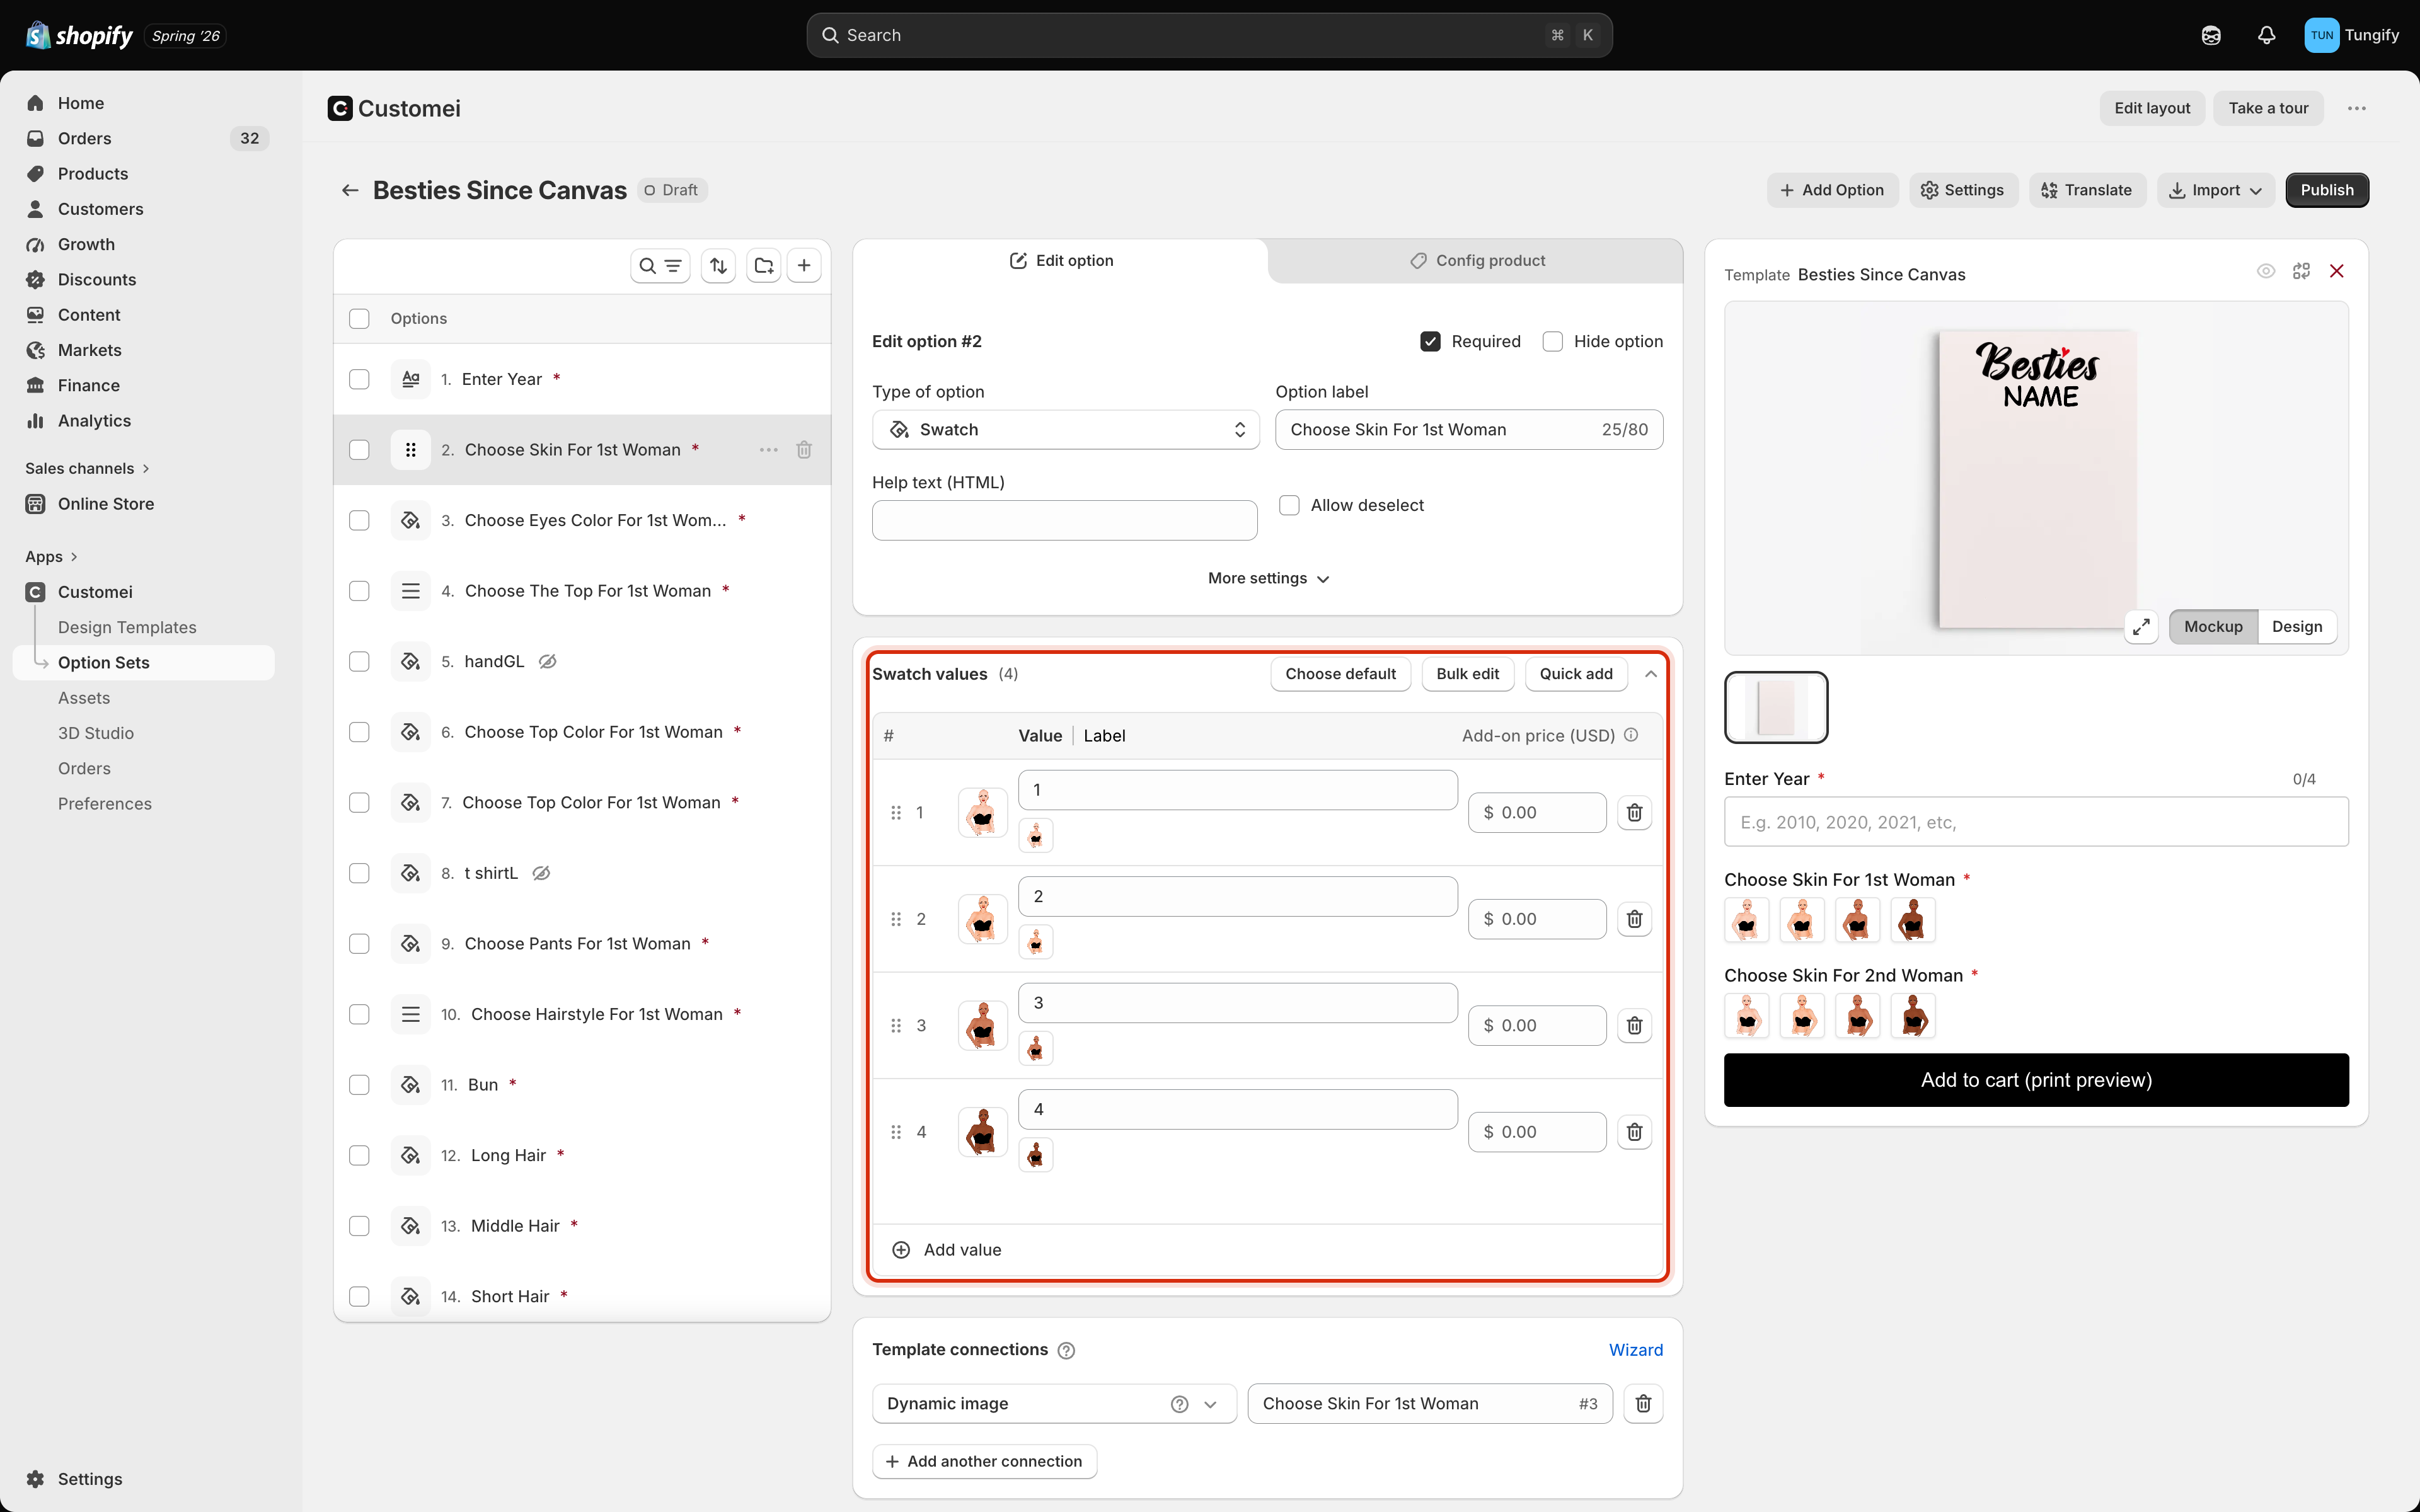
The values of a swatch option, with the tools for editing them along the top.
Adding and removing
Add value at the bottom of the list creates an empty row. The bin icon at the end of a row removes that value.Reordering
Drag the handle at the left of a row to move a value up or down. The order here is the order the customer sees on your product page, so put the popular choices near the top where nobody has to scroll for them.Value and label are two different things
Each row has a Value and a Label, and they do different jobs.- The Value is the internal name. It is what your design connects to, and it never changes once things are wired up.
- The Label is what the customer reads on your product page.
Choosing what is pre-selected
Choose default sets the value a customer starts on before they touch anything.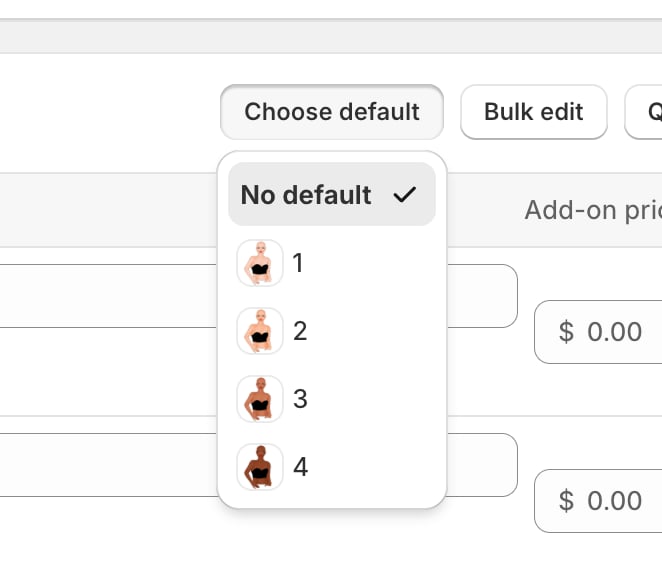
Choose default lists every value, plus a No default option.
- Set a default when there is an obvious common choice. It removes a decision and gets the shopper to the cart faster.
- Use no default when the choice is genuinely personal, or when picking for them risks an order they did not mean to place.
Values that come from your design
Some options are filled in from the design template rather than typed by you. Those rows are locked, and hovering one tells you they are synced from a design template and cannot be edited here. That is working as intended. The design is the source of the list, so change it there and the option follows. It keeps the choices on your product page and the layers in your template from drifting apart.Where to next
Bulk edit values
Paste in a long list instead of adding rows one at a time.
Charge extra for a choice
Add a surcharge to a specific value.
Show or hide options
Only ask what is relevant.
Connect to a template
Point a value at a layer in your design.